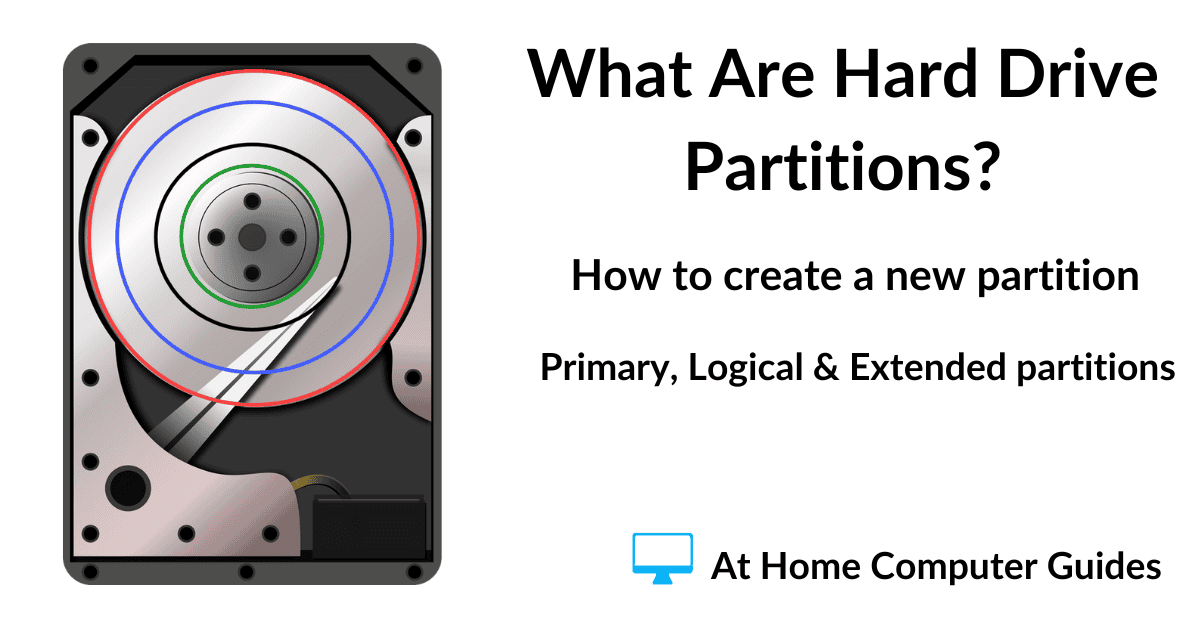
A hard drive partition is essentially a container for the file system of the drive. All data written to the drive is stored within the partition. Every hard drive has at least one partition, but can have more than one.
In fact, every computer storage device, USB drives, SD Cards, External drives all have to have a partition. So although this guide is primarily going to focus on hard drive partitions, it’s actually true for most storage devices.
Primary And Logical Hard Drive Partitions.
Hard drives that are formatted with the MBR (Master Boot Record) partitioning scheme can only have four primary partitions. To get around this limit, logical partitions came into being.
A logical partition resides inside what’s known as an Extended Partition. The Extended partition acts as the container for logical partitions. Rather like a folder with subfolders inside.
The thing to note about extended partitions is that they are actually a primary partition. So you could have 3 primary partitions and 1 extended partition.
Inside the extended partition you can create several logical partitions.

As An Example –
If you needed 6 partitions on an MBR hard drive, you could create 3 primary and 1 extended partition. That would be your full allotment of primary partitions. Then you could create 3 logical partitions that would be stored inside the extended partition.
Another way to do it would be to have 1 primary and 1 extended partition. Then just create 5 logical partitions inside the extended partition.
With the newer GPT (GUID Partition Table) partitioning scheme, the limit to how many primary partitions you can have is 128. Which is probably enough for most of us on our home computers. As such, logical partitions aren’t used.
The Difference Between Primary And Logical Partitions.
The main difference between primary and logical partitions on your home computer is that you can’t installed an operating system (such as Windows) onto a logical partition. Bootable operating systems have to be installed onto primary partitions.
Each primary partition has it’s own file system and is fully independent of the other partitions on the drive.
Whereas a logical partition doesn’t have a file system as such, it uses the file system provided by the extended partition within which it resides.
Should You Use Primary Or Logical Partitions.
If you intend to install an operating system onto the partition (such as in a dual boot), then it has to be a primary partition. You really don’t have any choice there.
If the partition is only going to be used to store data, then it doesn’t really matter which one you choose. There isn’t any difference in the ability of either type of partition to store data.
And in use on your computer, there isn’t any difference either. Each partition type will appear in Windows File Explorer as a separate hard drive. For data storage, you really wouldn’t know whether you were using a logical or primary partition.
The one caveat to that is the number of partitions that you might want on your hard drive. On an MBR disk, you’re limited to 4 primary partitions. One of which will be used by the operating system (Windows). Which leaves you with the possibility of having only 3 more primary partitions.
GPT Hard Drive Partitions.
Hard drives partitioned using GPT don’t normally create logical partitions at all. Since they are capable of supporting a large number of primary partitions, there simply isn’t any need for logical partitions.
How To Check The Partition Type On A Computer.
To check what partitions you have on your hard drive, click the Start button and type “disk management“, then click “Create and format hard disk partitions”.
Or alternatively press the Windows key and the letter X on your keyboard, and then click Disk Management.
Either way the Windows Disk Management tool will open.


Windows Disk Management.
Windows Disk Management shows you size and position of each partition on your hard disks. Note the colour code key at the bottom left of the window.
Using the key code you can quickly see which partitions are primary and which are logical.
- Primary partitions have a dark blue bar across the top
- Logical partitions have a lighter blue bar across the top
- Extended partitions have a green border


In the images above, the first hard disk (Disk 0) is a GPT disk. As such all partitions created on it will be primary partitions.
The second disk (Disk 1) is an MBR disk. That has 3 primary and 1 logical partition. The logical partition is housed within an Extended partition.
However when you open File Explorer, all the different partitions (primary and logical) simply appear as separate hard disks with their own drive letters.
They’ll all work the same as each other.

How To Create A Partition On A Hard Drive.
You can create partitions on your hard drive from within Windows using the Disk Management tool. But I’m going to throw in a warning here, backup your computer first. Although Windows is usually good at creating partitions, you can never too careful. How To Create A Windows System Image Backup.
To create a partition, open Disk Management (press the Windows key and X, then click Disk Management).
On a standard Windows install, you’ll probably have 3 partitions already, although you could have more than that.
The first thing to do is to create some space on the hard drive for the new partition to occupy.
That means shrinking the C: drive.
Right click on the C: drive and then left click Shrink Volume.

Partition, Volume, Drive.
Windows uses the terms partition, volume and sometimes drive interchangeably. I know it does sometimes get confusing when the names keep changing, but that’s just Windows for you.
Shrinking The Volume.
Windows will calculate how much space you have in total on the partition and by how much you could shrink it. It’s important to note that the sizes are in Megabytes, not Gigabytes. What Are Kilobytes, Megabytes, Gigabytes And Terabytes
The amount that you’re going to shrink the partition by should be the same as the size you require for the new partition.
- The total size before any changes are made.
- Maximum amount that you could shrink the partition by.
- The actual amount that you want to shrink the partition by.
Enter the amount in MB to shrink the partition by and then click the Shrink button.

A New Unallocated Partition.
Windows will shrink the selected partition. It might take some time because data may have to be moved around as the partition is resized.
But eventually you’ll see a new “unallocated” partition appear.
You can’t use an unallocated partition. It has to be formatted before you can use it to store any data.
The one exception to that is if you intend to install a different operating system on the new partition.

Format The New Partition.
- To format your new partition, right click on it and then left click New Simple Volume.
- The Simple Volume Wizard will open, click Next to continue.
- You can change the size of the volume (partition), but assuming that you want to use the maximum size, click Next.
- Windows will automatically assign the next drive letter available to the new volume. You can change it if you wish. Click Next.
1

2

3

4

The Volume Label.
On the Format Partition leave all the settings as the defaults except for the Volume Label.
The Volume Label is the name of the partition. It’ll appear in File Explorer. While there’s nothing wrong with just leaving it as “New Volume”, giving it a more descriptive name will help you to identify it later. Click Next to continue. And finally click the Finish button.


After a few moments your new partition will appear in Disk Management. When you open File Explorer, you’ll see it there with its assigned drive letter.


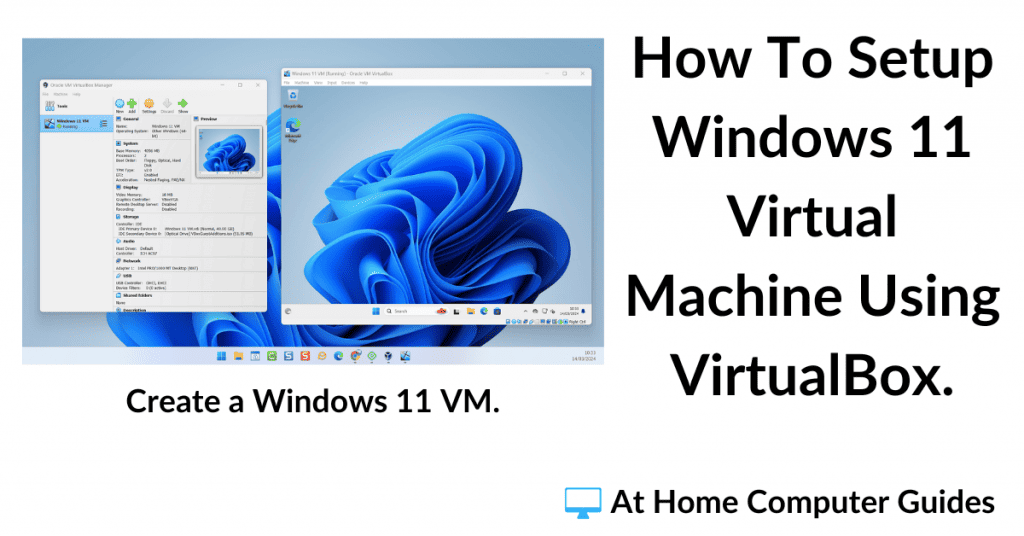
Setup Windows 11 Virtual Computer.
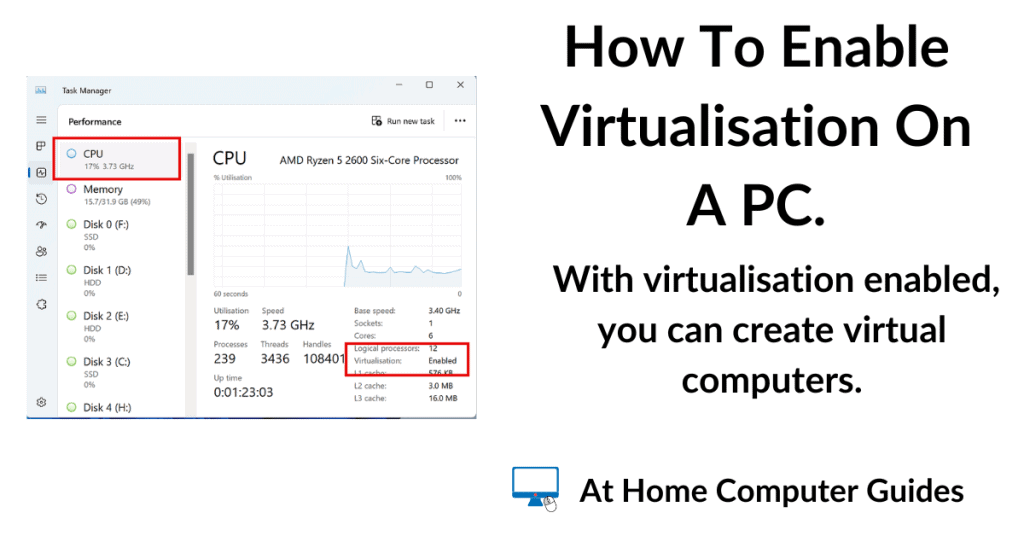
Are you looking to create a new partition in order to dual boot your computer. Consider using a virtual machine instead.
VMs aren’t going to suit every need, but if you just need to run a different operating system, they’re a lot less trouble than a dual boot system.
At Home Computer Guides.
Anti Virus Audio And Video Computer Backups Google Chrome Microsoft Edge VirtualBox VMware Workstation Player Windows 10 Windows 11