Outlook.com is Microsoft’s webmail service. It includes all of Microsoft’s previous email services.
If your E-Mail address ends with @Outlook or @Live or @Hotmail or @MSN then you’re using Outlook.com.
Outlook.com allows you to add pictures, attachments & links directly into the emails you send.
How To Insert An Image Into Outlook.com Emails.
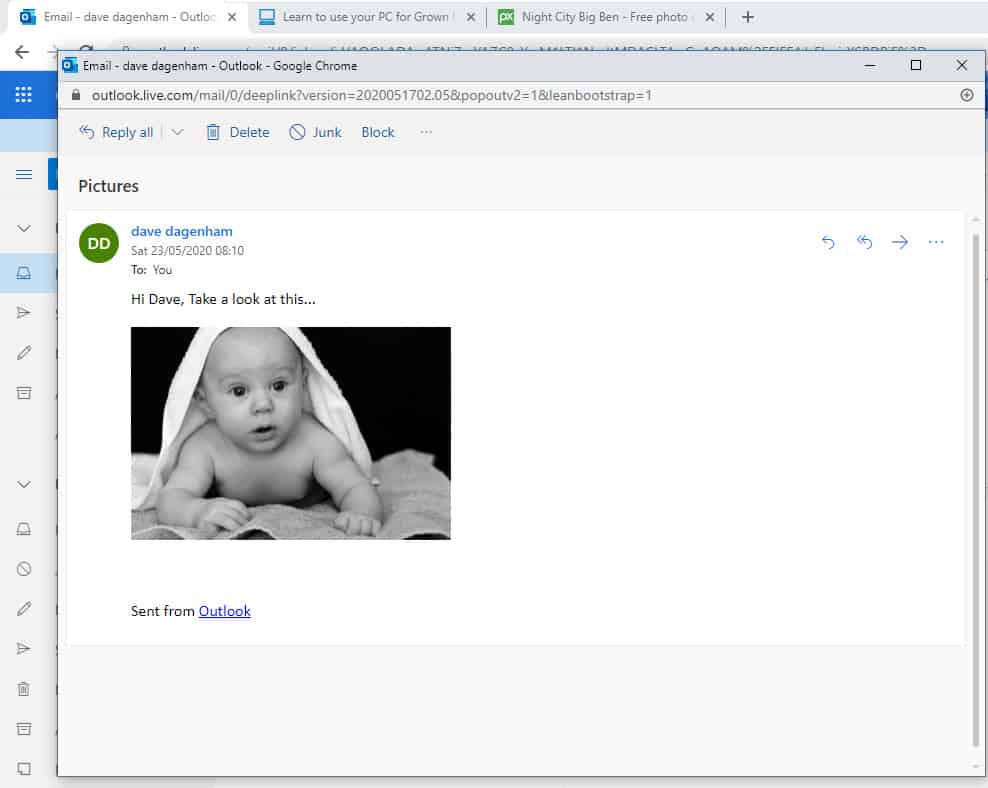
Inserting a picture/image directly into an email with Outlook.com webmail is easy & straightforward.
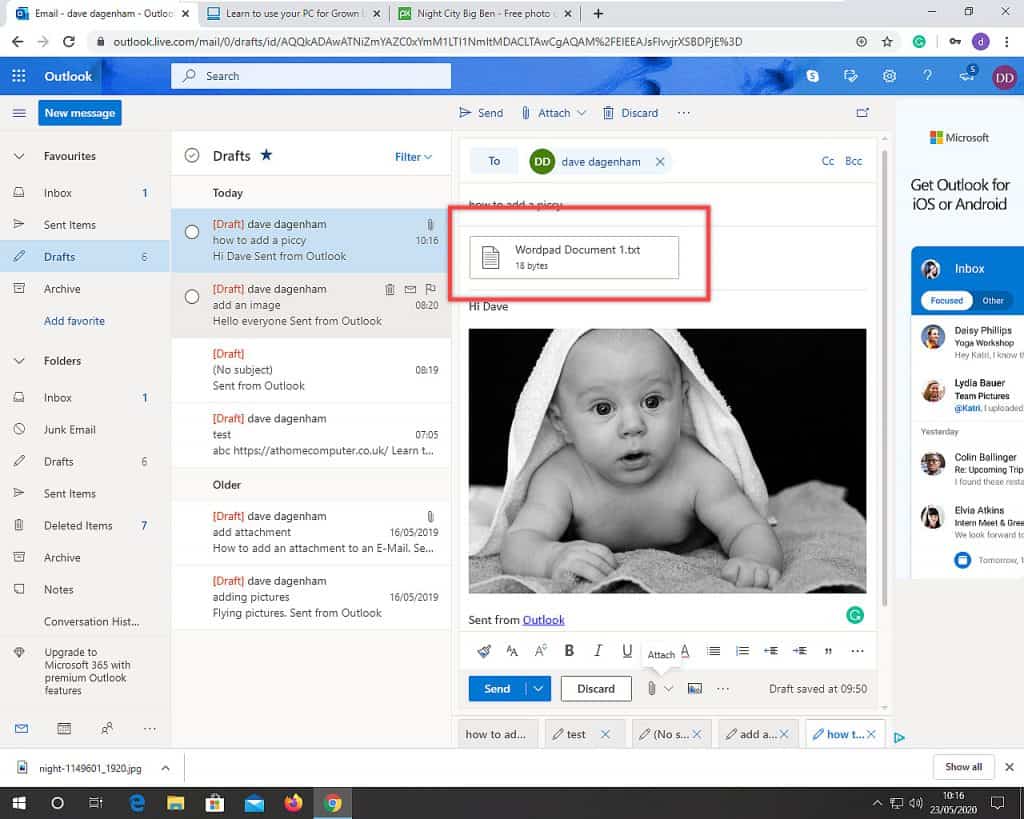
This is what we’re going to get.
The picture is a part of the email, rather than being added as an attachment.
We’ll look at attachments further down the page.
And you’d have to admit, this has got to brighten someone’s day.
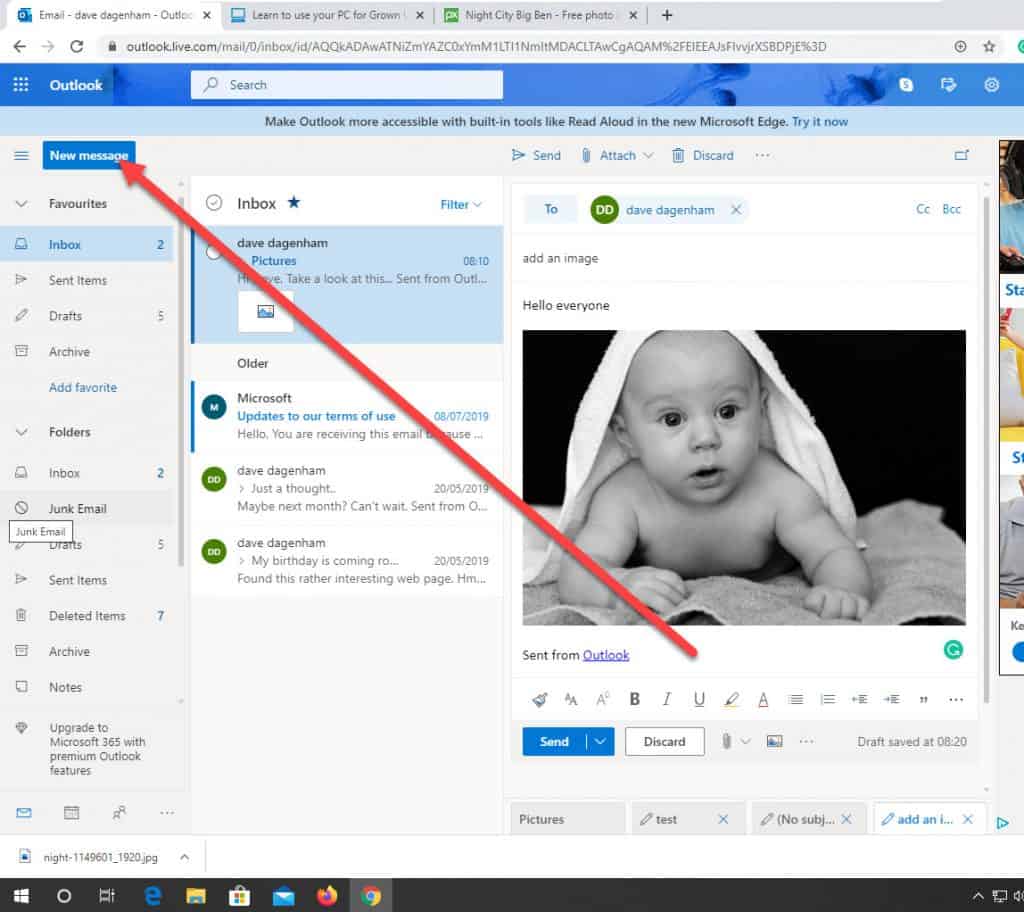
To insert a picture, log into your Outlook.com account.
Then click the NEW MESSAGE button in the top left to begin a new E-Mail.
When the New Message window opens, fill in the address and subject lines as usual.
Click into the body area and type out your message.
So far it’s exactly the same as sending any other email.
Quick Note.
If you’d like to run a test to see what the end result will look like, then you can send the email to yourself. Yes that does really work.
Just fill in your own email address in the address box.
To Add The Image.
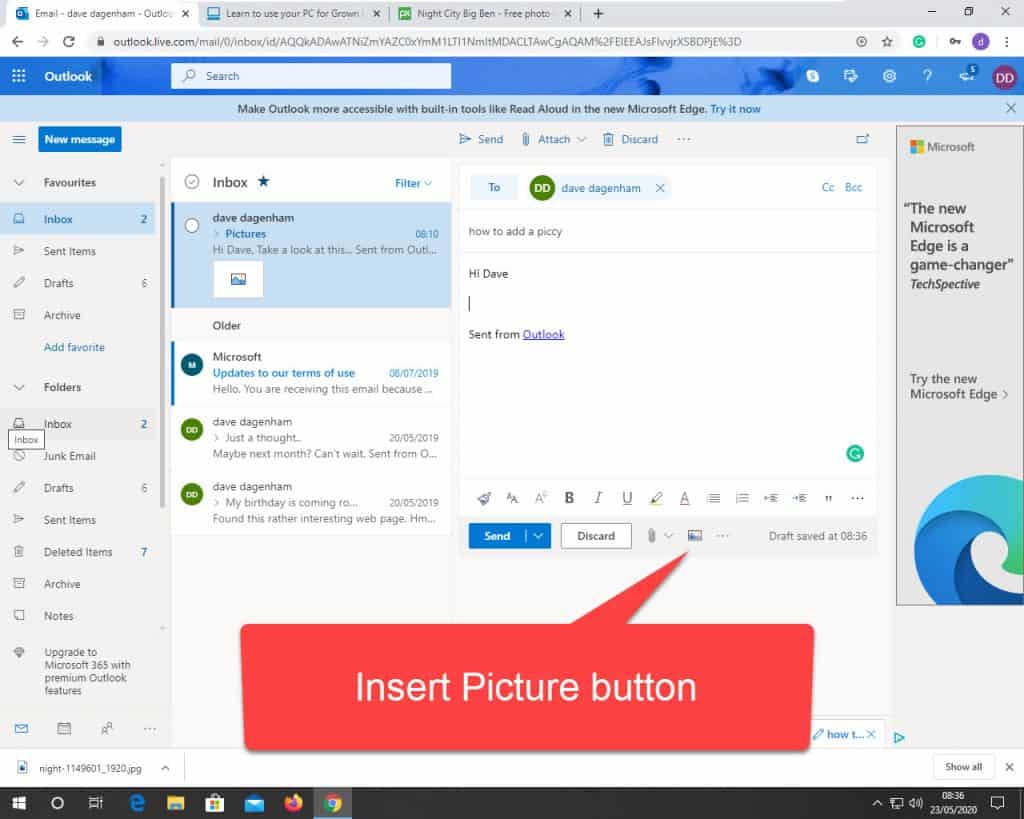
Now to add the image. Click the INSERT PICTURES button.
It’s quite difficult to see the INSERT PICTURES button, so here’s a close-up view.
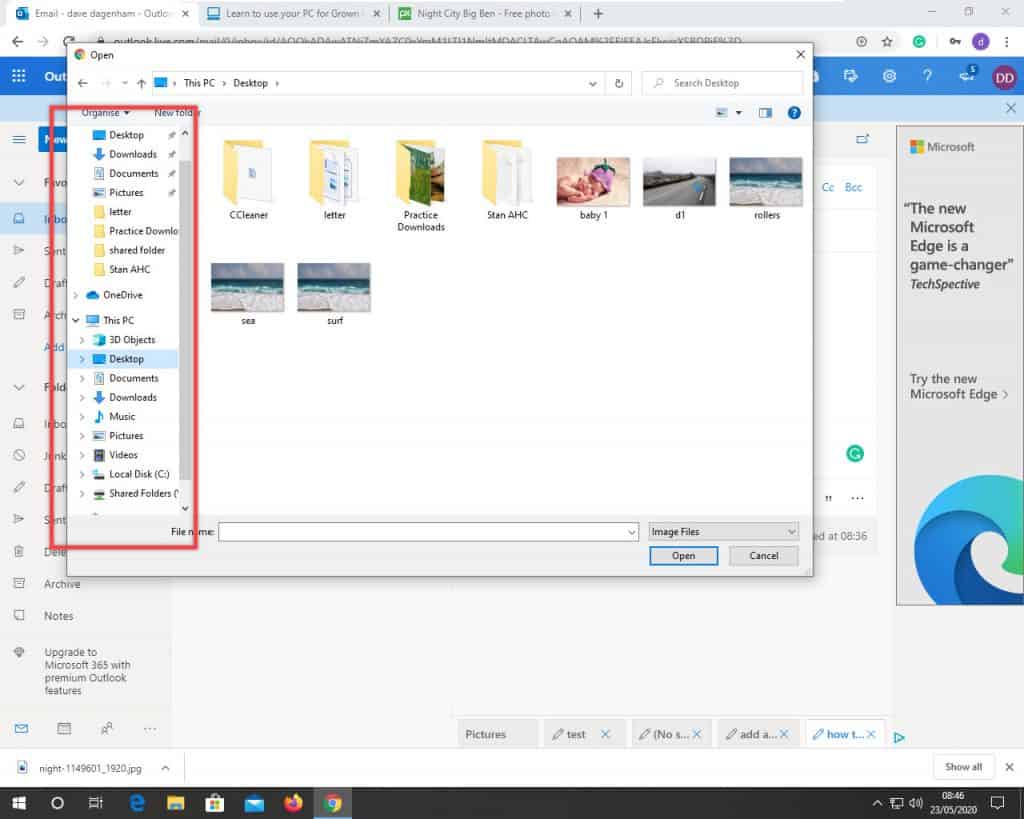
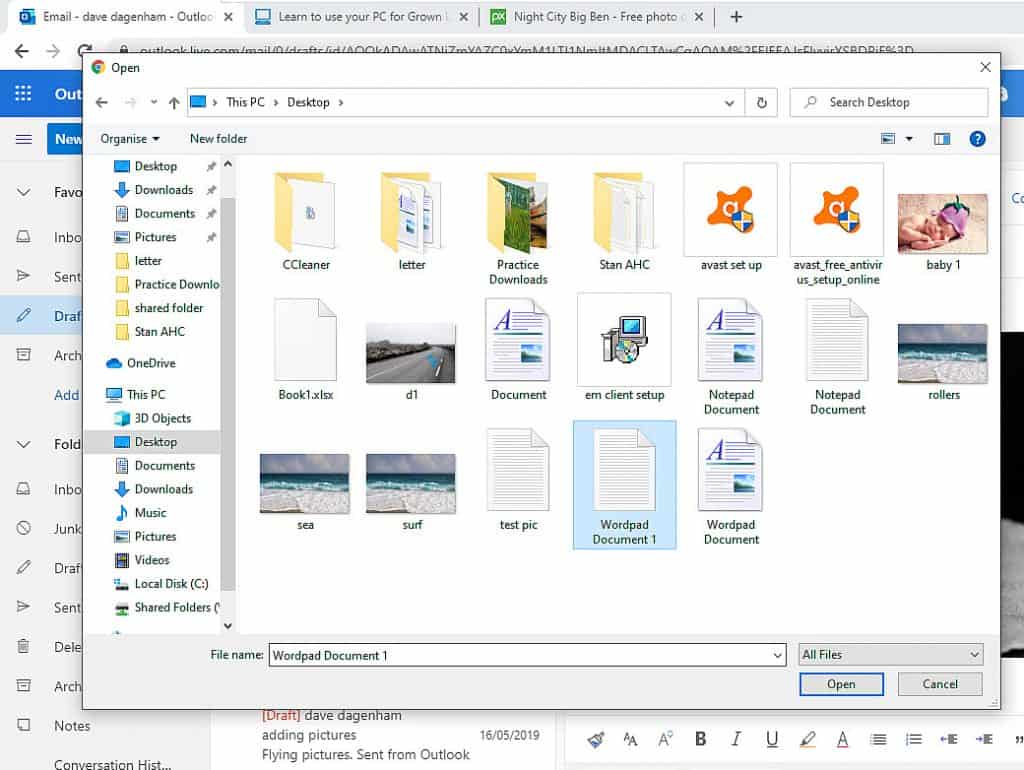
When you click the Insert Pictures button, a File Explorer window will pop up.
Now you just have to find the image you’d like to add to the email.
If the picture is on your Desktop, click Desktop in the left-hand panel.
If it’s in your Pictures folder, click Pictures in the left-hand panel and so on.
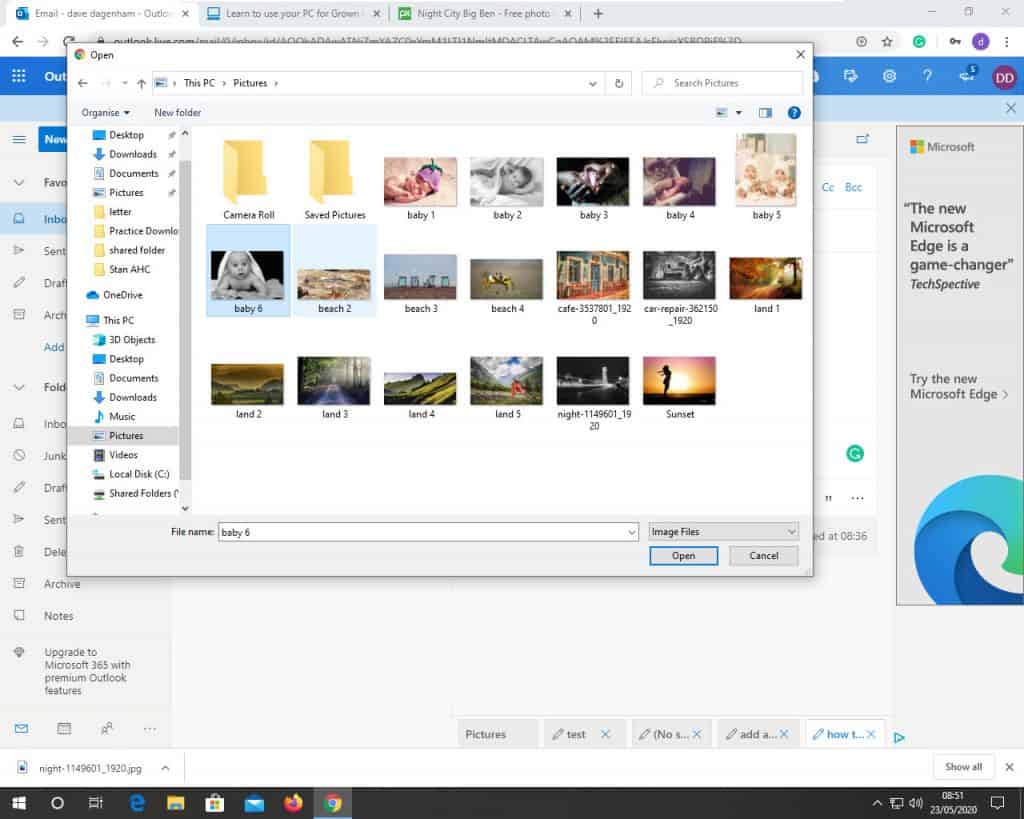
In my example, my picture is in my Pictures folder, so I’ll click Pictures.
When you’ve found the image you want to insert into your message, left-click it once to select it, then click the OPEN button.
The picture will then be uploaded and inserted into your email.
Resizing The Image.
When the picture pops up in your email, it might be too large or too small. But you can re-size it to suit yourself.
One thing to remember here is that when making pictures smaller, they will generally retain their sharpness and clarity, making them larger, will cause them to become blurry or fuzzy.
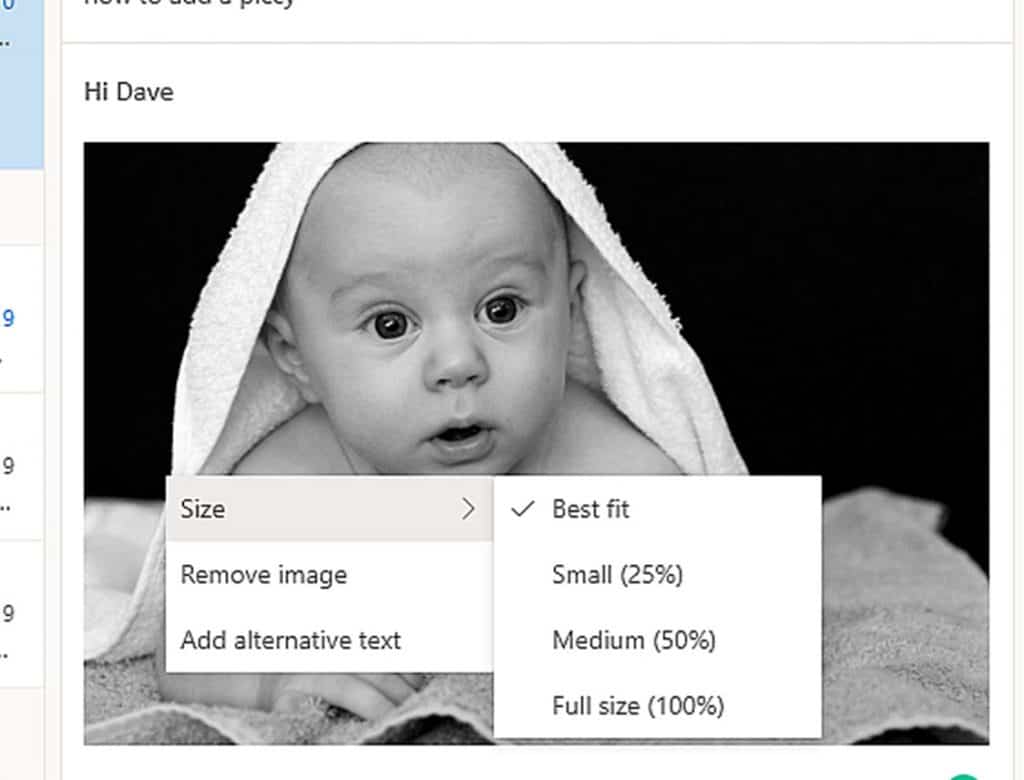
The easiest way to resize a picture in an Outlook.com email is to simply right-click on it.
A menu will open.
Left-click SIZE.
Then left-click your choice of picture size.
How To Attach A file In Outlook.com.
An attachment is a file that’s sent with the email. It’s not a part of the actual message, but a separate, downloadable file that travels with the email.
You can add virtually any file as an attachment, and you can add more than one. The only limit is that the total size of the email and all its attachments should be less than 25 MB.
Adding files as attachments in Outlook.com is pretty straightforward.
Start your new email message in the usual way.
To add an attachment to an email in Outlook.com, left-click the paper clip icon.
A menu will open.
Click BROWSE THIS COMPUTER.
Now navigate to the file that you want to add as an attachment.
If the file’s in your documents folder, left-click Documents in the left-hand panel.
If it’s in your Pictures folder, left-click Pictures and so on.
My file is on my Desktop, so I’ll click Desktop.
Once you’ve found your file, left-click it once to select it, then click the OPEN button.
Your file will be uploaded and attached to your email.
If it’s a large file, it may take a few seconds to get there, but when it’s done, it’ll appear at the top of your message.
You can add more files as attachments in exactly the same way. Simply click the paper clip icon again, then navigate to the next file and add it.
Insert A Link Into An Email With Outlook.com.
If you want to direct someone to a website or webpage, you can add a clickable link directly into your message.
To add a link into an Outlook.com email, you’ll first need to get the URL (web address) of the page you want to link to.
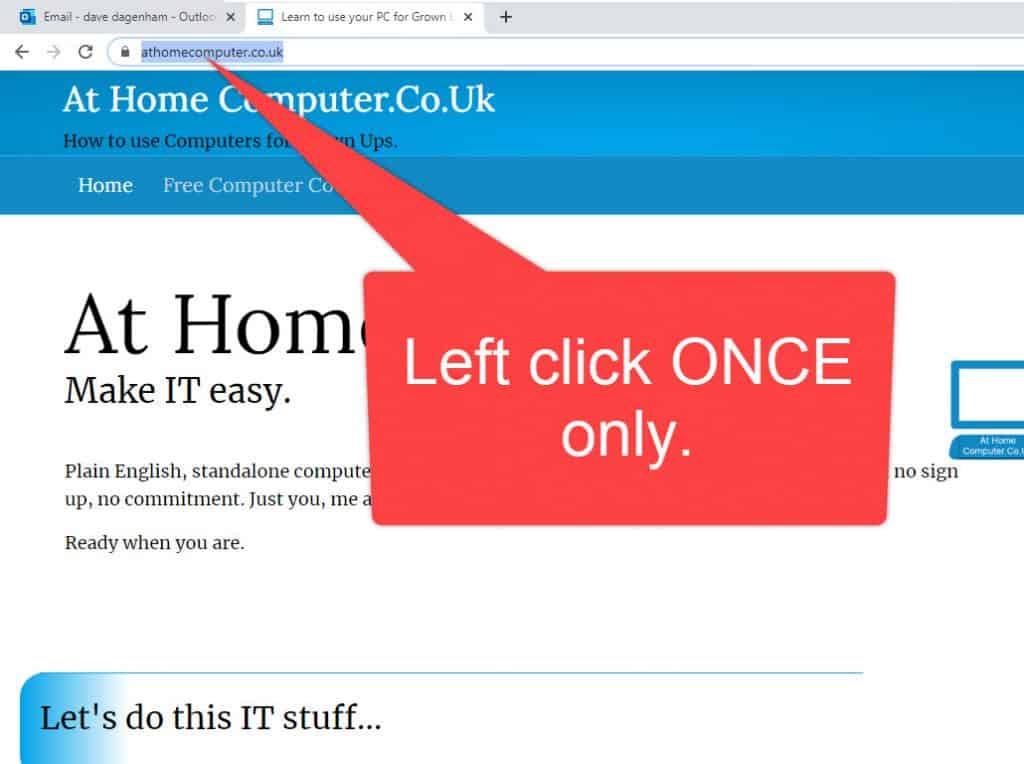
In your browser, go to the website in question.
Then left-click once on the writing in the address bar (click directly onto the writing).
It’ll become highlighted.
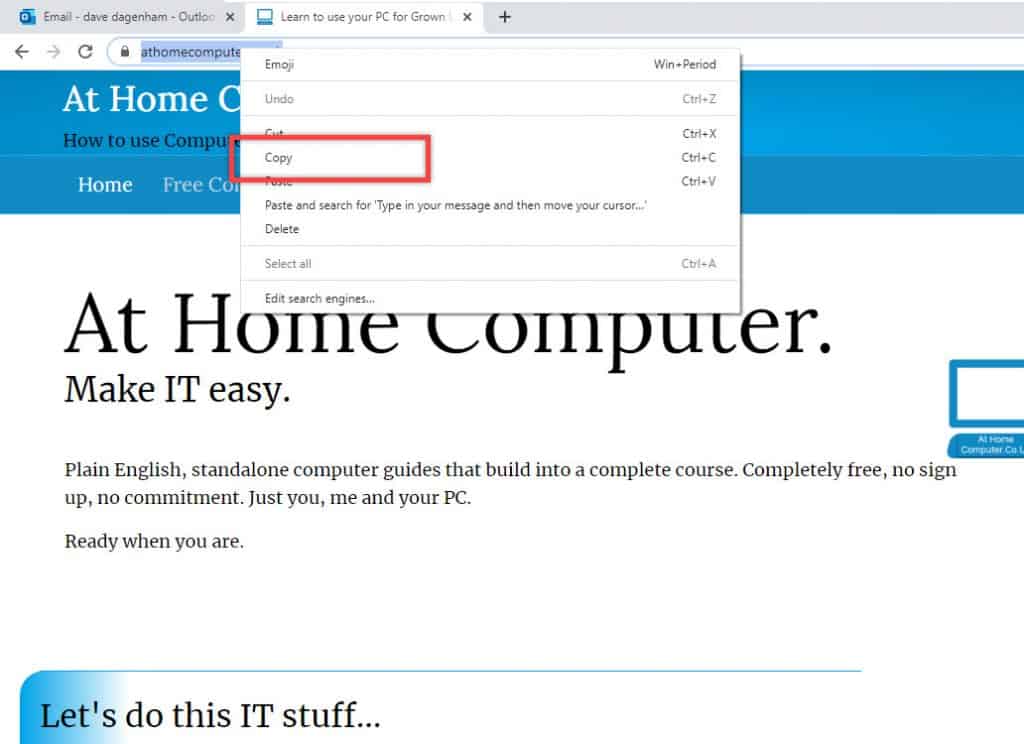
With the address highlighted, right-click on it.
A menu will open.
Left-click COPY.
Now you’ve got the web address copied it’s back to Outlook.com to start an email.
Log into your Outlook.com account and begin a new E-Mail.
Add in the address and subject lines, and then any text that you want in the body of the message.
When you get to where you’d like the link to go, click the ADD LINK icon.
It looks like two links in a chain, or at least it’s supposed to.
The link icon can move around a bit depending on your screen size. You might find it on the toolbar, or if you can’t see it there, click the 3 dots at the end of the toolbar.
You should be able to see it on the menu that opens. Either way, when you find it, click it.
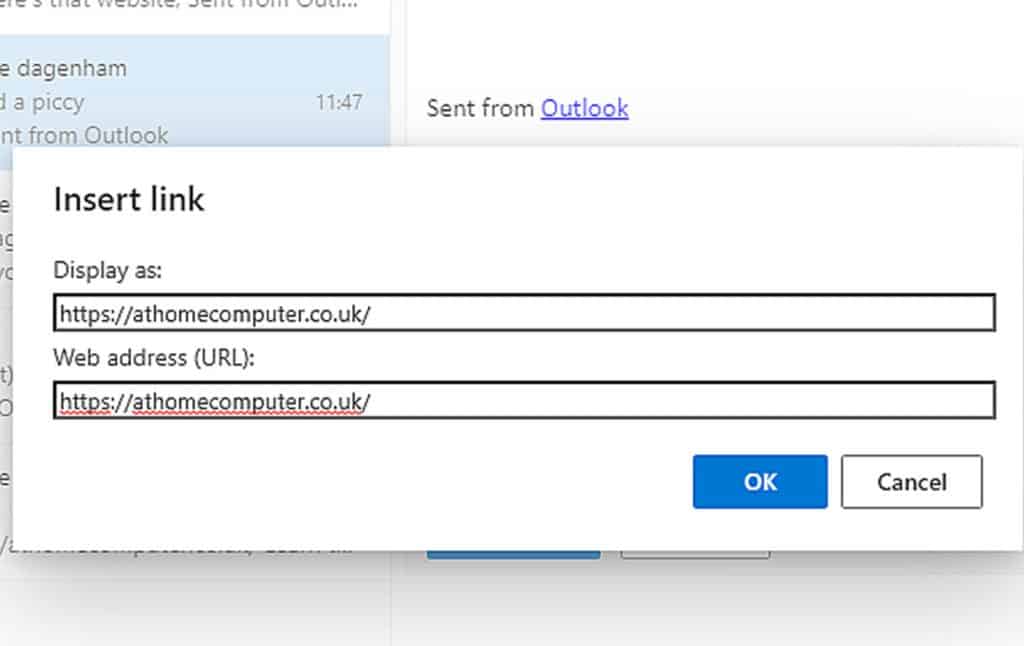
When you’ve clicked the insert link icon, the Insert Link box will open.
In the top line, Display As, you can type anything you’d like.
Usually, it’d be something like Click Here or Check out this page.
But you can leave it blank if you want to.
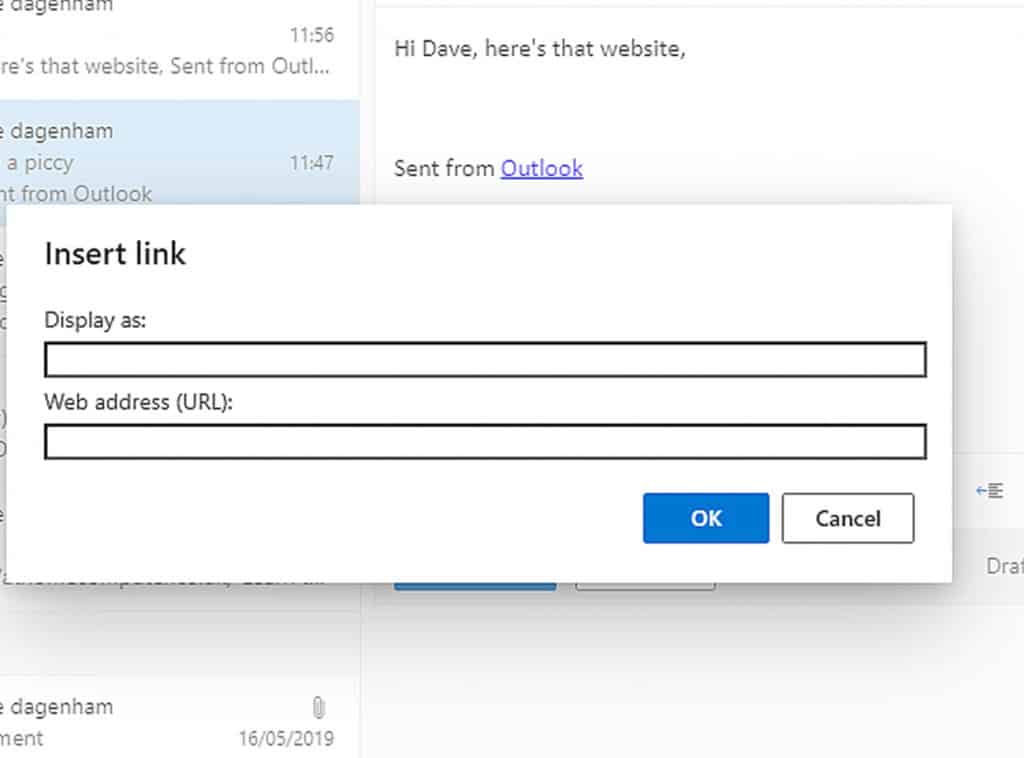
Now click into the bottom line, Web Address (URL), and then press CTRL and the letter V on your keyboard.
The address of the website that we copied earlier will appear.
If you left the top box blank, it’ll also appear in there.
Click the OK button to insert the link.