
If your PC just won’t start up properly, then you’ll need to use a USB recovery drive.
Using the recovery drive, you can then access the Windows system image backup that you created using Backup & Restore.
Boot From the Recovery Drive
Turn off your computer and then plug in both the USB recovery drive and the USB hard drive that contains your Windows system image.
Turn on your PC and then boot from the recovery drive.
The computer will take a little more time to get started than is usual because the files are now being loaded from a USB stick rather than a hard drive.
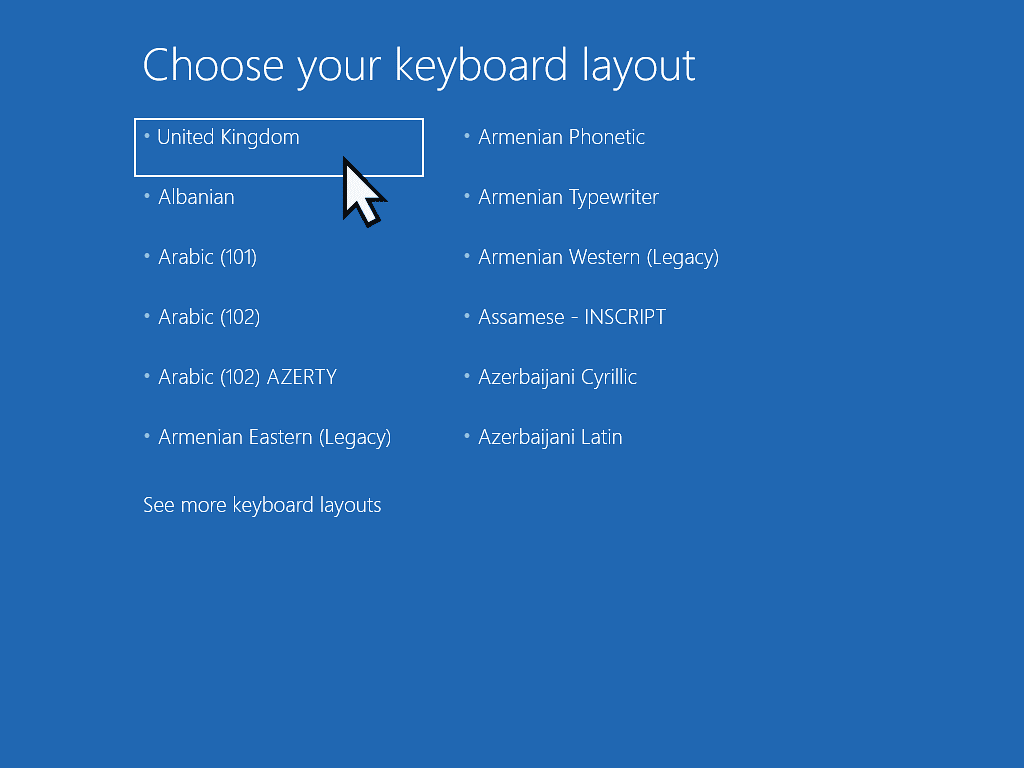
But eventually you’ll see the select your keyboard layout screen.
Click the appropriate layout for your PC.
Booting from a USB Drive
To boot from a USB drive, you need to interrupt the normal boot sequence.
You can do that by continually tapping a key on your keyboard immediately after pressing the power button.
Which key you need to tap varies between manufacturers. But the Esc, F8, F11 and F12 keys are probably the most commonly used.
Choose an Option
On the Choose An Option screen, click Troubleshoot.

Advanced Options
The Advanced options screen will appear. Here you have several options that could help you to repair your computer.
In order to restore the computer from a Windows system image backup, click the System Image Recovery button.

Select the operating system that you’re using on your PC.
Typically this will be either Windows 10 or Windows 11.

Select the Backup Image
Windows will scan your backup drive for system images. By default it’ll automatically select the latest one. Click the Next button to proceed.
For the Additional Restore options, just leave the defaults selected. Click the Next button.


Next you’ll see a confirmation screen. Click the Finish button.
Then you’ll see warning popup notifying you that all data on the system added since the backup was created will be lost. Click the Yes button to start the restoration.


Summary
When you need to restore your computer from a Windows system image backup, you can usually start the recovery from within Windows itself. How To Restore A PC From A Windows System Image.
But sometimes you’ll find that you can’t even get into Windows. It simply won’t start up or it’ll crash or freeze before you can do anything.
That’s where the recovery drive comes into it’s own. Booting from a recovery drive gives you a stable platform from which you can initiate the recovery process.
Related Posts
Windows 11 Backup
Use a more modern backup solution for Windows 11.
Beware of Device Encryption on Windows 11 Home
Device Encryption is silently being enabled on all Windows 10 and Windows 11 Home editions that meet the hardware requirements and you’re signed in with a Microsoft account.
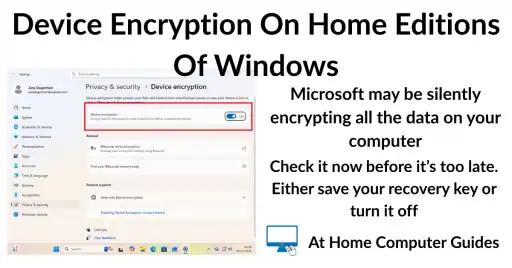
It’s very important that you check whether or not device encryption is enabled on your computer and if it is, then you MUST either disable it or find your recovery key. I’ll show you how to do both.
You can find this and other related step by step guides in – At Home Computer Security Guides
At Home Computer Step By Step Guides
 Easy to follow tutorials for users of Windows 10 and Windows 11 computers.

How to Open and Convert Publisher Files to Word or PDF, Even Without Publisher

How to Turn Your Computer Off Properly

How to Use the Password Manager in Microsoft Edge

Gmail Not Receiving Emails? How to Find Out Why and Fix It
Gmail not receiving emails is one of those problems that…

Gmail is Switching Off Gmailify and Check Email From Other Accounts
Do your BT, Yahoo, Hotmail or other emails turn up…

How to Make Your Own Photo Calendar (Free 2027 Template)
A calendar with a family photo on every month makes…

Free Editable and Printable 2027 Family Calendar (UK)
If you’ve ever gone looking for a free editable, printable…

How to Add, Edit and Save Contacts in Gmail
Gmail has its own address book, which Google calls your…

How to Block Emails in Gmail and Stop Spam
Whether it’s a company that won’t stop sending you offers,…