
Create a Windows 10 bootable USB flash drive to install or reinstall Windows 10 on your computer.
A bootable Windows 10 USB drive lets you do a clean install of Windows 10, repair a Windows installation that won’t start, or set up Windows on another PC. It’s a handy thing to have sitting in a drawer for the day something goes wrong.
To make one you’ll need a USB flash drive of at least 8 GB (16 GB gives you a bit of breathing room) and an internet connection.
How to Make a Windows 10 Bootable USB Flash Drive
You won’t need any extra software to create Windows 10 installation media. Microsoft gives you everything in a free program called the Media Creation Tool.
Before you start, plug in your USB flash drive. Check that there’s nothing on it that you want to keep, because the Media Creation Tool wipes the drive completely. Quick tip, it’s a good idea to remove any other USB drives.
Now click the link below to open the Windows 10 download page.
https://www.microsoft.com/en-gb/software-download/windows10
Click the Download Now button under “Create Windows 10 Installation Media“, then run the tool.
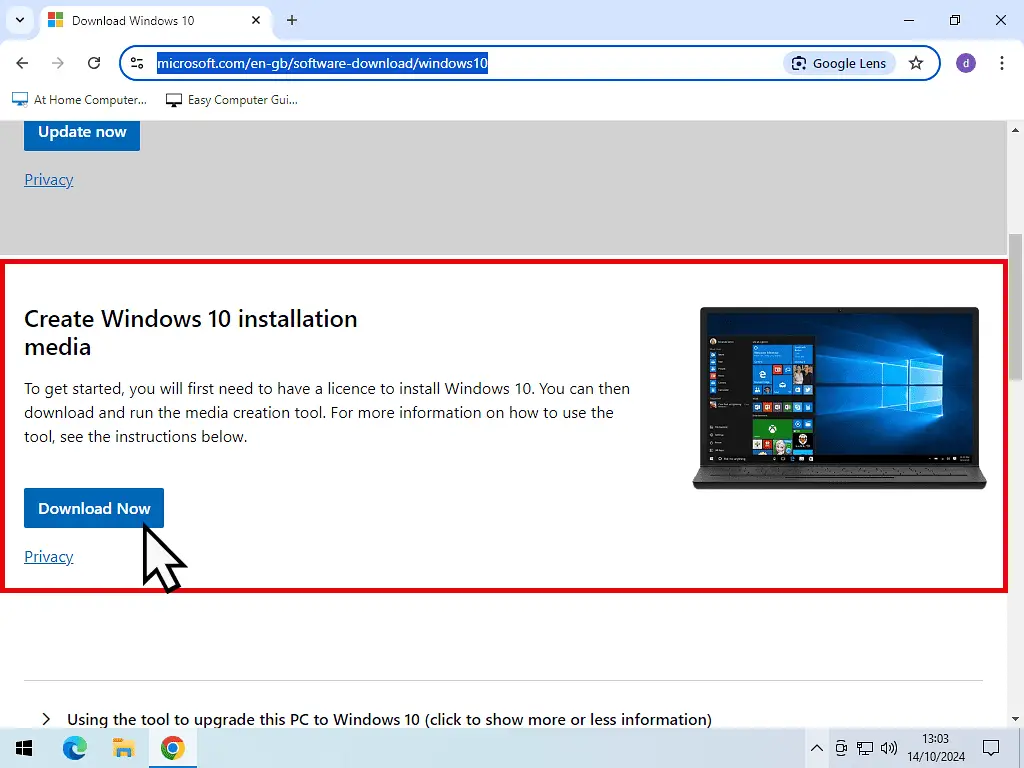
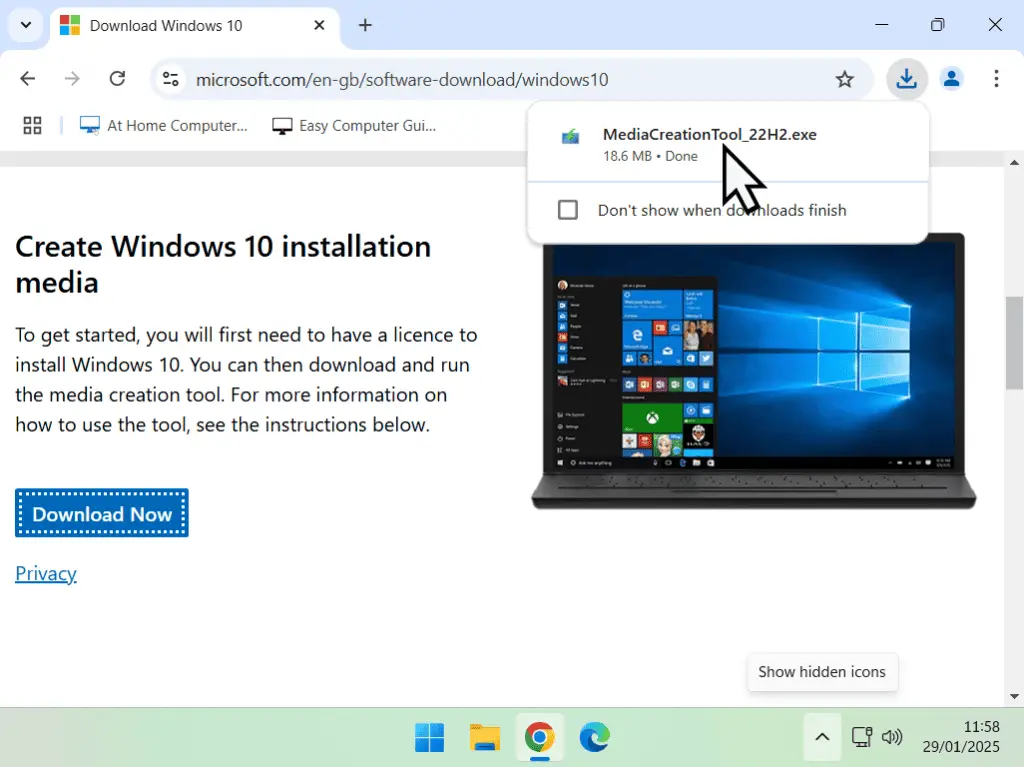
Create Windows 10 Installation Media
The Media Creation Tool does all the hard work. All you need to do is point it at the right USB flash drive.
Give it a moment while it “gets a few things ready”, then accept the applicable notices and licence terms.
“For Another PC?”
Don’t let the wording put you off. Even though it says “another PC“, you can use this media on the computer you’re sitting at right now, or on any suitable PC.
This is also the option you want if you’re planning to create a Windows 10 virtual machine.
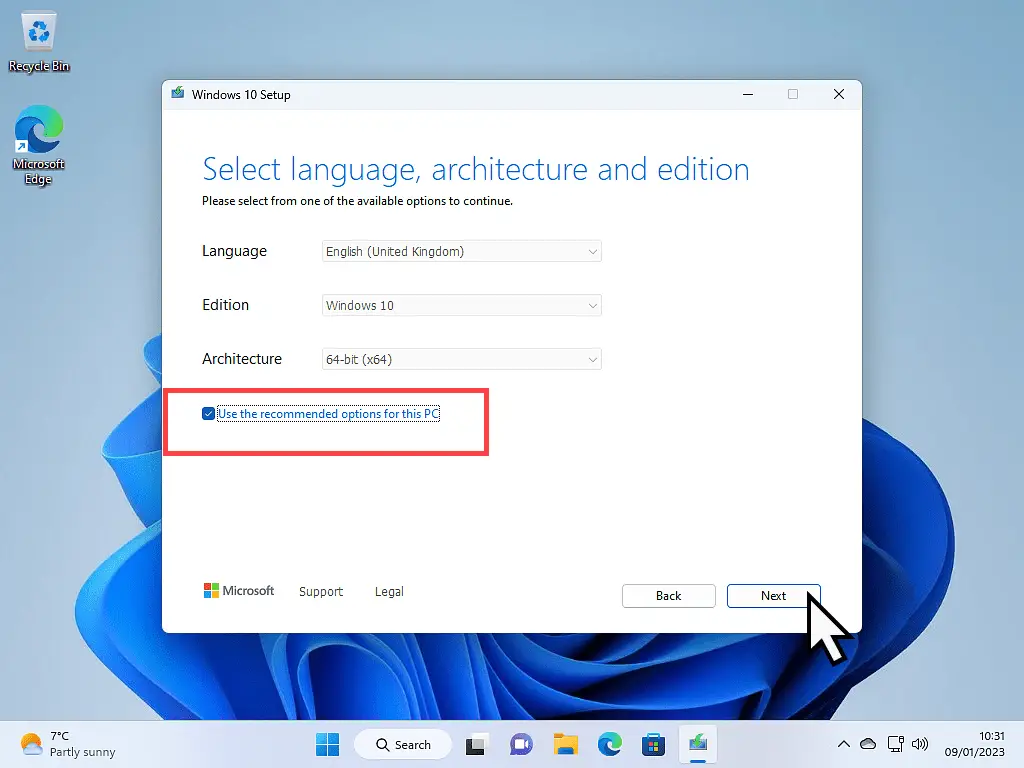
Language, Architecture and Edition Options
The tool fills these in automatically by copying the settings from your current PC. For most people at home, that’s exactly right — just click Next.
If you do need to change the language, edition or architecture (for example, making a 64-bit drive on a 32-bit machine), untick the “Use the recommended options for this PC” box first.
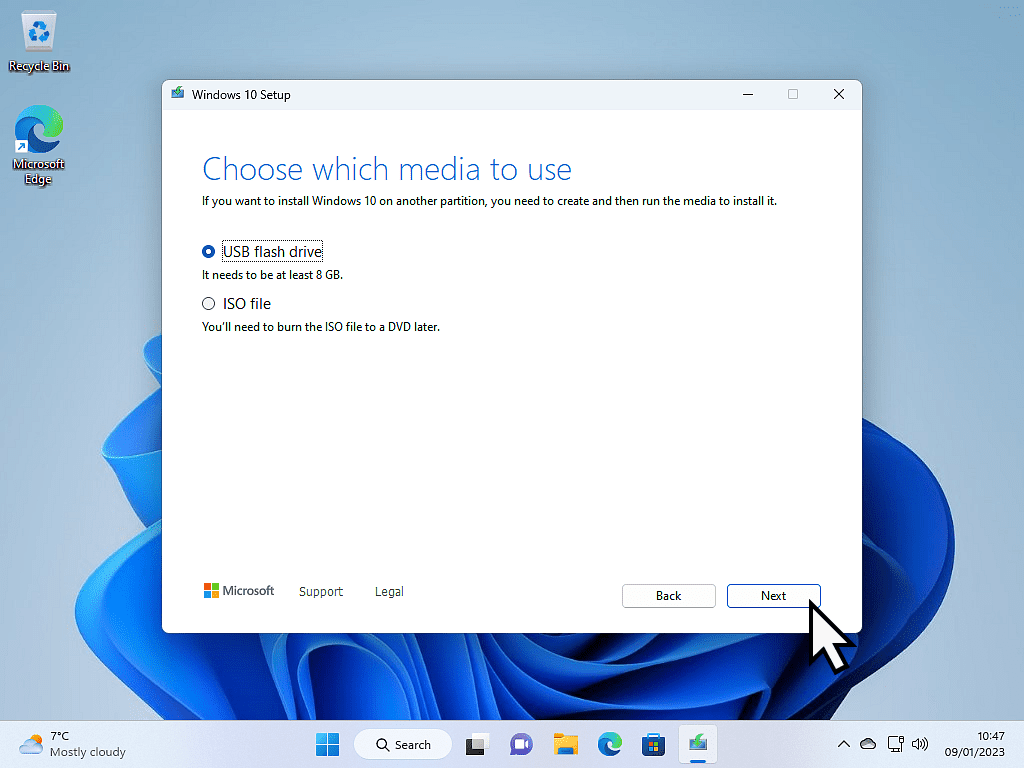
Choose Which Media to Use
To make a bootable USB flash drive, select “USB flash drive” and click Next.
The other option, “ISO file“, saves Windows 10 as a single file on your PC. That’s the one you’d pick if you were installing Windows 10 as a virtual machine or wanted to burn a DVD later.
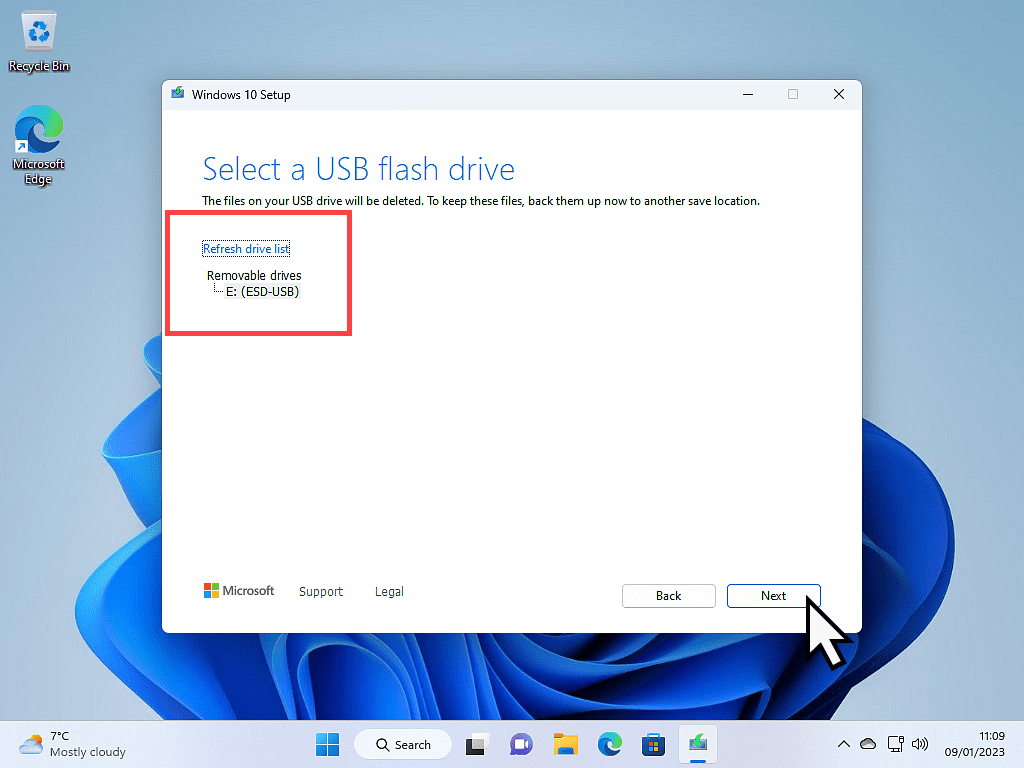
Select Your USB Flash Drive
Now the tool needs to know which drive to use. This is where you’ll be glad you unplugged all your other USB devices.
- Select the USB flash drive and click Next.
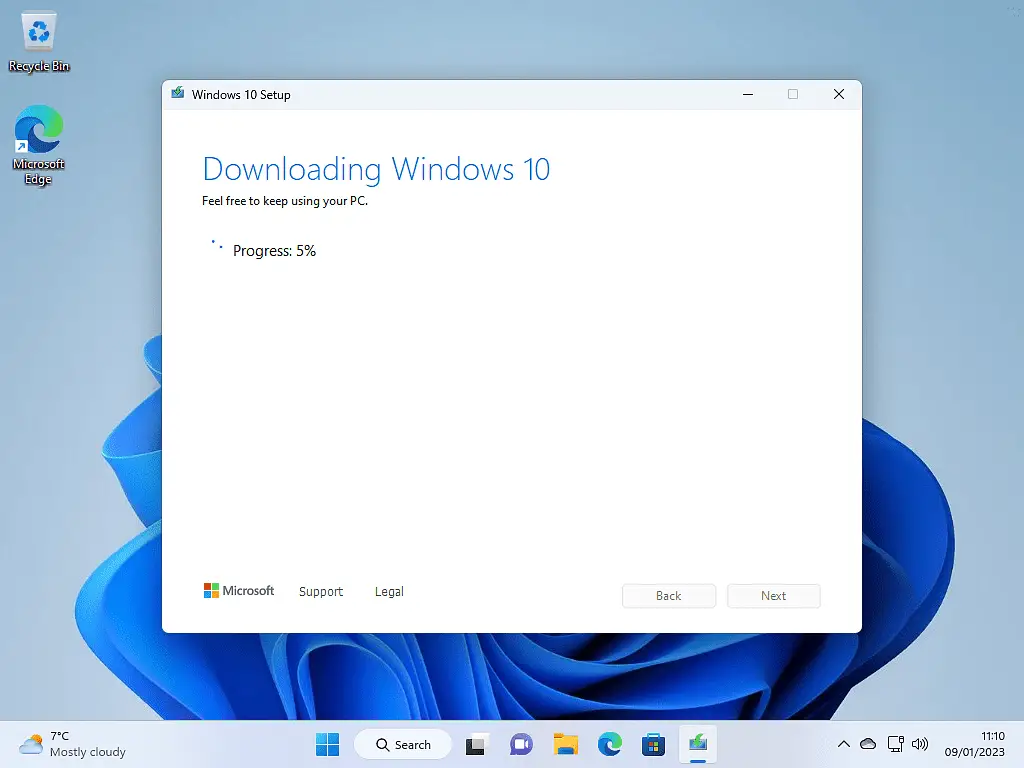
- The tool downloads Windows 10 to your PC. This can take a while depending on your internet speed, so leave it running.
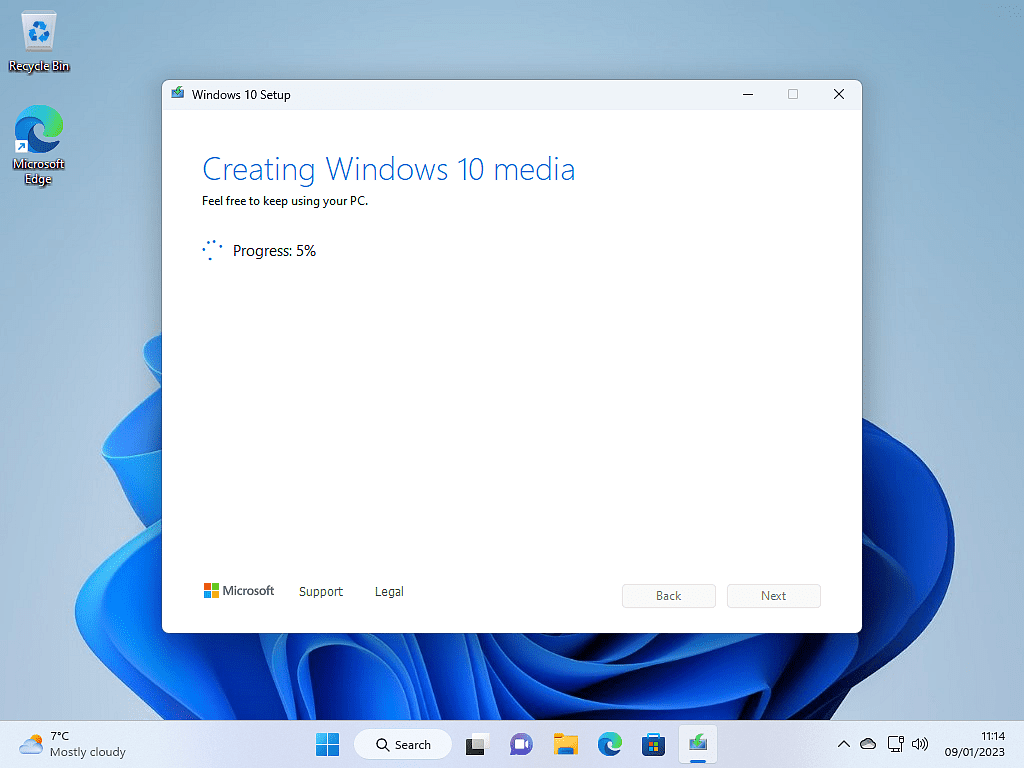
- It then writes Windows 10 onto the flash drive and makes it bootable.
- When it’s finished, click Finish. Your bootable Windows 10 USB drive is ready to use.
Troubleshooting
The Media Creation Tool closes as soon as it opens.
This is a known issue — the current tool can close straight away when run on a Windows 10 PC, showing nothing more than a splash screen. If that happens, don’t panic. Go back to the Windows 10 download page, scroll down to the “Download Windows 10 Disc Image (ISO File)” section, and download the ISO instead. You can then use a free tool like Rufus to write it to your USB drive, or burn it to a DVD.
My USB drive isn’t showing up in the list.
Unplug it and plug it back in, ideally into a different USB port (a rear port on a desktop is more reliable than a front one). Make sure it’s at least 8 GB.
It’s taking forever.
The download is several gigabytes, so on a slower connection it can genuinely take 20–30 minutes or more. As long as the progress bar is moving, leave it be.
Frequently Asked Questions
Summary
The Windows 10 Media Creation Tool makes it easy to create a bootable USB installation drive, and it’s completely free.
You can use the drive to clean install Windows 10, or to run repairs on a PC that won’t start. Tools like Check Disk and System File Checker can solve a lot of problems without a full reinstall — but having installation media ready means you’re covered either way.
It’s a good thing to keep in a drawer for the day your computer decides to misbehave.
Copy text directly from a picture
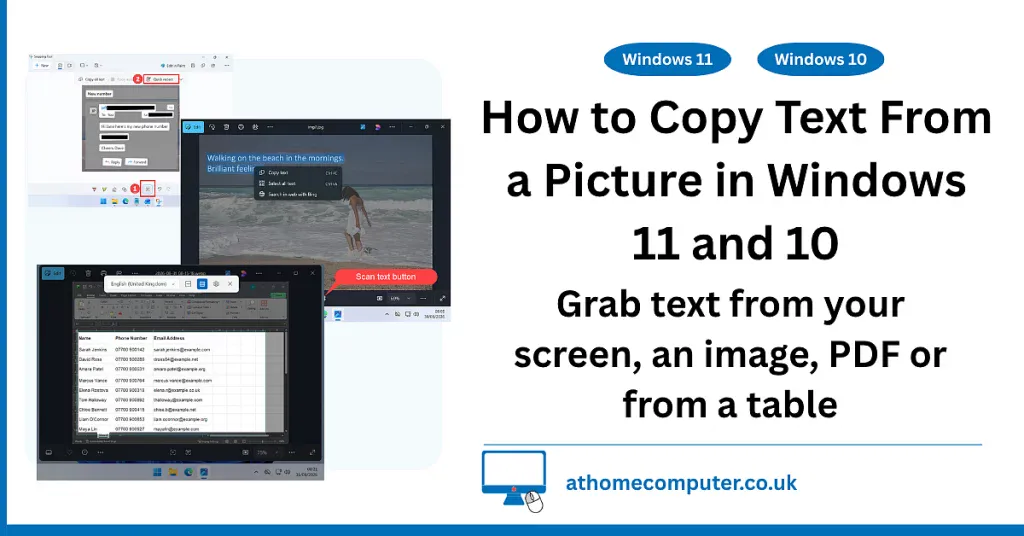
Windows can read the words in a picture and put them on your clipboard, ready to paste. It’s free, it’s already on your PC, and once you’ve seen it work you’ll use it constantly.
You can find this and other related step by step guides in – At Home Computer Guides