A Windows 10 virtual machine (VM) lets you run Windows 10 as a separate, self-contained computer inside your existing PC. You don’t need any extra hardware. You can run a Windows 10 VM on a Windows 11 computer.
The virtual machine runs inside a program called a hypervisor (which is a type of emulator for computers) and the hypervisor we’ll use in this guide is VMware Workstation Pro. It’s completely free to use on home computers. Follow this guide to download and install it How To Download VMware Workstation Pro For Free.
What you’ll need:
- VMware Workstation Pro installed on your PC
- A Windows 10 ISO file (free from Microsoft – instructions below)
- Around 60GB of free disk space and at least 4GB RAM on your host machine. You can get away with 2GB but the VM will be really sluggish.
Download the Windows 10 ISO File
To install Windows 10 as a virtual machine in VMware you’ll need to download the latest setup files from Microsoft in the form of an ISO file. Microsoft provides this free of charge, you don’t even need to have a valid product key.
Go to: https://www.microsoft.com/en-gb/software-download/windows10
Scroll down a little to the “Create Windows 10 Installation Media” section and click the Download Now button. This downloads the Media Creation Tool which is only a small file that should download quickly. Once the tool has downloaded, launch it and follow these steps to get create your Windows 10 ISO file.
- After a short delay while the tool gets a few things ready you’ll need to accept the licence terms.
- Select “Create installation media (USB flash drive, DVD, or ISO file) for another PC” and click Next.
- Leave the language, edition, and architecture at their defaults (or change the language if needed by unchecking “Use the recommended options for this PC”).
- When asked which media to use, select ISO file. This is important, you don’t want the USB flash drive option.
The Windows 10 ISO file will download to your PC, it may take several minutes depending on your connection. When the download finishes, click Finish. (Ignore the option to burn it to a DVD.)


Create a New Windows 10 Virtual Machine in VMware Workstation Pro
So now you have everything in place to begin installing a Windows 10 VM. Open VMware Workstation Pro. On the Home screen click “Create a New Virtual Machine“. Note that if VMware doesn’t open at the Home Screen, click the Home tab.
Workstation Pro’s setup wizard makes it straightforward to configure your VM. Leave the settings set to the default “Typical (recommended)” and click Next.


New VM Settings
VMware will create a virtual computer first, then you’ll install the operating system (in this case Windows 10) on to it.
- Select Installer Disc Image file (iso). This is the Windows 10 ISO file that you downloaded earlier. Click the Browse button and select it from wherever you downloaded it to. You’ll see it loaded in the window. Click Next.
- Give your VM a name (e.g. “Windows 10 x64”) and choose where to store the VM files. By default VMware saves all virtual machines to your Documents folder. Click Next.
- Set the virtual disk size. Workstation Pro will suggest around 60GB which is a reasonable size for a virtual machine. Select “Store virtual disk as a single file”. this setting will give a slight performance boost to your Windows 10 VM.
- The “Ready to Create Virtual Machine” screen shows a summary of your settings. If you want to adjust the RAM allocated to the VM, click “Customise Hardware”. You can also change this after creation, so don’t worry too much at this stage.
Make sure “Power on this virtual machine after creation” is ticked, then click Finish. Workstation Pro will build the virtual hardware which doesn’t usually take long.


VM Name, Disk Capacity and Other Settings
The virtual machine name isn’t the same as the Windows computer name. It’s only their so that you can distinguish this VM from others that you might create. If you only intend having a single virtual machine, then you can leave at it’s default. But if you intend creating several then it’d better to have a descriptive name.
The virtual disk capacity is a bit more tricky. 60GB is plenty for a Windows 10 VM that’s only really going to be used on the internet. But if you intend installing large applications or storing large files on it, then it’d be better to set a bigger capacity here. Although you can expand a virtual disk size it’s easier if you allocate enough space to begin with.
All the other settings, such as CPUs and RAM can easily be changed once the VM is setup.
Install Windows 10 on the Virtual Machine
Guest vs Host – A Quick Note: Before continuing it will help to know two terms that are used when discussing virtual machines.
- The Host: The host machine is your physical computer. The real computer that you’ve installed VMware Workstation Pro on to.
- The Guest: The guest refers to the virtual machine (Windows 10 in this case).
Booting from the Windows 10 ISO
After the VM is created, Workstation Pro will boot it from the Windows 10 ISO, just like booting from a DVD. You’ll see a black screen with the message:
“Press any key to boot from CD or DVD“
Click once inside the VM window first (this directs your keyboard input to the guest), then press any key on your keyboard. This starts the Windows 10 setup.
Missed the prompt? The message only shows for about 5 seconds. If you’re too slow, you’ll see a timeout or Boot Manager screen.
Just click “Send Ctrl+Alt+Del to this virtual machine” to reboot and try again.


Windows 10 Installation Steps
When the VM boots it’ll be in the Windows 10 installation process. Follow these steps:
- Confirm your language, time, currency and keyboard settings. Click Next
- Click the Install Now button.
- When asked for a product key, click “I don’t have a product key” , you can enter one later if needed.
- Select which version of Windows 10 to install on your virtual machine (Home or Pro are the most common choices). Click Next.
- Accept the licence terms.
- For installation type, choose “Custom: Install Windows only“.
- Select the virtual hard drive created by Workstation Pro and click Next.


Detailed Installation Guide
Windows 10 will now install onto the VM. The virtual machine will restart several times during this process. After restarting, confirm your region and keyboard settings when prompted.
For a detailed walkthrough of the Windows 10 setup screens, see: How to install Windows 10.
Sign In with a Local Account (Recommended for VMs)
During setup, Windows 10 will ask you to sign in with a Microsoft account. For a virtual machine, I’d recommend using a local account instead, it keeps the VM separate from your main Microsoft account and is simpler to manage.
You’ll have three options:
- Sign in with your existing Microsoft account
- Create a new MS account for your VM
- Sign in using a local account. See How To Install Windows Without A Microsoft Account
Privacy Settings
After signing in, Windows 10 will show several screens asking permission to share data with Microsoft. None of these are required for the VM to work — it’s safe to select No on each screen.
Install VMware Tools
Once Windows 10 has finished setting up and you’re at the desktop, you need to install VMware Tools which is included with your Workstation Pro installation.
VMware Tools is a package of virtual drivers that significantly improves how your VM performs, including better display resolution, smoother mouse integration, and improved file sharing between guest and host.
- At the bottom of the Workstation Pro window, click “I finished installing”. This swaps the Windows 10 ISO in the virtual DVD drive for the VMware Tools installer disc. If the Autoplay notification appears inside the VM, click it and then click “Run setup64.exe”.
- Autoplay doesn’t always kick in, if it doesn’t, or maybe you missed it, click the VM button on the VMware toolbar. Then click Install VMware Tools. That usually gets Autoplay moving.
- Still nothing? Then open File Explorer in your virtual machine and then This PC. There you’ll see the virtual DVD drive. Double left click it to start the VMware Tools installation wizard.
- Follow the prompts on the installation wizard and restart your VM when its finished.


Finishing Up
- Run Windows Update as soon as your virtual machine reboots after installing VMware Tools.
- Create a snapshot or backup before making any major changes to the VM. This lets you roll back instantly if something goes wrong. See Backup Workstation Pro Virtual Machines.
- Use your VM to safely test software, browser extensions, dodgy-looking websites, or Windows updates, all without risking your main PC.
Frequently Asked Questions
Is VMware Workstation Pro free?
Yes, VMware Workstation Pro is free for personal use. You can download it directly from the Broadcom website without needing a licence key but you will need to register for a free account.
Do I need a Windows 10 licence to create a VM?
You need to download the Windows 10 ISO (free from Microsoft), but you don’t need a product key to install and use it. Windows 10 will run with minor limitations (a watermark and no personalisation options) until activated with a product key.
How much RAM should I give my Windows 10 VM?
A minimum of 2 GB is required and it will run on that, but 4 GB is recommended for a smooth experience. Make sure you leave enough RAM for your host machine to run comfortably alongside it.
Can I run a Windows 10 VM on a Windows 11 PC?
Yes, VMware Workstation Pro supports running Windows 10 as a guest on a Windows 11 host without any issues. In fact it’s a great way of running older programs that won’t work on Windows 11. You could also run a Windows 7 or Windows XP VM if you wanted. VMware does all the heavy lifting.
What is the difference between a VM snapshot and a backup?
A snapshot saves the state of your VM at a specific moment and is stored within VMware, it’s rather like Windows own System Restore. A backup is a full copy of the VM files saved separately. Snapshots are quicker but less safe than a full backup. Therefore I’d always advise a backup especially if you’ve activated Windows.
Related Posts
Virtual Machine Snapshot In Workstation Pro
Create and use snapshots in VMware to save yourself a whole load of time setting up a new VM.
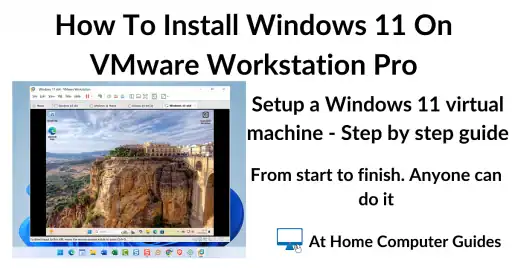
How To Install Windows 11 As A Virtual Machine In Workstation Pro.
You can easily setup a Windows 11 virtual machine by following this step by step guide.
How To Fix Install VMware Tools Is Greyed Out.
Sometimes the option to install VMware Tools will be greyed out and unavailable. This guide shows you how to fix that.
Is VMware Player Back?
I’m not sure if it’s just a glitch in the system. Read my post to find out more.
Windows 11 Virtual Computer
Create a Windows virtual machine. It’s free and not that difficult to do.
Virtual machines are great for experimenting with. You can try out new operating systems, you can browse the web safely and open suspicious emails. Download new software to try it out, all without risking your host (real) computer.
Setup a Windows 11 VM even if your current PC doesn’t currently support it.
You can find this and other related step by step guides in – At Home Computer VMware Guides
At Home Computer Step By Step Guides
![]() Easy to follow tutorials for users of Windows 10 and Windows 11 computers.
Easy to follow tutorials for users of Windows 10 and Windows 11 computers.

Gmail Storage Full? Here’s Why (and How to Fix it)
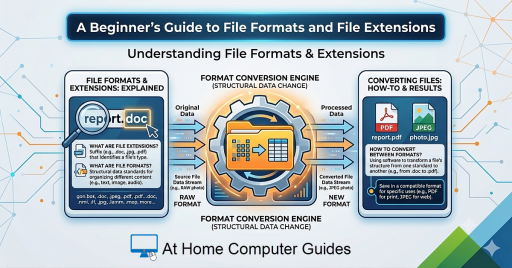
A Beginner’s Guide to File Formats and Filename Extensions

How to Protect Your Data When Sending Your PC in for Repair

Why I Use Virtual Machines and You Should Too
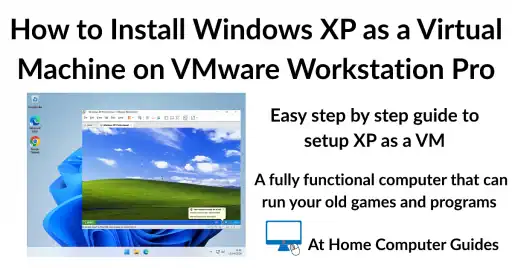
How to Install Windows XP as a Virtual Machine on VMware Workstation Pro
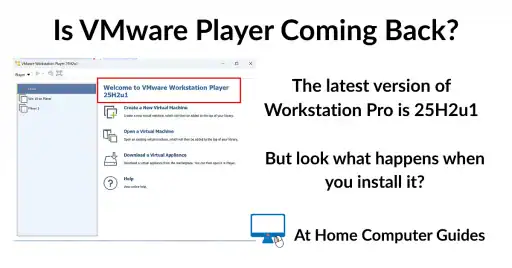
Is VMware Player Coming Back?

How to Setup OneDrive to Backup Your Files
OneDrive allows you to backup files to the cloud. It…
How to Share a Folder in OneDrive
One of the best features of OneDrive is the ease…
How to Setup RealTimeSync
RealTimeSync is a companion tool for the popular sync program…