Whether you are testing new software, performing risky updates, or setting up a lab environment, VMware Workstation Pro snapshots are your safety net.
A snapshot allows you to quickly capture the “point-in-time” state of a virtual machine (VM) and roll it back instantly if something goes wrong.
In this guide, you I’ll show you how to create snapshots, use the VMware Snapshot Manager, and follow best practices to ensure your virtual machines remain fast and efficient.
What is a VMware Snapshot?
A VMware snapshot preserves the entire state of a virtual machine at a specific moment. This includes:
- Disk State: All data on the virtual hard drives.
- Memory State: If the VM is running, it captures the RAM and power state.
- Settings: The VM configuration and hardware setup.
Note
A snapshot isn’t the same as a backup. Always use a “proper” backup to protect your virtual machine How to Backup VMware Workstation Pro Virtual Machines: The Complete Guide
How to Create a Snapshot in VMware Workstation Pro
Taking a snapshot is a quick process that can be done while the VM is powered on, powered off, or suspended.
- Select Your VM: Open VMware Workstation Pro and click on your target VM.
- Click the Take Snapshot Icon: You can also use the menu by clicking VM > Snapshot > Take Snapshot
- Name and Describe: Give your snapshot a clear name (e.g., “Pre-Windows-Update”) and a detailed description. This helps you identify which “save point” to return to later.
- Confirm: Click Take Snapshot.


Should you snapshot while Running or Powered Off?
Powered Off (Recommended): These snapshots are created instantly and consume less disk space because they don’t have to save the RAM (memory state).
Running: Captures the “live” state, allowing you to resume exactly where you left off. However, this creates a larger delta file and may temporarily “stun” the VM during the process.
How to Revert to a Snapshot (The “Rollback”)
You can revert your virtual machine back to a snapshot using one of two methods. You can either go back to the last snapshot taken, or if you’ve got several, jump back to any of those.
- Quick Revert: Click the Revert to Snapshot button on the VMware toolbar or go to VM > Snapshot > Revert to Snapshot. This takes you back to the very last snapshot you created.
- Using the Snapshot Manager: For complex “daisy chains,” click the Snapshot Manager button or use the keyboard shortcut Ctrl + M to open the VMware Snapshot Manager.
- Select the specific point in time you want to restore and click Go To.


Managing Disk Space and Deleting Snapshots
VMware Workstation Pro snapshots take up a lot of disk space. This is because VMware creates delta files (child disks) that grow as you make changes to the guest OS. The file created can be as large as the file for the virtual machine itself. And that only gets worse as you create more snapshots that are daisy chained together.
How to Delete a Snapshot Properly
Deleting a snapshot doesn’t mean “undoing” your work. Instead, VMware performs a consolidation – it merges the changes from the snapshot back into the original virtual disk (VMDK file).
- Open the Snapshot Manager (Ctrl+M).
- Select the snapshot you no longer need.
- Click Delete.
- Wait for consolidation: If the snapshot is large, VMware will take a few minutes to merge the data. Don’t close the program during this time. Just let it finish.
VMware Snapshot Best Practices
To keep your Workstation Pro environment healthy, follow these industry standards:
- The 72-Hour Rule: Don’t keep a snapshot for more than 2–3 days. The longer a snapshot exists, the larger the delta file becomes, which slows down disk performance. They’re supposed to be a temporary safety net.
- Limit Snapshot Chains: Avoid having more than 2 or 3 snapshots per VM. Long chains increase the risk of disk corruption. This ties in with deleting snapshots that you don’t need.
- Delete After Success: Once your update or software test is successful, delete the snapshot immediately to reclaim the disk space on your host machine.
- Use Meaningful Names: Avoid generic names like “Snapshot 1.” Use names like “Before SQL Server Install” to avoid reverting to the wrong state. Trust me on this, it’s all too easy to get into a muddle over multiple snapshots. Take a moment to name them properly.
FAQs
Summary
Think of a VMware snapshot as a temporary “Save Game” button for your entire virtual machine. It’s a point-in-time image of a VM that allows you to experiment without the fear of permanent consequences.
The most common use for snapshots is before performing risky operations. If you are about to install a Windows update, modify the Registry, or test a new piece of software, you take a snapshot first. If the update breaks the OS, you can “Revert” and be back to your working state in seconds.
While snapshots are useful, they’re not backups. Here’s why:
- Dependency: A snapshot relies on the original virtual disk (VMDK). If that file is deleted or the hardware fails, the snapshot is lost.
- Performance: Snapshots use “delta files” to track changes. If you keep a snapshot for too long, these files grow, which can significantly slow down your disk speed.
Related Posts
How to Install a Windows 10 Virtual Machine in Workstation Pro.
Windows 10 works great as a virtual machine in VMware. You have all the advantages of a familiar, modern OS, while it runs completely isolated from your host PC.
How To Create A Windows 7 Virtual Machine.
We all loved Windows 7. If you’ve got some older games or apps that won’t run on newer Windows version, install them onto a Windows 7 VM.
Windows XP Virtual Machine.
The same goes for Windows XP. As a virtual machine it’s safe and secure doesn’t require much in regards to specs.
What are File Formats and Filename Extensions?
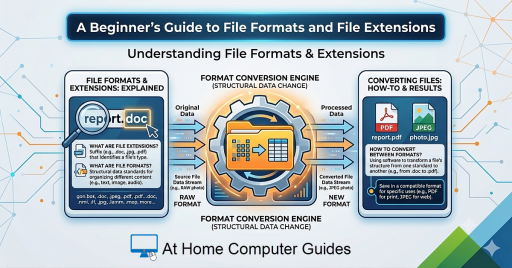
Every file on your computer — whether it’s a photo, a document, a song, or a video — has two important things: a file format and a file name extension.
In this guide I’ll explain what they are, how to show filename extensions and how to convert between formats.
You can find this and other related step by step guides in – At Home Computer Windows 11 Guides
At Home Computer Step By Step Guides
![]() Easy to follow tutorials for users of Windows 10 and Windows 11 computers.
Easy to follow tutorials for users of Windows 10 and Windows 11 computers.

Why I Use Virtual Machines and You Should Too
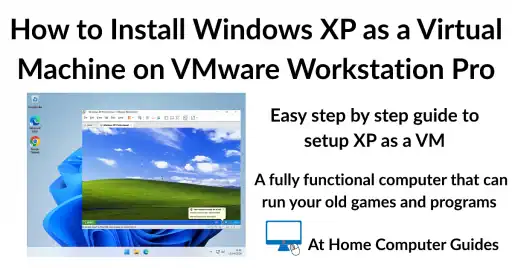
How to Install Windows XP as a Virtual Machine on VMware Workstation Pro
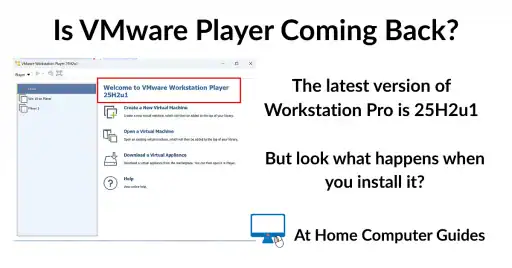
Is VMware Player Coming Back?

How To Expand A Virtual Hard Disk
How to increase the size of a virtual disk in…
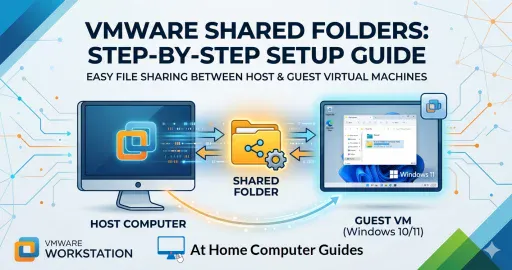
How to Setup a VMware Shared Folder
Setting up a VMware workstation shared folder is one of…
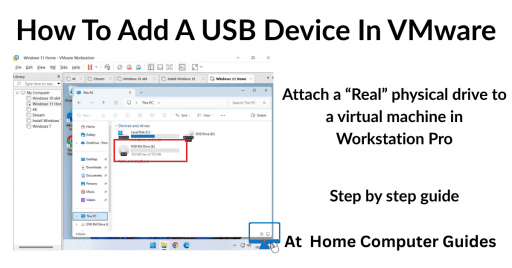
Add A USB Device To VMware Workstation Pro
How to add a USB device to a virtual machine…
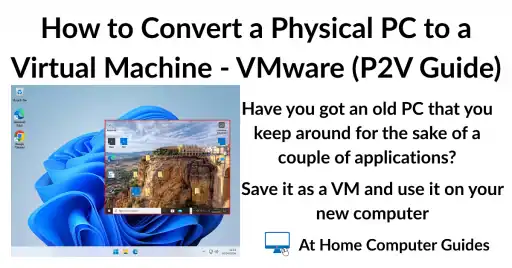
Convert A Physical PC To A Virtual Machine On Workstation Pro
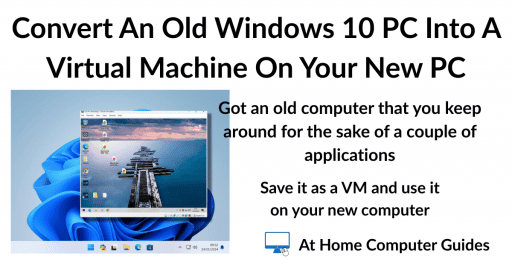
Convert an Old Windows 10 PC into a Virtual Machine