How to create a Windows 7 virtual machine using the free version of VMware Player.
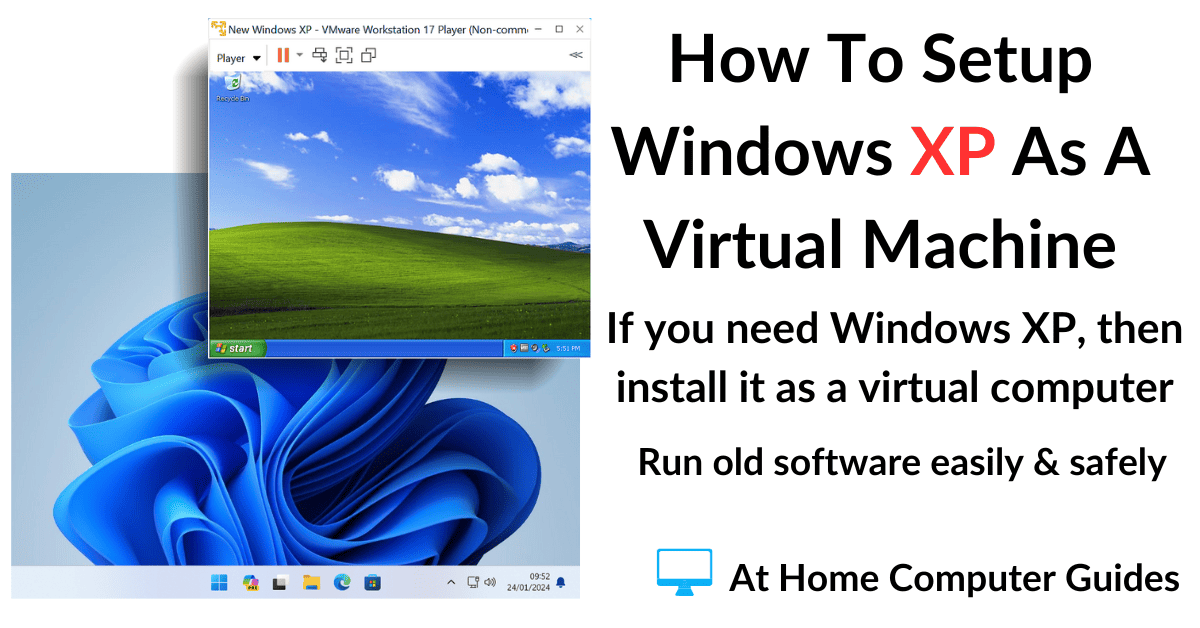
Virtual machines are the perfect way to run older versions of Windows. Although the operating systems themselves are obviously not secure, the virtual machine is.
VMs are isolated (or sandboxed) from the host system (your “real” computer). So whatever may infect your Windows 7 VM, it can’t escape and infect your main computer. Beautiful. If you really must use Windows 7, then this is the way to do it.
Is VMware Player Coming Back?
When Broadcom acquired VMware they removed VMware Player as a download and made Workstation Pro free for personal use. All of which means that Player just hasn’t been updated for a couple of years. So what’s changed? Read this Is VMware Player Coming Back?

Virtual Machine Prerequisites.
In order to create a Windows 7 virtual machine, you’ll need to have a few things in place.
- Virtualisation Enabled. You’ll need to have virtualisation enabled on your computer CPU. Either Intel VTx or AMD V/RVI. Usually it’ll be enabled by default, but it isn’t always so you should check your UEFI/BIOS.
- An ISO Image. You’ll need to have either an ISO image of Windows 7 or the actual DVD installation disc.
- VMware Player installed. Virtual machines run on software called hypervisors. There are a few free ones to choose from, but in this guide I’ll be using VMware Player.
How To Create A Windows 7 Virtual Machine Using VMware Player.
Launch VMware Player.
On the Welcome screen, click Create A New Virtual Machine.
Note. If you’re going to install Windows 7 from a disc, load the disc into your optical drive before you start VMware Player.

- If you’re installing Windows 7 from a DVD, then VMware Player will auto detect and load it. Just click the Next button.
- If you’re installing from an ISO image file, click the Browse button and navigate to your file. Select and open it.
- Once the ISO image is loaded into VMware Player, click the Next button.


Easy Install Information For VMware Player
VMware Player will use what’s known as “Easy Install” to install Windows 7 as a virtual machine. Using Easy Install, you provide all the information that the setup procedure will require before installation begins.
- At the top of the window, you can enter your Windows product key (the serial number), but note that you don’t have to.
- Below the product key, you can select which version of Windows 7 to install. And also add a user name and password (if required). When you’re ready, click the Next button.
- If you didn’t enter a product key, you’ll see this confirmation message pop up. Click the Yes button.


About The Product Key.
When installing any version of Windows onto any computer, I generally don’t enter the product/serial key. Instead I think it’s much better to get Windows installed and setup and running first. Then enter a key and activate.
If I remember correctly with Windows 7 you get a month to try it out before you need to activate it.
Name & Location For Your Windows 7 VM.
On this next screen, you can change the name of your virtual machine if you want to.
Giving a VM a descriptive name helps if you’re planning on creating more than one.
You can also change the location of the virtual machine by clicking the Browse button and selecting a different folder.
Click the Next button to continue.

Specify The VM Disk Capacity.
Every computer needs a hard disk. Even a virtual computer. You can change the Maximum disk size if you wish.
VMware Player will, by default, split the virtual disk across several files.
Personally I’ve found that selecting the “Store virtual disk as a single file” option improves the performance of the virtual machine.
It isn’t much, but since the option is available I’d recommend selecting it.

A final confirmation of the settings for your new Windows 7 virtual machine,
Ensure that the “Power on this virtual machine after creation” option is selected and then click the Finish button.

Windows 7 Will Install As A Virtual Machine.
What follows next is the old and familiar setup process for Windows 7.
There isn’t anything for you to do now since VMware Easy Install will do all the work for you.
When your Windows 7 virtual machine has finished installing and you land at the desktop, you’ll need to install The VMware Tools.


Installing VMware Tools On Windows 7 Virtual Machine.
VMware Tools is a set of virtual drivers that need to be installed onto your virtual computer, rather like you’d install drivers onto a “real” computer.
But there is a problem when you’re using Windows 7 as your virtual machine. VMware Tools will be the latest edition but Windows 7 is well over a decade old.
When you try to install the Tools onto Windows 7, they’ll probably fail.
Generally they won’t install, or won’t install properly, until you’ve fully updated Windows 7 with all the available updates from Microsoft.

Your Windows 7 Virtual Machine Won’t Update.
Which brings us nicely to the next problem that you’ll run into. Microsoft have long since abandoned Windows 7, as I’m sure most of you know. But that means that the Windows 7 Update will probably fail.
It’s a sort of catch 22 situation. You need to install the VMware Tools, but you can’t do that until you’ve updated Windows 7.
And you can’t do that because the update no longer works.
If you find yourself in this situation with no apparent way out, I’ve written a guide here to help How To Fix Windows 7 Update Not Working.

How To Install VMware Tools On Windows 7 Virtual Machine.
Once you’ve got Windows 7 fully updated, VMware Tools will install properly and you’ll have the full functionality of your virtual machine.
To begin installing VMware Tools, start your Windows 7 VM.
Let it load up and then click the Player button in the top left corner of the window.

On the menu that appears, hover your mouse pointer over Manage.
On the second menu, click Install VMware Tools.

Install VMware Tools Is Greyed Out.
When you come to install the VMware Tools, you might run into another problem. The Install VMware Tools option is greyed out and doesn’t do anything when you click on it.
There’s nothing quite like trying to run older software on modern hardware is there. If this happens to you, then it’s an easy fix How To Fix Install VMware Tools Is Greyed Out.
VMware Tools will be loaded into a virtual optical drive on your virtual computer. It can take a few minutes for this to happen. Once loaded the AutoPlay window will open. Click VM Run setup.exe
After that it’s just a matter of clicking Next on the following screens to install VMware Tools. When it’s finished, restart the virtual computer and it’s all yours. Enjoy.


Back It Up
When VMware Tools has finished installing you’ll probably have to do a re-start. After that you’ll have a fully functional Windows 7 virtual machine. You can install programs onto it, and it has Internet access.
Now would be the perfect time to backup your virtual machine How To Backup A VMware Player Virtual Machine.
Create A Windows 7 Virtual Machine – Summary.
Using Windows 7 as a virtual machine is probably the most secure way of running the OS now. But I would ask a couple of questions about why you want a Windows 7 VM in the first place.
If you’re using because you have programs or applications that only run on Windows 7, then there’s not much for me to add. You’re kind of stuck.
But if you want a Windows 7 VM for Internet access, then there might be better alternatives that you could use.
Linux is an operating system similar to Windows. If you just wanted Internet access then you could try setting up a Linux based VM instead How To Install A Linux Mint Virtual Machine Using VMware Player.
And it has the major advantage over Windows 7 in that it’s fully up to date.