If you’re retiring an older PC and want to preserve everything on it — including Windows, your installed applications, and all your files — then converting it to a virtual machine (VM) is one of the smartest moves you can make.
This process is known as P2V migration (physical-to-virtual), and it lets you run your old computer as a VM inside VMware Workstation Pro on your new computer.
This step-by-step guide covers the complete P2V conversion process using VMware vCenter Converter Standalone, the free tool recommended by VMware (now Broadcom) for converting a physical Windows PC to a .vmdk virtual disk that can be loaded directly into VMware Workstation Pro
What Is P2V Migration? (Physical-to-Virtual)
P2V migration is the process of converting a physical computer — including its operating system, installed software, settings, and files — into a virtual machine image that can be run on a hypervisor such as VMware Workstation Pro.
The result is typically a pair of files:
- .vmdk — the virtual hard disk file containing everything from the original PC
- .vmx — the virtual machine configuration file
Once converted, the virtual machine can run on any compatible host PC running VMware Workstation Pro, giving you full access to your old environment without the original hardware.
Why Convert a Physical PC to a Virtual Machine?
I think one of the most compelling reasons is to have your old Windows 10 computer running and usable on your new Windows 11 PC.
You can take your old programs/apps with you without having to find product/serial keys for re-installing, you don’t need to configure settings or worry about compatibility and all your files are where you expect them to be.
- Preserve an older Windows 10 environment when upgrading hardware
- Keep access to legacy applications that only run on older operating systems
- Run your old PC as a portable VM from an external USB drive
- Avoid the time and effort of reinstalling and reconfiguring everything from scratch
- Test software or configurations in a sandboxed copy of your real machine
- Free P2V tools like VMware vCenter Converter Standalone make this process accessible to home users
Rather than having to keep that old PC running so that you can use maybe one or two apps, you simply pack it all up and transfer it to your new computer.
Then import it as a virtual machine. Everything will work as it did before, your files will be where you left them and you’ll even have internet access.

Note
This guide is specifically about how to move an older computer to a new one. The advantage being that you won’t need to install or setup anything such as your programs or apps. All your files will be where you expect them to be.
Not everyone will need to do that, you might only have one or two legacy apps that are easily installed as fresh versions. In that case you may be better off simply creating a new Windows 10 virtual machine and using that instead.
The Tool You Need: VMware vCenter Converter Standalone
VMware vCenter Converter Standalone is a free utility from Broadcom (formerly VMware) that converts a running, physical Windows PC into a VMware virtual machine. It creates a .vmdk and .vmx file that replicates the source machine, including the OS, applications, and all the data stored on it.
Key features:
- Completely free — requires a free Broadcom account to download
- Supports Windows 10, Windows 11, Windows 7, and earlier versions
- Outputs .vmdk format compatible with VMware Workstation Pro, vSphere, and VMware Fusion
- Converts a live, running machine — no need to shut the PC down first
Where to Download VMware vCenter Converter Standalone
Since Broadcom acquired VMware, the download location has moved. You’ll find the free version at:
https://support.broadcom.com/group/ecx/free-downloads
You must be logged in to your Broadcom account (registration is free) to access the download.
Before You Begin: Pre-Conversion Checklist
The conversion captures your entire PC — every file, folder, and application. Before starting:
- Uninstall any programs you do not want included in the VM
- Run Windows Disk Cleanup to reduce the size of the resulting VMDK file
- Disable User Account Control (UAC) — required by vCenter Converter on Windows Vista and later
- Attach a USB external hard drive with enough free space to hold the VM files (they can be very large — typically the same size as your current used disk space)
- Ensure the external drive is formatted correctly and that you create a destination folder on it — vCenter Converter will not save directly to the root of a drive
- Pro Tip: The smaller your used disk space, the faster the conversion. A well-cleaned PC with 100 GB of data might take 1–2 hours; a heavily loaded 500 GB system could take 4–6 hours or more.
Step-by-Step: Convert Physical PC to Virtual Machine
Step 1 — Install and Launch VMware vCenter Converter Standalone
- Download and install VMware vCenter Converter Standalone on the physical PC you want to convert (the source machine)
- Once installed, right-click the application icon and choose Run as Administrator
- When the interface opens, click the Convert Machine button on the toolbar

Step 2 — Select the Source Machine
- On the Source System page, select Powered On from the source type options
- In the drop-down menu, select This Local Machine
- Click Next to continue
- Note: ‘Powered On’ means you are converting the live, running PC. This is the recommended method for home users doing a local P2V conversion.

Step 3 — Configure the Destination (VMware Workstation Pro Format)
- On the Destination System page, open the Select Destination Type drop-down and choose VMware Workstation or other VMware virtual machine
- Select the correct VMware Workstation version from the product list (choose the version matching your Workstation Pro installation) and then give the virtual machine a name, or accept the default
- Click Browse and navigate to the folder on your external USB drive where the VMDK files will be saved. Make sure you select or create a folder — not just the root of the drive
- Click Next


Step 4 — Review Options and Start the Conversion
- On the Options page, you can generally leave all settings at their defaults for a straightforward P2V conversion
- Review the Summary page to confirm the source and destination details are correct
- Click Finish to begin the physical-to-virtual machine conversion
The progress will be displayed as a percentage. Leave the PC as undisturbed as possible during this process. Depending on the size of your drive and the speed of your USB connection, this can take anywhere from one to several hours.


How to Import the Converted VM into VMware Workstation Pro
Once vCenter Converter has finished, you’ll have a folder on your external drive containing a .vmx and one or more .vmdk files. Move that drive to your new PC and follow these steps to import it to Workstation Pro.
Option A: Run the VM from the External Drive
The VM can run directly from the USB drive without copying it across to your new computer. This saves space on your host PC and keeps the VM portable. However, performance will be limited by the USB drive’s read/write speed.
Option B: Copy the VM to Your New PC (Recommended for Performance)
Copy the entire VM folder from the external drive to a location on your new PC’s internal drive (ideally an SSD). This gives significantly better performance compared to running from USB, however it will use a lot of disk space.
Opening the VM in VMware Workstation Pro
- Open VMware Workstation Pro on your new PC
- On the Home screen, click Open a Virtual Machine
- Navigate to the folder containing the converted VM and select the .vmx file
- The VM will appear in the left navigation panel. Select it and click Power on this virtual machine
- The first boot will take longer than normal — this is expected as Windows detects and adjusts to the virtual hardware environment


After Import: Essential Post-Conversion Steps
Reinstall VMware Tools
After the VM has booted and settled, reinstall VMware Tools. This is important for optimal performance, correct screen resolution, clipboard sharing between host and guest, and drag-and-drop file transfers. In Workstation Pro, go to VM > Install VMware Tools and follow the prompts inside the VM.
Check Windows Activation
Because the virtual hardware looks different from the original physical machine, Windows may require reactivation. If prompted, use the digital licence linked to your Microsoft account, or contact Microsoft support if needed.
Review Allocated Resources
In Workstation Pro, you can adjust the RAM, CPU cores, and storage allocated to the VM. Right-click the VM in the sidebar and choose Settings to customise.
Frequently Asked Questions (FAQs)
Summary
Converting a physical PC to a virtual machine using VMware vCenter Converter Standalone is one of the most effective ways to preserve an older Windows environment when upgrading your hardware. The free P2V tool handles the heavy lifting, creating a portable .vmdk image of your entire PC that loads directly into VMware Workstation Pro.
Related Posts
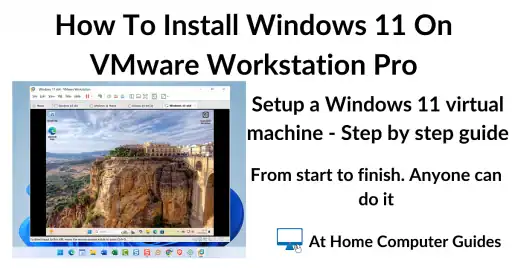
How To Install Windows 11 As A Virtual Machine In Workstation Pro.
Setup a Windows 11 virtual machine. VMs can be entirely isolated from the host PC, making them very safe to use.
VMware Shared Folders
Shared folders enable you to pass files between the VM and the host machines.
Add A USB Device To VMware Workstation Pro
Connect external devices to a virtual machine.
Windows 11 Virtual Computer
Create a Windows virtual machine. It’s free and not that difficult to do.
Virtual machines are great for experimenting with. You can try out new operating systems, you can browse the web safely and open suspicious emails. Download new software to try it out, all without risking your host (real) computer.
Setup a Windows 11 VM even if your current PC doesn’t currently support it.
You can find this and other related step by step guides in – At Home Computer VMware Guides
At Home Computer Step By Step Guides
![]() Easy to follow tutorials for users of Windows 10 and Windows 11 computers.
Easy to follow tutorials for users of Windows 10 and Windows 11 computers.
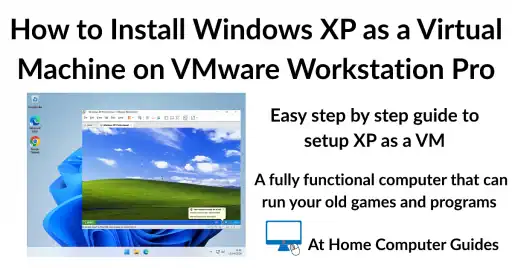
How to Install Windows XP as a Virtual Machine on VMware Workstation Pro

How To Expand A Virtual Hard Disk
How to increase the size of a virtual disk in…
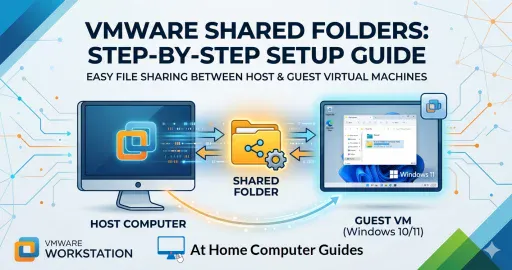
How to Setup a VMware Shared Folder
Setting up a VMware workstation shared folder is one of…
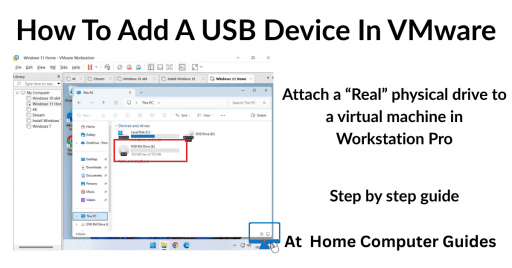
Add A USB Device To VMware Workstation Pro
How to add a USB device to a virtual machine…

How To Import VHDX File Into Microsoft Hyper V
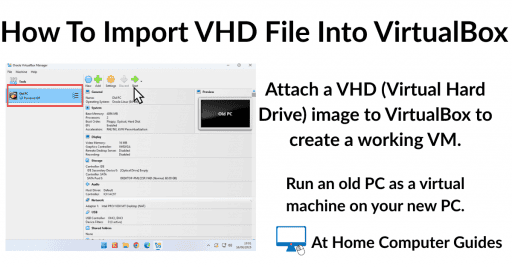
How To Import VHD File Into VirtualBox
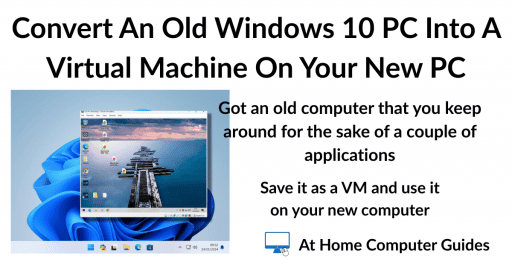
Convert an Old Windows 10 PC into a Virtual Machine
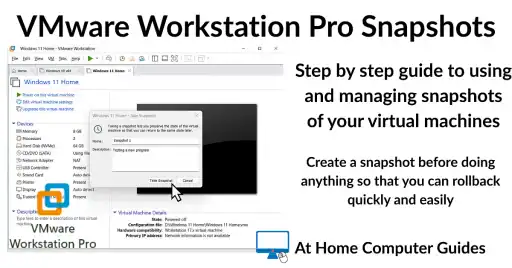
VMware Workstation Pro Snapshots
Whether you are testing new software, performing risky updates, or…