Setting up a VMware workstation shared folder is one of the easiest ways to move files back and forth between your main computer (the host) and your virtual machine (the guest).
When enabled, a shared folder is accessible by both systems at the same time, saving you from having to constantly plug in USB drives or rely on finicky drag-and-drop actions.
While folder sharing isn’t turned on by default, configuring it on your home computer only takes a few minutes. This guide will walk you through exactly how to share folders in vmware using a Windows 10 or Windows 11 virtual machine.
Prerequisites Before You Start
For shared folders to work properly, you must have VMware Tools installed inside your virtual machine.
VMware Tools provides the underlying drivers that allow the guest operating system to communicate with your physical computer’s hard drive.
If you haven’t installed it yet, boot up your virtual machine, go to the top menu, select VM > Install VMware Tools, and follow the on-screen prompts.
If your virtual machine is running a legacy version of Windows, you might have problems getting VMware Tools to install, follow this guides How to Install VMware Tools on Windows XP and Vista
The Step-by-Step Guide to Setup Shared Folder
1. Create a Folder on your Host Computer
First, create a brand-new folder on your physical computer’s desktop or wherever you want it to be. Name it something clear, like VM_Share.
Security Tip: It is best practice to use a newly created, empty folder specifically for this purpose rather than sharing an existing personal directory like your entire Documents or Downloads folder.
A shared folder creates a link between your guest and host machines so it’s better to have a dedicated folder for the prupose.
2. Open the VMware Virtual Machine Settings
Make sure your virtual machine is fully powered off or suspended (if it is running, some sharing options will be greyed out).
Right-click your virtual machine in the left-hand library pane and select Settings, or click VM > Settings from the top toolbar.
or use the keyboard shortcut Ctrl + D.

3. Configure the Shared Folders options
Inside the Settings window, click on the Options tab at the top. From the left-hand navigation pane, select Shared Folders.
Under the Folder Sharing section on the right, change the setting from Disabled to Always enabled.
Right below that, make sure to check the box for Map as a network drive in Windows guests.
This ensures Windows automatically assigns a drive letter to your folder.

4. Run the Add Shared Folder Wizard
Click the Add button to open the setup wizard, then click Next.
Click the Browse button next to the Host path box and navigate to the folder you created in Step 1, select it, and click OK.
You can give the share a custom name as it will appear inside the VM, or leave it as default. Click Next.


5. Set Permissions and Finish
On the final screen, leave Enable this share checked. If you want to prevent the virtual machine from modifying or deleting files on your host computer, you can optionally check Read-only.
Click Finish, and then click OK to close out the main Settings menu.
How to Access Your Shared Folder in Windows 10 & Windows 11
Now that the link is configured between your host and guest systems, turn on your virtual machine.
To find your shared files, open File Explorer inside the guest virtual machine and click on This PC from the left-hand sidebar. Under the Network Locations section, you will see a new drive labeled Shared Folders (\vmware-host).
Double-click this network drive, and you’ll find your shared folder waiting for you.
Anything you drop into this folder from your physical computer will instantly show up here, and vice versa!

Troubleshooting: VMware Shared Folder Not Showing?
If you followed the guide but the network location is empty or missing, try these quick fixes:
- Reboot the Virtual Machine: A full power cycle is often required for Windows to recognize the newly mapped network drive.
- Check VMware Tools: Open your VM’s system tray (next to the clock) and verify the VMware Tools icon is present and running. If it is outdated, select VM > Update VMware Tools.
- Turn on Network Discovery: If Windows throws a network error, open your VM’s Control Panel > Network and Internet > Network and Sharing Center > Advanced sharing settings, and ensure Network Discovery is turned on for private networks.
A Vital Security Reminder: Mind the Walled Garden
One of the greatest benefits of a virtual machine is that it operates inside an isolated “walled garden.” It is a sandboxed environment completely separated from your actual computer.
When you create a VMware Workstation shared folder, you are intentionally opening a small tunnel through that wall.
While this is incredibly convenient for swapping files between the host and guest, remember that it also allows files to move both ways.
If you happen to be testing risky software, visiting dodgy websites or handling malware inside your virtual machine, dangerous files or ransomware could theoretically use that shared folder bridge to reach your physical host computer.
To keep your main PC completely safe, only use a dedicated, isolated folder for your shares, and turn off folder sharing when you aren’t actively using it.
Summary
Enabling a shared folder lets you pass files and folders between your VM and “real” computers. It’s incredibly useful but you have to keep in mind that it’s a physical link between the two systems.
Related Posts
Add A USB Device To VMware Workstation Pro
You can also add USB drives to your VM. Easy and quick to do.
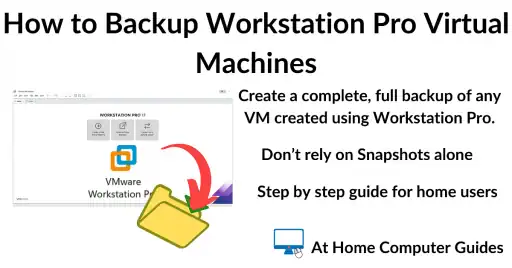
How to Backup VMware Workstation Pro Virtual Machines: The Complete Guide
Create a complete backup of any virtual machine. Especially useful if you’ve activated a copy of Windows on your VM.
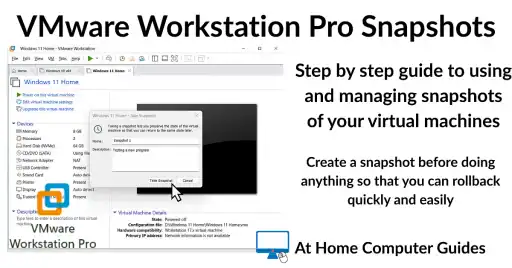
VMware Workstation Pro Snapshots
Snapshots are a quick way to save the virtual machine state before making any changes.
Run Windows 7 as a Virtual Machine
Windows 7 may be well past its end-of-life date (January 2020), but thousands of people still use it to run older software that simply won’t work on Windows 10 or 11.
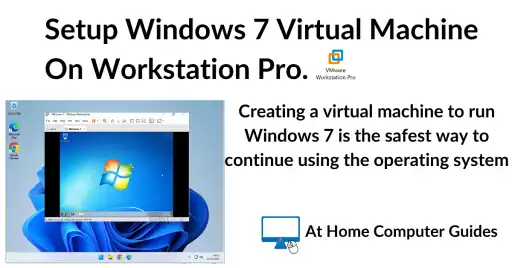
In this step-by-step guide I’ll show you exactly how to set up a Windows 7 virtual machine using VMware Workstation Pro
You can find this and other related step by step guides in – At Home Computer Virtual Machines
At Home Computer Step By Step Guides
![]() Easy to follow tutorials for users of Windows 10 and Windows 11 computers.
Easy to follow tutorials for users of Windows 10 and Windows 11 computers.
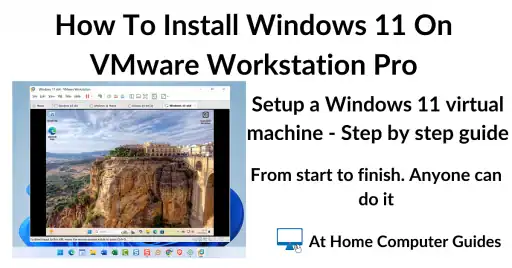
How To Install Windows 11 As A Virtual Machine In Workstation Pro.

Why I Use Virtual Machines and You Should Too
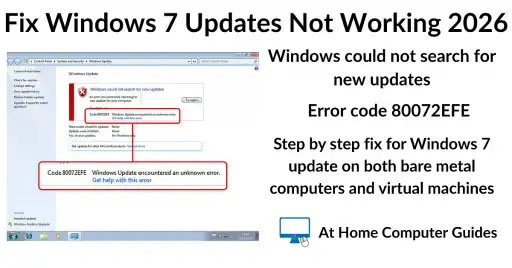
How to Fix Windows 7 Updates Not Working 2026
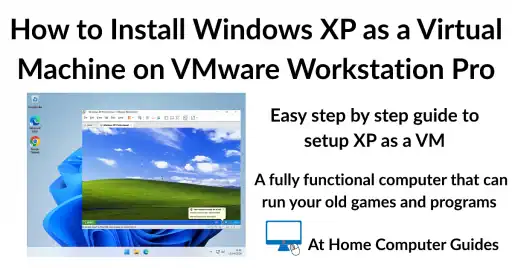
How to Install Windows XP as a Virtual Machine on VMware Workstation Pro
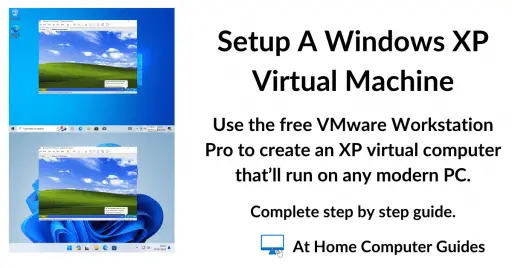
Windows XP Virtual Machine.
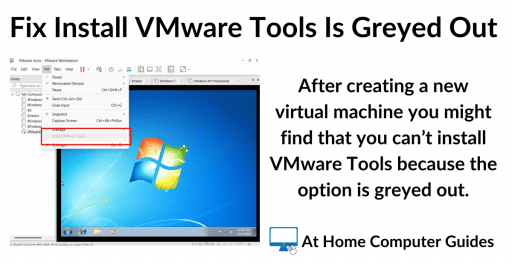
How To Fix Install VMware Tools Is Greyed Out.
How to Backup VMware Workstation Pro Virtual Machines: The Complete Guide
VMware Workstation Pro Snapshots
Whether you are testing new software, performing risky updates, or…
