A Windows recovery drive is one of the most important safety nets you can create for your home PC.
If your computer won’t starting up, maybe due to a corrupted system file or a bad Windows update, a recovery drive lets you access repair tools, use System Restore, restore your PC from a system image, or even reinstall Windows completely.
This guide walks you through how to create a Windows recovery USB drive on both Windows 10 and Windows 11, step by step. The process is the same for both.
What You Need Before You Start
- A USB flash drive with at least 16 GB capacity (32Gb is recommended for Windows 11)
- It needs to be empty, creating the recovery media will format the drive and erase everything on it. Ensure there are no important files on the USB before proceeding.
- A working Windows 10 or Windows 11 PC, you can’t create a recovery drive from a PC that won’t start. Don’t wait for the “Blue Screen of Death” to appear.
How to Create a Windows Recovery Drive — Step by Step
Step 1: Plug In Your USB Drive
Insert your USB flash drive into your PC. Check to make sure it doesn’t contain any files that you need because it’ll be wiped during the process. If you have any other USB drives connected (such as external hard drives), unplug them for now to avoid accidentally selecting the wrong drive later.
Step 2: Open the Recovery Drive Tool
Click the Start button and type “recovery drive” into the search box.
Click Recovery Drive (App) in the search results. When the User Account Control window appears, click Yes to allow the app to run.
Step 3: Enable “Back Up System Files to the Recovery Drive”
When the Create a recovery drive window opens, make sure the option “Back up system files to the recovery drive” is ticked.
This is the most important setting — it copies the Windows Recovery Environment (WinRE) files to the drive, giving you the ability to reinstall Windows if should need to.
Click Next. Windows will spend a few minutes searching your computer.

Step 4: Select Your USB Drive
Windows will display a list of available USB drives. Select the drive you want to use, then click Next.
Step 5: Create the Drive
You’ll see a warning: “Everything on the drive will be deleted.” Make sure the drive is empty, then click Create.
Windows will copy the recovery files to your USB drive. This can take anywhere from 15 minutes to over an hour, depending on your computer’s speed. Leave it to run and do not unplug the drive.
Step 6: Finish and Eject
Once the process is complete, click Finish. You can now safely eject the USB drive. Label it “Windows Recovery Drive” and keep it in a safe place. Don’t use it to store other files on even if there is space. I know it might seem like a waste but this drive is for emergencies when your PC won’t start.
What Does a Windows Recovery Drive Actually Do?
A Windows recovery drive contains the Windows Recovery Environment (WinRE), which is a set of repair and recovery tools that run independently of your main Windows installation. From the recovery drive, you can:
- Use Startup Repair to automatically fix boot problems
- Perform a System Restore to roll back to an earlier point
- Access Windows Backup & Restore to restore a full system image
- Reset your PC to factory settings
- Reinstall Windows from scratch (if system files were backed up to the drive)
What a Recovery Drive Does NOT Include
A recovery drive is not a backup. It does not copy your personal files, photos, documents, or installed apps. Its sole purpose is to give you access to Windows recovery tools when your PC can’t start normally. Always use a proper backup solution to avoid losing your data.
Troubleshooting: Common Recovery Drive Problems
“We can’t create a recovery drive” error message
This usually means the recovery partition on your PC is missing or damaged. Try running the tool as Administrator (right-click Recovery Drive in the search results and choose Run as Administrator). If the error persists, your PC may be missing its WinRE partition — you can still create a basic recovery drive without the system files option ticked, or download Windows installation media directly from Microsoft.
Recovery drive creation is stuck or taking too long
The process can take 30 minutes to 90 minutes on slower machines or older USB drives. Leave it running. Only force-quit if it has not moved for more than two hours.
PC won’t boot from the recovery drive
You may need to access your PC’s boot menu to select the USB drive as the startup device. Restart your PC and press F8, F11, F12, or Delete (depending on your manufacturer) during startup to access the boot options. On newer PCs with fast startup, hold Shift while clicking Restart from the Windows Start menu instead.
Frequently Asked Questions
How big does a USB drive need to be for a Windows recovery drive?
You need a USB flash drive with at least 16 GB of free space. A 32 GB drive gives you a comfortable margin. The drive will be completely wiped during the process so make sure to save any files already on it.
Can I use the same recovery drive on a different PC?
Not reliably. Recovery drives are built using your specific PC’s system files, so they work best on the machine they were created on. For a different PC, create a new recovery drive on that machine.
How often should I update my Windows recovery drive?
At least once a year, or after a major Windows update. Windows 10 and Windows 11 both receive significant updates annually and your recovery drive needs to reflect the current state of your system.
Is a recovery drive the same as a system image backup?
No. A system image is a full copy of your Windows installation, programs, and settings. A recovery drive contains only the recovery tools needed to boot your PC and access those backups. You need both for complete protection.
What is the difference between a recovery drive and a repair disc?
A system repair disc (created via Control Panel > Backup and Restore) serves a similar purpose but uses a DVD disc instead of USB drive. Recovery drives are now the recommended option since they’re faster and work on modern PCs that no longer have disc drives.
PC won’t start but didn’t create a recovery drive
If you don’t have a recovery drive you can use a Windows Media Installation Drive instead. It won’t have your specific system files but in an emergency it may just work. Use a working computer to create either a Windows 10 drive or a Windows 11 drive.
Summary
Now that you’ve covered yourself by creating a Windows Recovery Drive, make sure that you know how to use it How To Use A Windows Recovery Drive.
Related Posts
Windows 10 System Image Backup.
Windows 10 has a built in system image tool to create a full backup of your PC.
Windows 11 Backup
If you have Windows 11 then you’ll need to use a third party backup tool to create system images. This one is very good and free. It also works great with Windows 10.
Device Encryption on Windows Home Editions
Microsoft are enabling Device Encryption on Home editions of Windows 11. Be sure that you have your recovery key backed up.
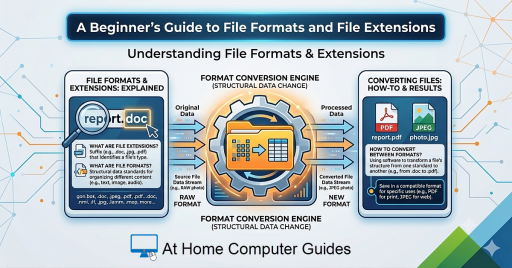
What are File Formats and Filename Extensions
Every file on your computer — whether it’s a photo, a document, a song, or a video — has two important things: a file format and a file name extension.
In this guide I’ll explain what they are, how to show filename extensions and how to convert between formats.
You can find this and other related step by step guides in – At Home Computer Windows 11 Guides
At Home Computer Step By Step Guides
![]() Easy to follow tutorials for users of Windows 10 and Windows 11 computers.
Easy to follow tutorials for users of Windows 10 and Windows 11 computers.

Why I Use Virtual Machines and You Should Too
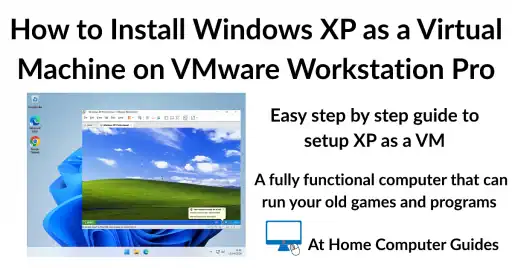
How to Install Windows XP as a Virtual Machine on VMware Workstation Pro
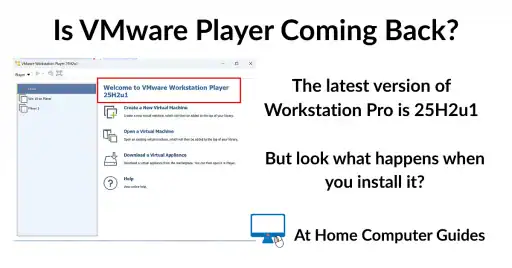
Is VMware Player Coming Back?

How to Setup OneDrive to Backup Your Files
OneDrive allows you to backup files to the cloud. It…
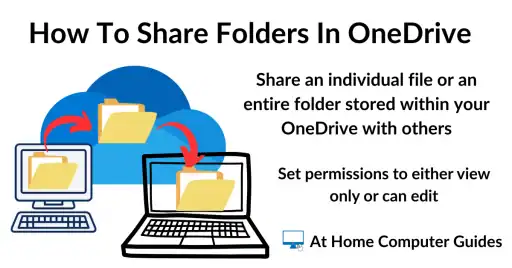
How to Share a Folder in OneDrive
One of the best features of OneDrive is the ease…
How to Setup RealTimeSync
RealTimeSync is a companion tool for the popular sync program…
How to Automate FreeFileSync in Task Scheduler
How to automate FreeFileSync in Windows Task Scheduler so that…
How to Setup FreeFileSync
FreeFileSync is a free and open source program that allows…
How To Use VeraCrypt To Encrypt A Folder
Use VeraCrypt to encrypt and password protect files and folders….