How to setup your email accounts to work with the new Windows Outlook app (One Outlook).
Both Windows 10 & Windows 11 have a new built in email client called the Outlook app which is replacing the old Windows Mail app.
Outlook App May Be Already Setup.
Since most Windows users will by now be using a Microsoft account to sign into their computers, you might find that the Outlook app is already setup. Or at least it will be for your Microsoft email account.
One of the benefits to using a Microsoft account on your PC is that all the Microsoft services that you use are automatically setup when you log in.
You’ll usually find the Outlook app on your taskbar, and also on the Windows Start menu.
If it’s not there, then open the All Apps and scroll down the list to Outlook.
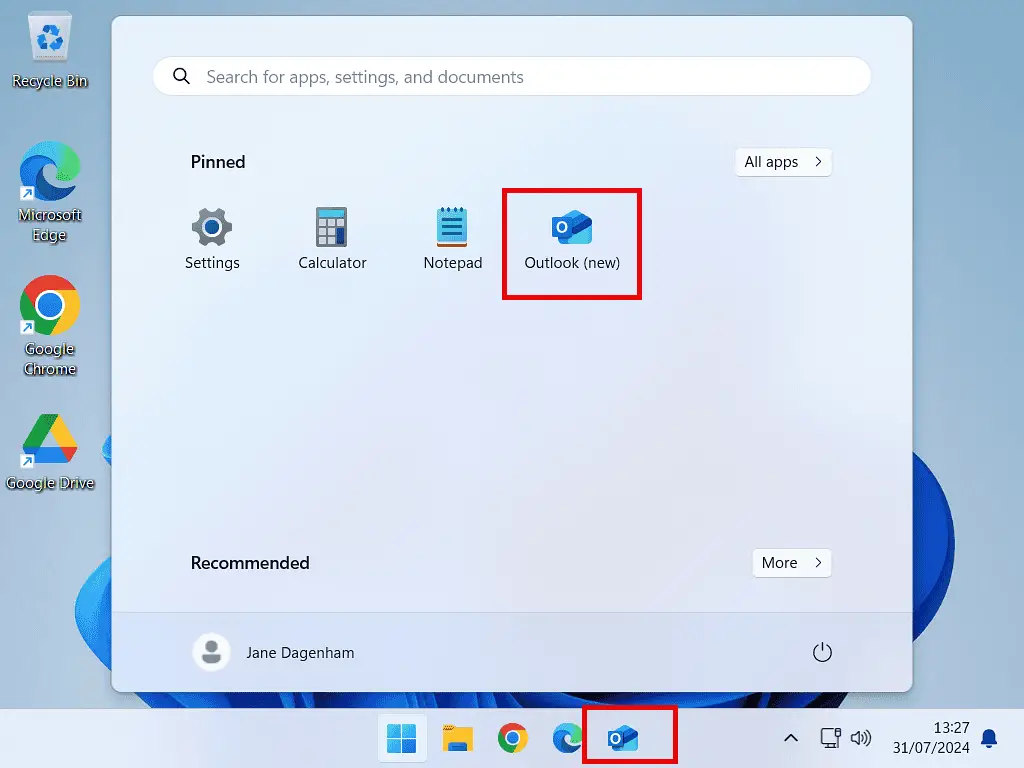
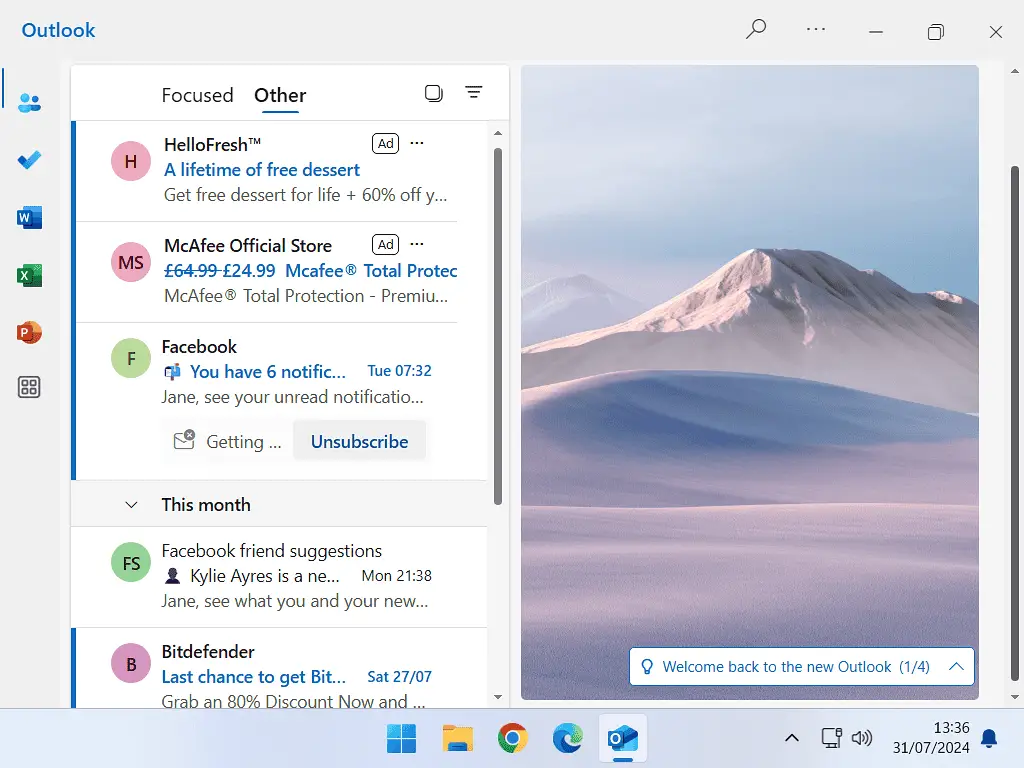
Open the Outlook app and after a few moments, if you’re using a Microsoft account on your PC, you’ll see your emails appearing.
How To Setup Your Email Accounts In The Outlook For Windows App.
Maybe you’re logging in to your computer using a local account. If that’s the case then you’ll have setup the Outlook app for Windows.
The good news is that it really isn’t difficult to do.
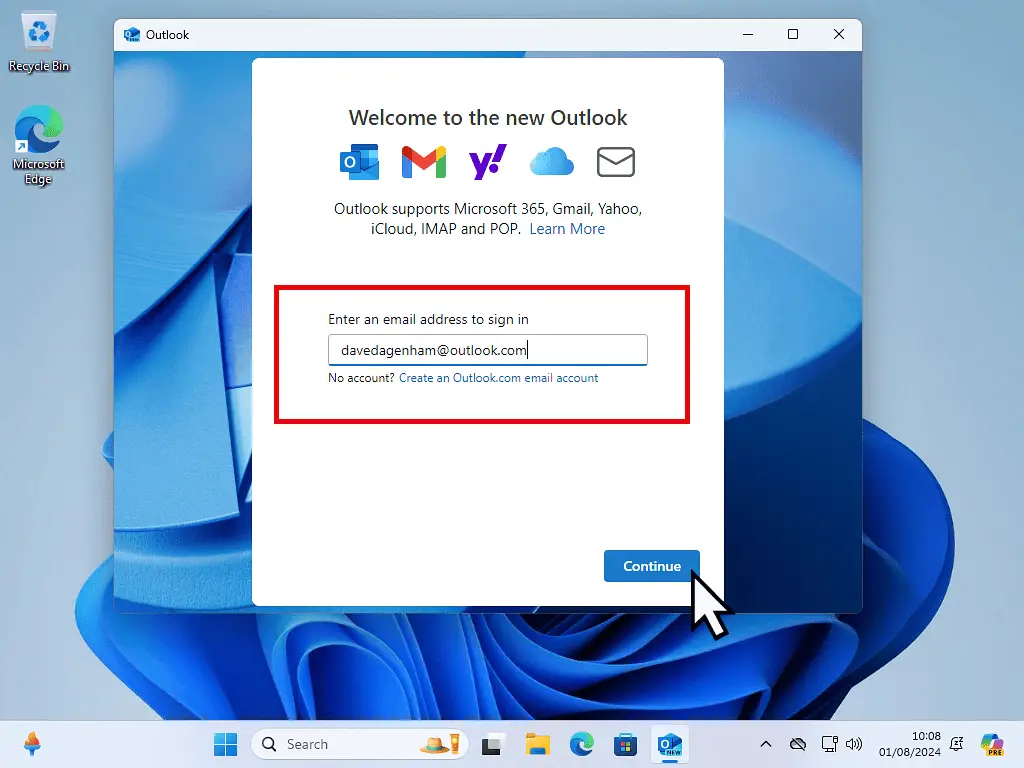
Launch the Outlook app and you’ll be greeted with the setup screen.
Enter your email address and then click the Continue button.
You Can Use Any Email Account.
You don’t have to use a Microsoft email account. You can use any. You don’t even have to use the account associated with computer you’re using.
You’ll have a short wait while the Outlook app determines the email server settings for your account.
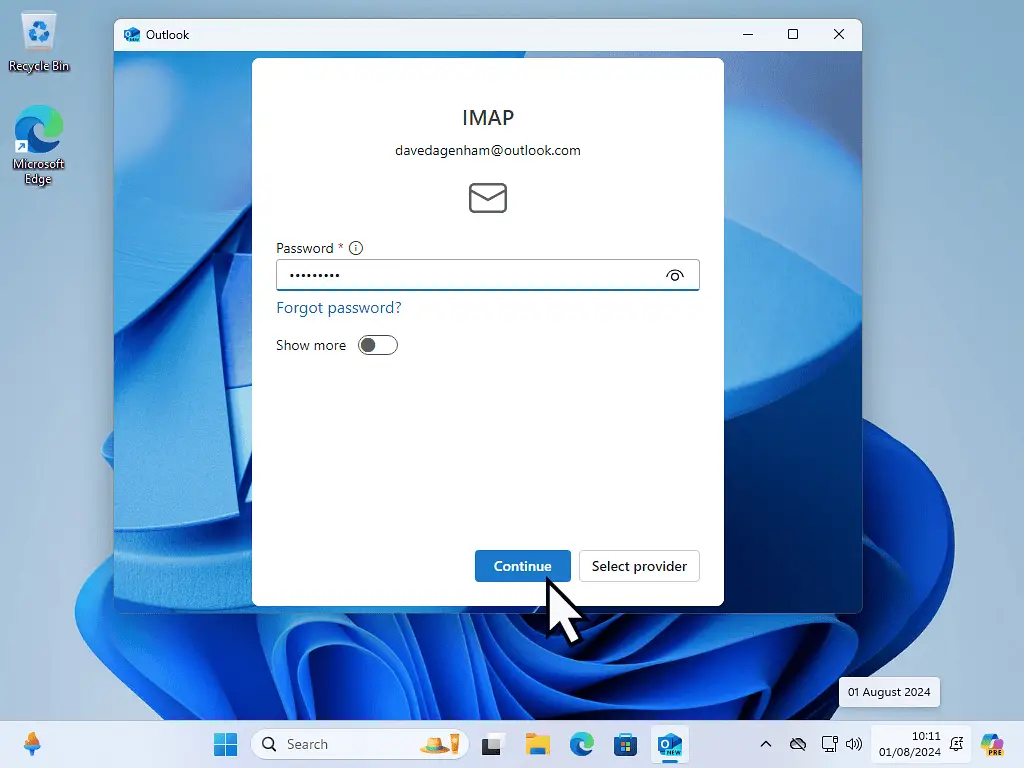
After which you’ll be asked for your account password.
Sync Your Email Account With Outlook.
As with any email client, the Outlook app will need access to your email account.
- Sync your account – click Continue
- You might need to sign in to the email account that you’re adding to Outlook app. If so, enter your email address and password.
- Agree to allow Microsoft Outlook to access your account.
- Finally your web browser will open and display the message “This site is trying to open Outlook (new)”. Click the Open button.


After you’ve successfully authenticated and synced your accounts, Outlook will open at your new Inbox.
It may take some time for all your emails to download. It depends on how many you have and your Internet speeds.

How To Add An Account To The Outlook App.
One of the great advantages of using an app like Outlook is that you can have more than one email account setup.
Unlike using webmail, where you’re constantly logging in and out of accounts, with an email client all your emails arrive in the same application.
To add another account to the Outlook app –
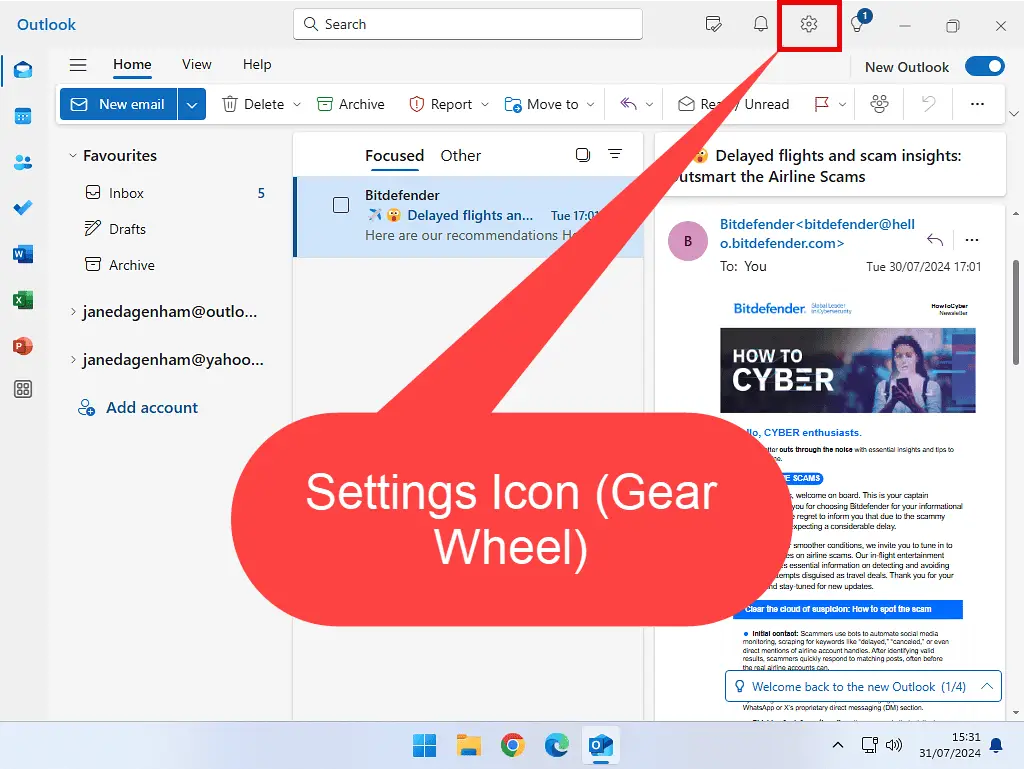
- Click the Settings icon (the gear wheel), at the top of the window.
- Or if you’re using a smaller screen, you might need to click the 3 horizontal dots first, and then click Settings on the menu that appears.

Either way you should end up on the Settings page.
Make sure you’re on the Accounts tab in the left hand pane.
Click the Add Account button.

Adding A New Email Account.
Setting up the Outlook app with the major email services is a breeze. It supports all the Microsoft email accounts (Hotmail, Live and Outlook.com etc), as well as Gmail and Yahoo.
Type in the address of the email account that you want to add.
Then click the Continue button.
After which you’ll see the “Sync Your Account With Outlook” screens that are detailed above.

The newly added account will appear in the Navigation pane.

Manually Setup An Email Account In Outlook App.
If you’re using the big three email services (Microsoft, Gmail, Yahoo) then you should that the Outlook app will just set everything up for you.
But if you’re not, if you’re trying to use an email account from one of the lesser known providers, then you might need to manually set it up.
To get started it’s exactly the same as adding any other account. Go to Settings – Accounts – Add Account.
Enter your email address and the password for the account and then click Continue.
That’s when you’ll see the “Something went wrong” message appear.
Assuming you’ve correctly entered your login details, then what’s happening is that the Outlook app doesn’t have the email server settings for your provider. You’ll need to manually enter the settings.
Click the Advanced Setup button.
On the next screen, scroll down the window and then click either “IMAP” or “POP”.


IMAP Or POP?
If you’re not sure which you should choose between IMAP or POP, generally go for IMAP. It’s the more modern protocol and most providers support it.
Whereas some providers are dropping support for POP.
Now you can enter your email providers server settings.
You’ll need to know the incoming and outgoing server addresses and also the respective port numbers.
You should be able to get this information from your service provider, or often you can just search Google for it.

Once you’ve entered the relevant details, click the Continue button. Outlook will connect to your server and you’ll probably have to authenticate yourself with your email account credentials.
After that your new account will appear in the Outlook app navigation pane.
Summary.
Outlook for Windows app works OK. If you’re looking to try out an email client, then it is worth trying out. Especially as it is already installed on your PC and is free to use.
It lacks some of the more advanced features that you’d get from a full function client, but then you’d probably not miss those features.
Stay Informed. Stay In Touch.
Now that you’ve found me, keep in touch. I publish new articles and update older ones constantly.
Let me send you a monthly email with all the latest guides for you to see if there’s anything you’re interested in.

