Installing new programs onto your computer is something that we’ll all do from time to time. Windows covers the basics, but beyond that we’re looking to third party software.
That’s where you can run into issues. Especially when installing free software. While there are many great free programs out there on the Internet, you do need to be careful when you’re downloading and installing them.
In this guide to installing programs, we’ll focus on installing free software and avoiding the junkware and possibly malware that can come with it.
Stop Installing Programs With Extra Bundled Software.
An awful lot of “free” software comes with extra “bundled” software. These are programs that’re automatically installed onto your computer, probably without your knowledge.
Most legitimate software will give you the option of NOT installing the junkware. But it’s often hidden, or so small that you wouldn’t notice it.
In that way, so called “bundled” software sneaks onto your computer. And you have to question whether that software is going to be safe when it’s getting onto your PC in such an underhand way.
An Example Of How To Avoid Installing Junkware Programs.
The best way to explain how it all works and to show you what to look for is by installing an example program.
Obviously it’ll be different to the programs that you’re installing, but the basic principles will be the same.
Following this general guide will help you to avoid installing all sorts of junk and even malware onto your PC.
For the example we’ll be installing IObit Uninstaller. That’s the program that we want. Nothing else.
On the very first screen of the setup, you’ll see that two other programs are auto selected to be installed at the same time.
The boxes are automatically checked. They’re small and overshadowed by the big Install button.
When you click the Install button, you’ll install all 3 programs at the same time.

I really don’t know what these extra programs are, whether they’re legit or not. The point is that I don’t want them, I didn’t ask for them, but if I don’t uncheck the boxes, guess what, I’m going to get them.
You have to do the same thing. Always look around the screen when installing programs. Check for what else you might be installing. Read the small print.
Always Use The Custom Or Advanced Install Option.
With most programs you’ll see a rather large and obvious Install button. Don’t click that.
Usually just beneath the Install button you’ll see a Custom or Advanced install option. The actual words may vary but it’ll mean the same thing.
Whatever it says, that’s the option you should click on.
Many people, especially beginners, imagine that the custom/advanced option is too complicated for them.
It really isn’t. If you’ve made it this far through the course, this’ll be easy.

The custom/advanced options will often show other bundled software that will be installed automatically. So make sure that you select it.
You won’t do any harm, if there’s nothing there, no problem, but if there is, you should have the option to deselect it or cancel out of the installation.
After clicking the Custom Install, you’ll generally have more options.
This allows you to choose how the program you’re installing will work.

More Bundled Software.
On the next screen you’ll see an Accept and Install button. That’s all there is so it’s natural to click on it.
But it’s a trap. Look at what it’s actually going to install rather than what you think it’s installing. Is it going to install the program that you originally downloaded and wanted? Or is it going to install yet another “free” offering.
You really do have to read these screens as they appear.
In this case, it’ll install something called iTop Easy Desktop (whatever that is).
That’s not what I wanted. If there isn’t a button to cancel or skip this software, then just wait a few moments. See what happens.

Click And Click Again.
This kind of trickery works on the fact that you’ve just clicked on an Install button. So showing you a second Install button means that you’ll naturally just click again.
Notice how the new Install button looks exactly the same as the original one. Even though it’s for a completely different program.
Skip This Software.
Ok so in this example, after a few moments of waiting, a Skip This button appeared.
Now we can move on.

And Another Special Offer.
One more attempt to get you to install more junkware that you didn’t want.
Click the No Thanks button.
You just don’t know what this is. You never asked for it and you don’t really want to be looking it up on Google right now.

Finally the installation finished. It’s a bit of a minefield, dodging all the programs that you don’t want.
Never feel rushed or panicked when installing programs. There’s no time limit. Your computer will wait while you decide whether to accept an option or not.
Avoiding installing bundled programs will save you a lot a headaches going forward.
Be Careful When Downloading Software To Install.
Before you can install a program, you’ll need to download it first. And this is the first point at which you can caught out.
The makers of free software have to make money somewhere, and it’s often by display ads (as I do on this site) or, more sneakily, trying to trick you into downloading something that you didn’t want.
Take, for example, the download page for VLC Media Player. After clicking the Download button, nothing seems to happen.
There are several other download buttons. You’ll be tempted to click on one of them.
These extra download buttons aren’t related to VLC. They’re for other programs.
This page has a delayed download. It will start downloading VLC but only after a few seconds have passed.
It’s a kind of trap for the unwary. Don’t be tempted to click any of the other buttons.

About VLC.
For the record let me state that I have no issue with the VLC media player itself. In fact I’ll often recommend it. It works great and there isn’t anything hidden inside the software.
My only gripe is this download page. But you’ll find these types all over the Internet. So be careful. If your download doesn’t start immediately, have a look around the page.
Where Did It Come From?
I spend a lot of time removing junk, bad, and dangerous software from my clients computers, and then repairing the damage that they’ve caused.
The number one question I get asked is “Where did it come from?”
And no one is very happy when I tell them they’ve probably installed it themselves.
By installing it yourself, you’ve bypassed your antivirus software and Windows own self defence features.
My Best Advice When Installing Software.
When you’re installing programs that you’ve never used before you need to keep your wits about you. Read each screen as it appears before clicking the Next button. if you’re suspicious, cancel.
Review the software before you even download it. Search Google for the name of the program followed by the word reviews. You’ll be surprised at how much information you can gather in just a few minutes. Especially if the software is dangerous.
Finally, install it onto a virtual machine (virtual computer) first. Most home computers can run a VM and they’re not difficult to setup.
I installed the example program with all options at default. Several programs got installed and my antivirus really didn’t like it.
Fortunately for me, I installed it onto a virtual machine.
Oh well, no harm done.

Lesson 28
Course Progress – 27 of 37
Part of the At Home Basic Computer Course — free computer guides for beginners.
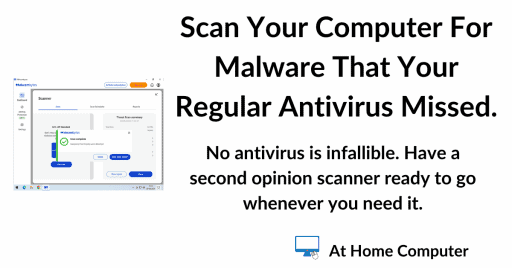
Scan Your PC for Malware
Whether you’re using a third party antivirus like Norton, McAfee, Avast, Bitdefender etc, or simply relying on good old Windows Defender, they can and will miss some malware.
I’ll show you how to use Malwarebytes for free as an on-demand scanner.
You can find this and other related step by step guides in – At Home Computer Antivirus Guides
Latest At Home Computer Guides.
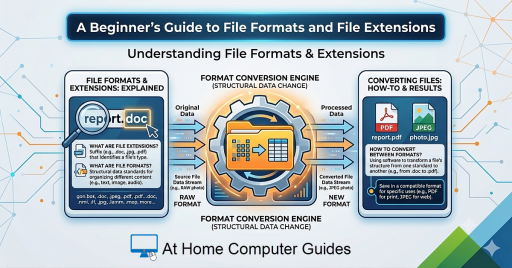
A Beginner’s Guide to File Formats and Filename Extensions
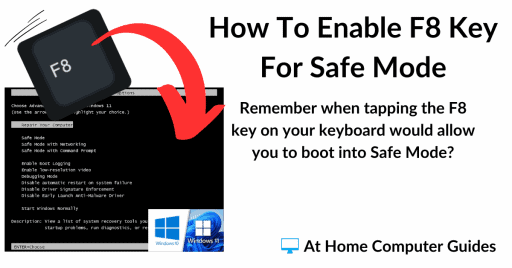
How To Enable The F8 Key In Windows 10 And 11.

How To Download A Windows 7 ISO Image In 2025.
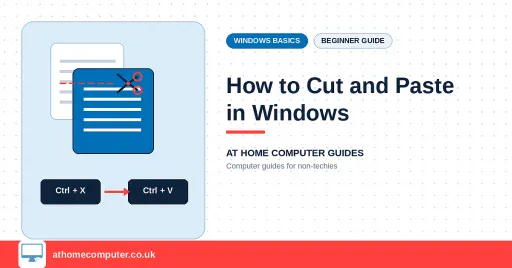
How to Cut and Paste in Windows
How To Insert An Image Directly Into Outlook Emails
How To Fix Missing MP3 Tags
How to use Burner Email Addresses
How To Show Thumbnails Of Images
