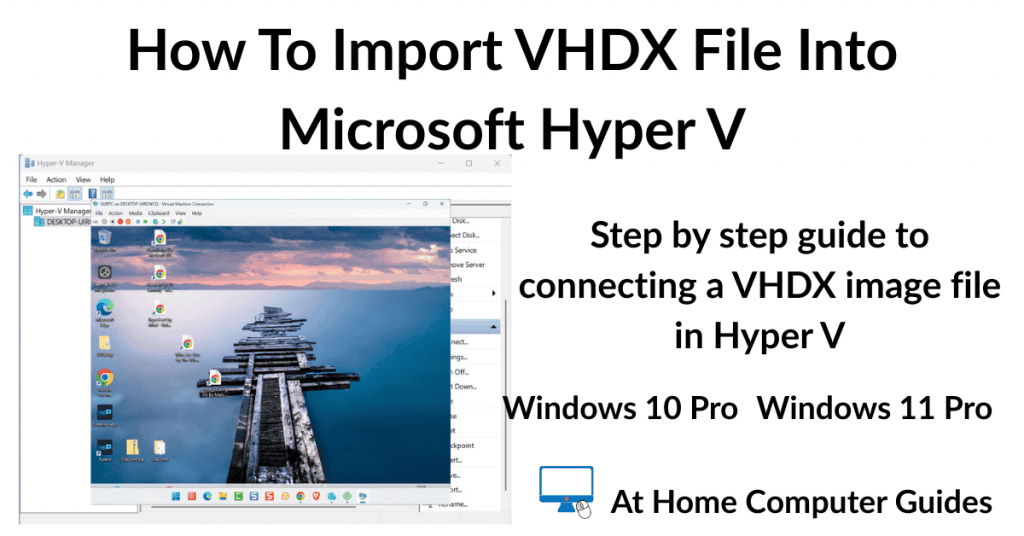
Microsoft Hyper V allows you to import VHD and VHDX image files.
Hyper V is a native hypervisor that allows you to create and run virtual machines (VMs) on a single physical computer. And it’s free to use if you have a Pro version of either Windows 10 or Windows 11.
In this guide I’ll show you how to enable Hyper V and then how to attach a VHDX file.
How To Enable Hyper V In Windows
Hyper V is an optional extra that needs to be installed onto your computer before you can use it. However installation is very easy since Windows does all the work for you.
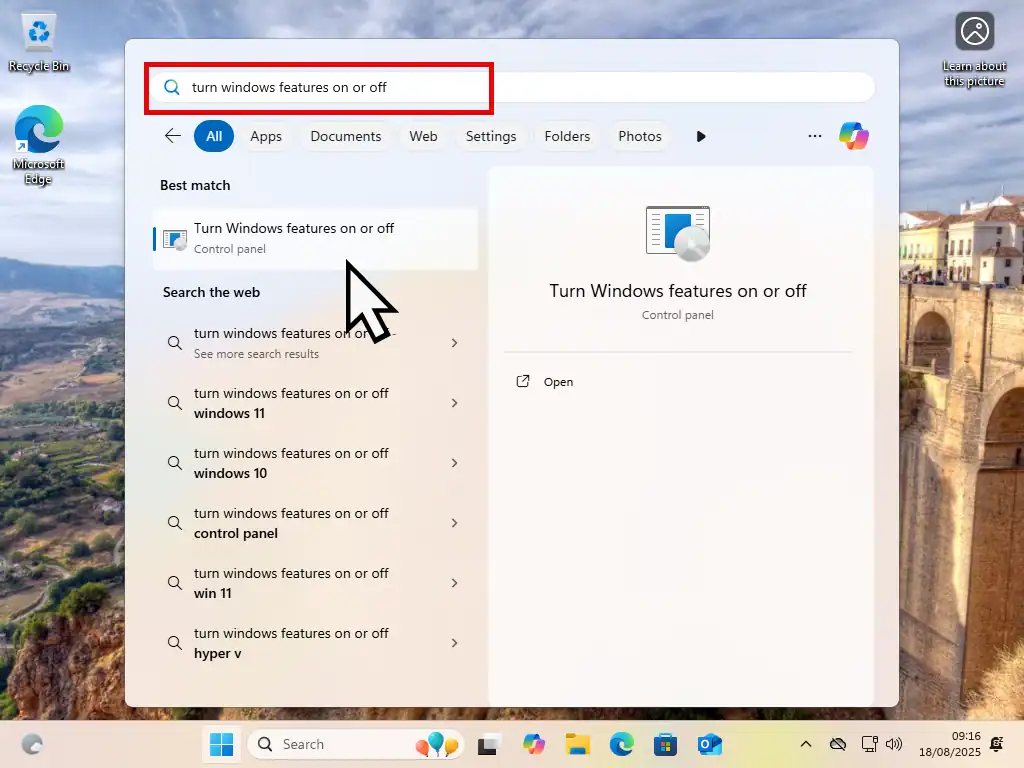
To enable Microsoft Hyper V, click the Start button and then type “turn windows features on or off“.
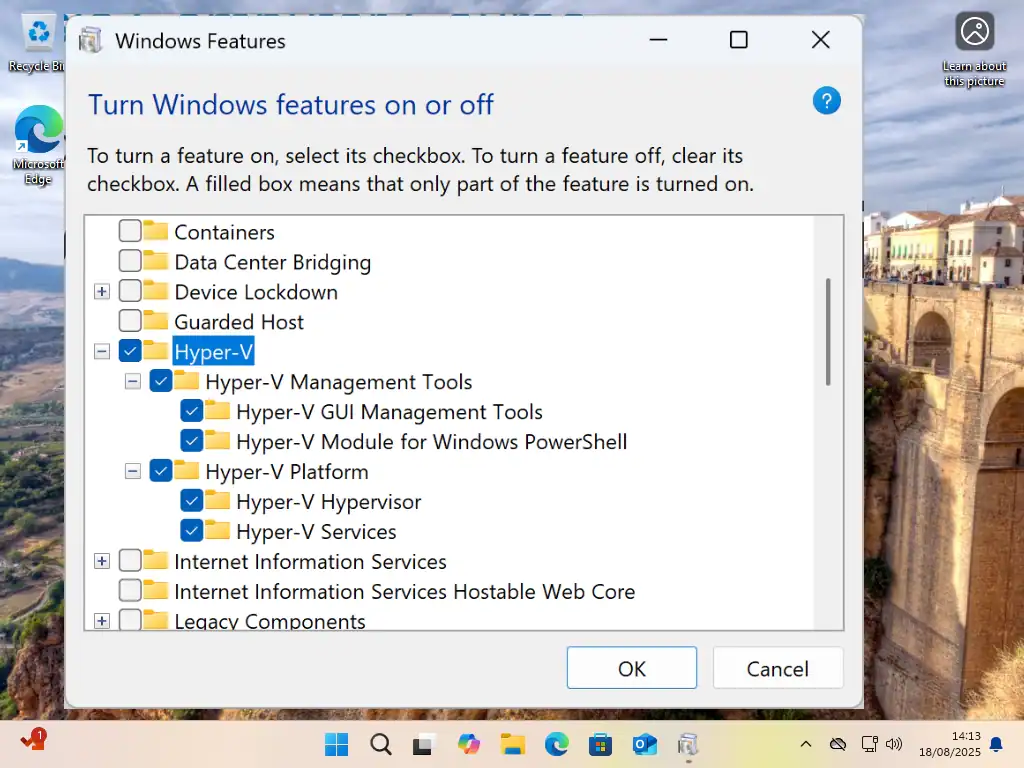
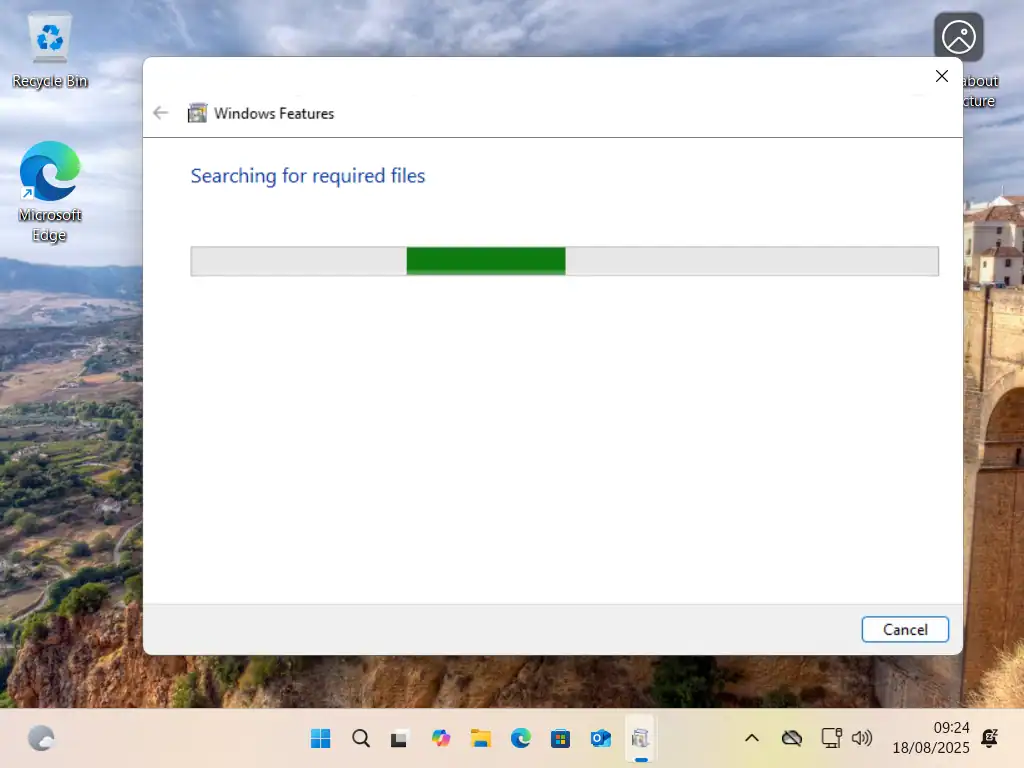
On the Windows Features screen, click the plus (+) sign beside Hyper V to expand it. Then select every instance of Hyper V that’s available and then click OK. Windows will install the necessary files. You may need to restart your PC to allow necessary updates to be installed.

How To Import VHDX File Into Hyper V
Lunch Hyper V clicking the start button and then typing “hyper v“.
Click on Hyper V Manager (system).
If you’re going to be using Hyper V often you could pin it the Start menu.

Hyper V Manager
To connect your VHDX file to Hyper V –
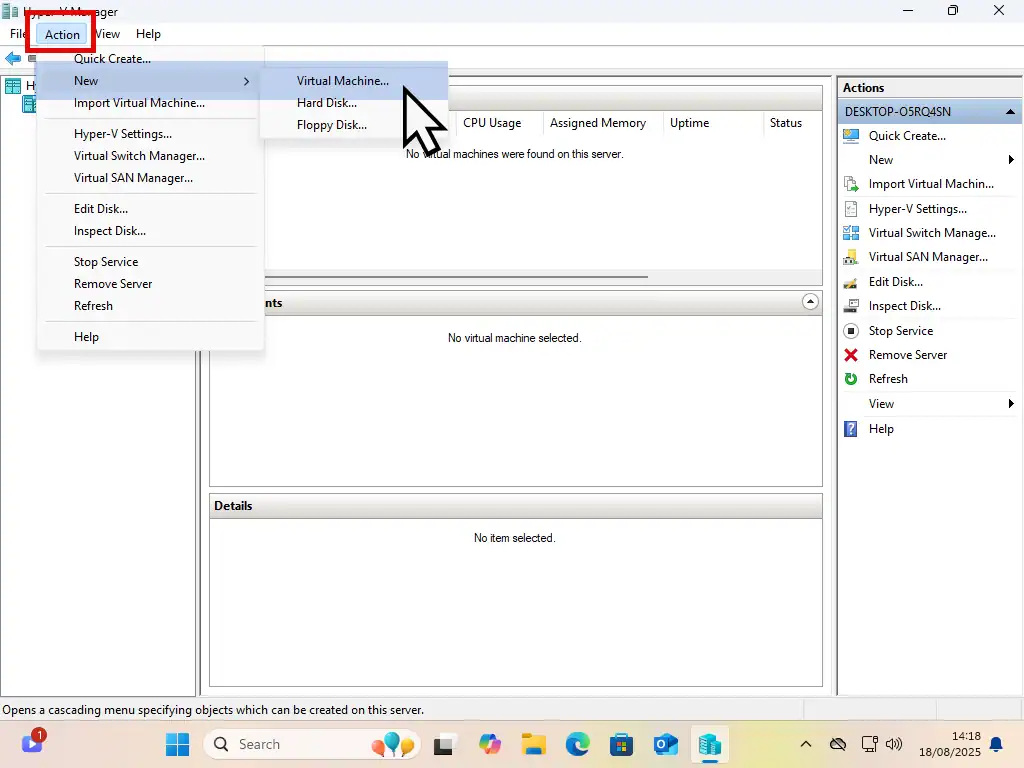
- Click Action on the tollbar. Hover the mouse over New and then click Virtual Machine.
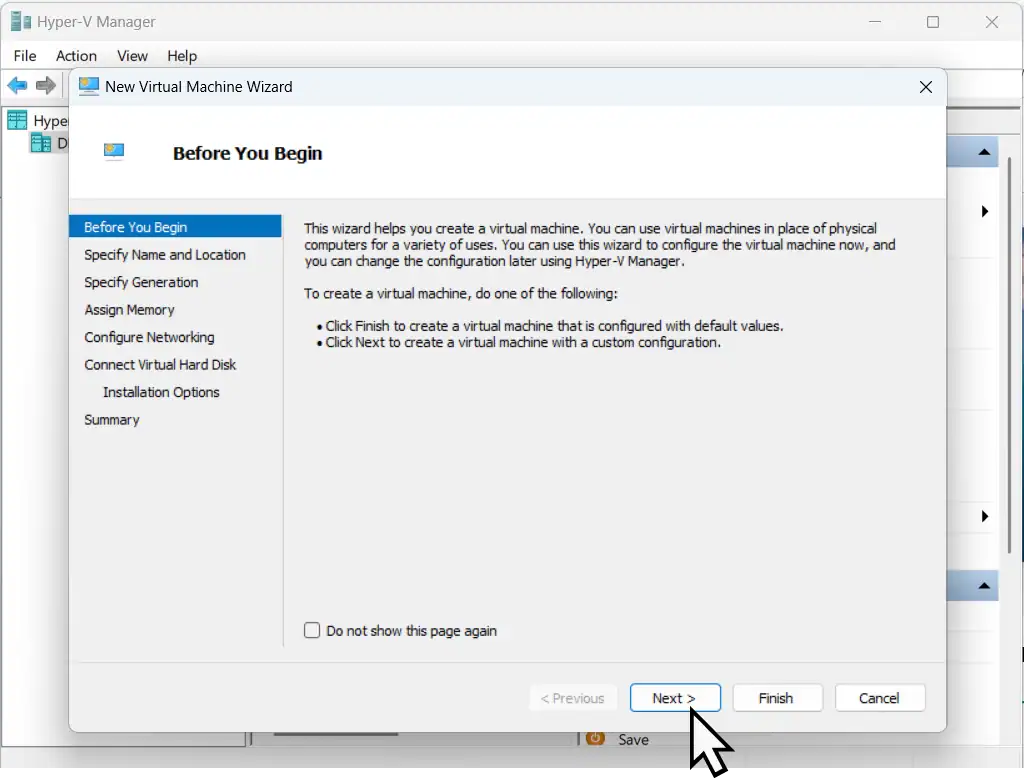
- Click the Next button on the following screen.
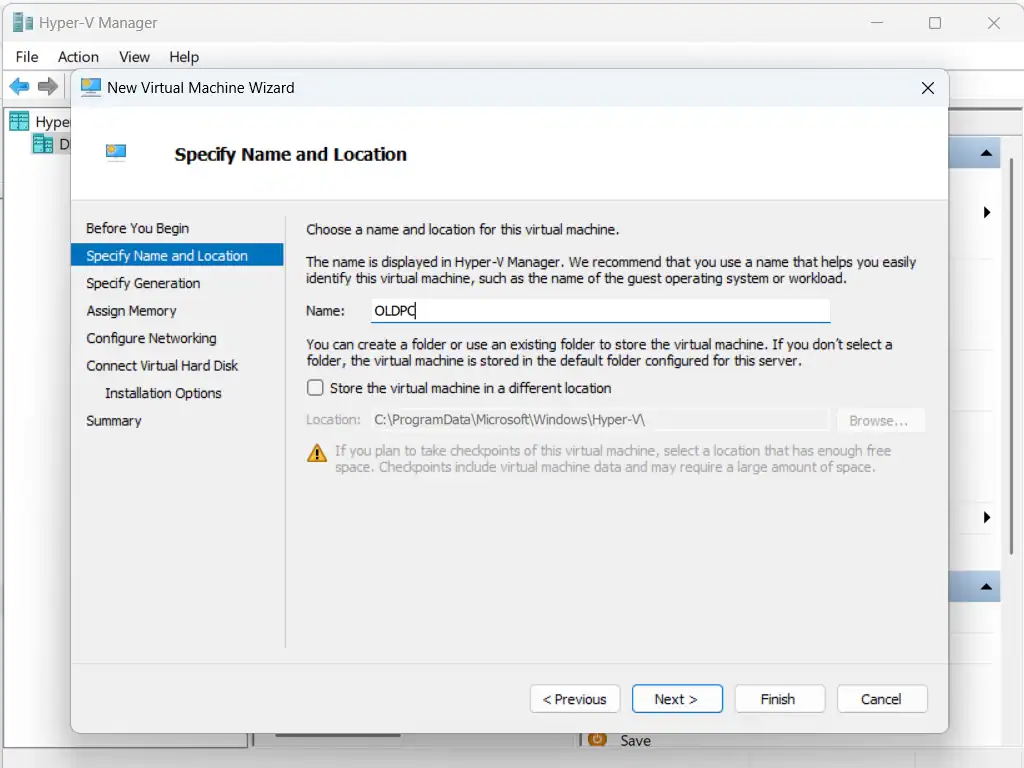
- Specify Name and Location allows you to give the VM a descriptive name if you wish.
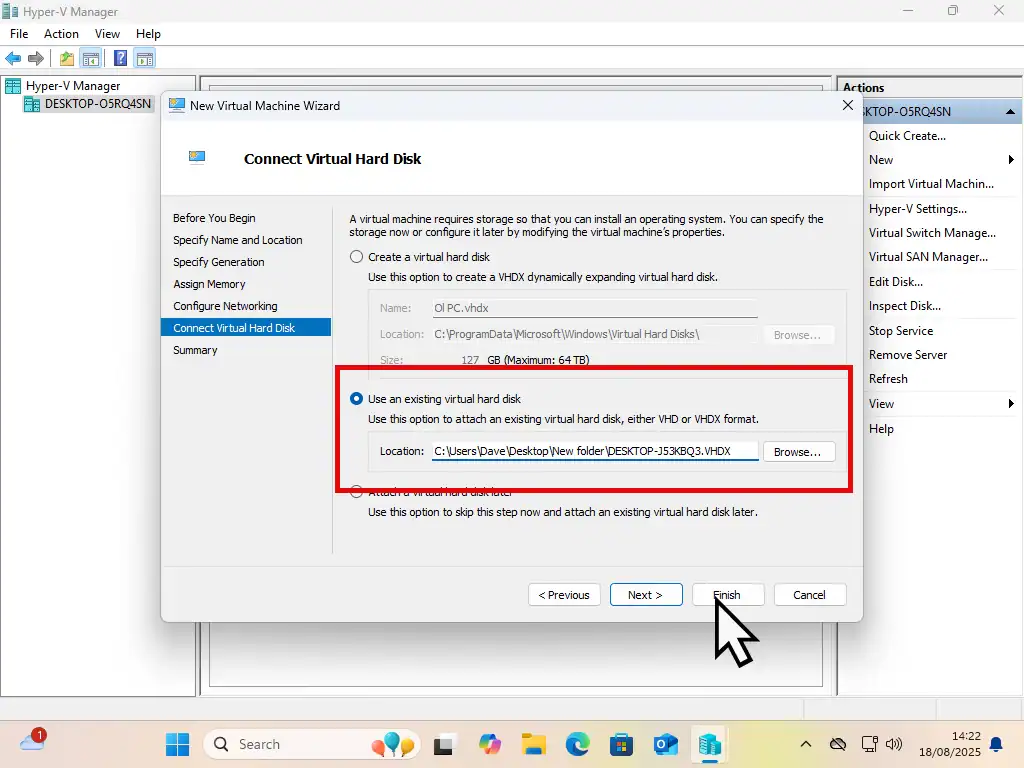
- Once that’s done, click Connect Virtual Hard Disk in the left hand panel. In the right hand panel select “Use an existing virtual hard disk”. Then click the Browse button and locate and select the VHDX file that you want to import. Click Finish.
Start Your New VM.
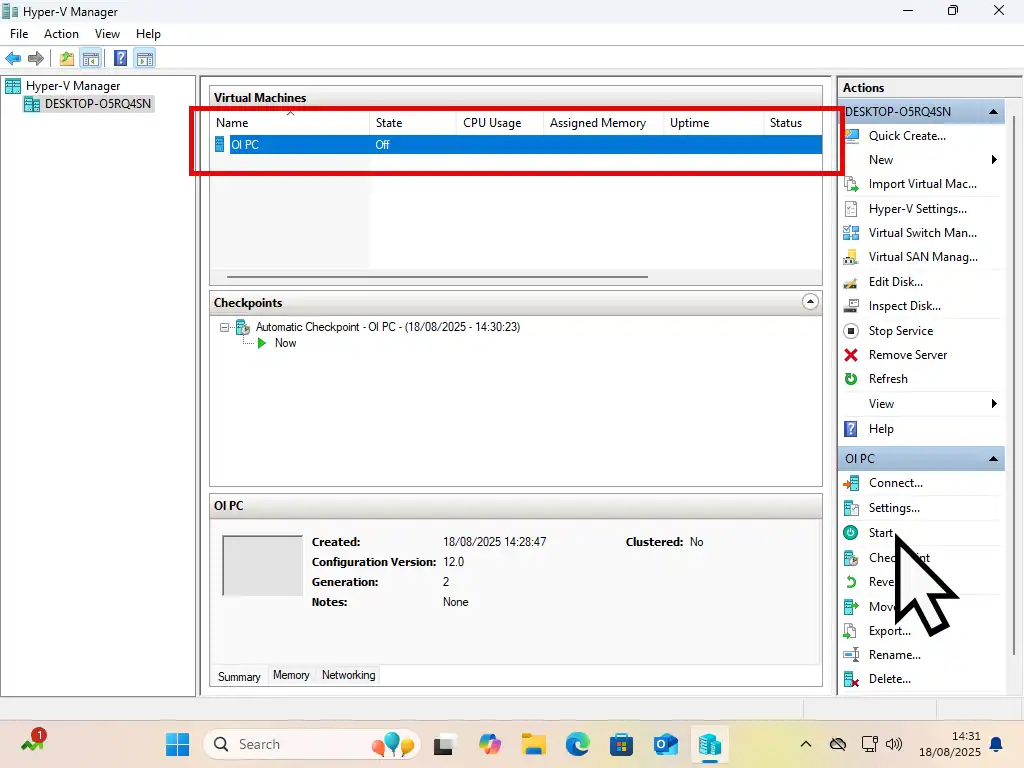
When Hyper V has finished importing the VHDX file you’ll see it appear in the centre pane. Left click it once to select it and then click on Start in the right hand pane.
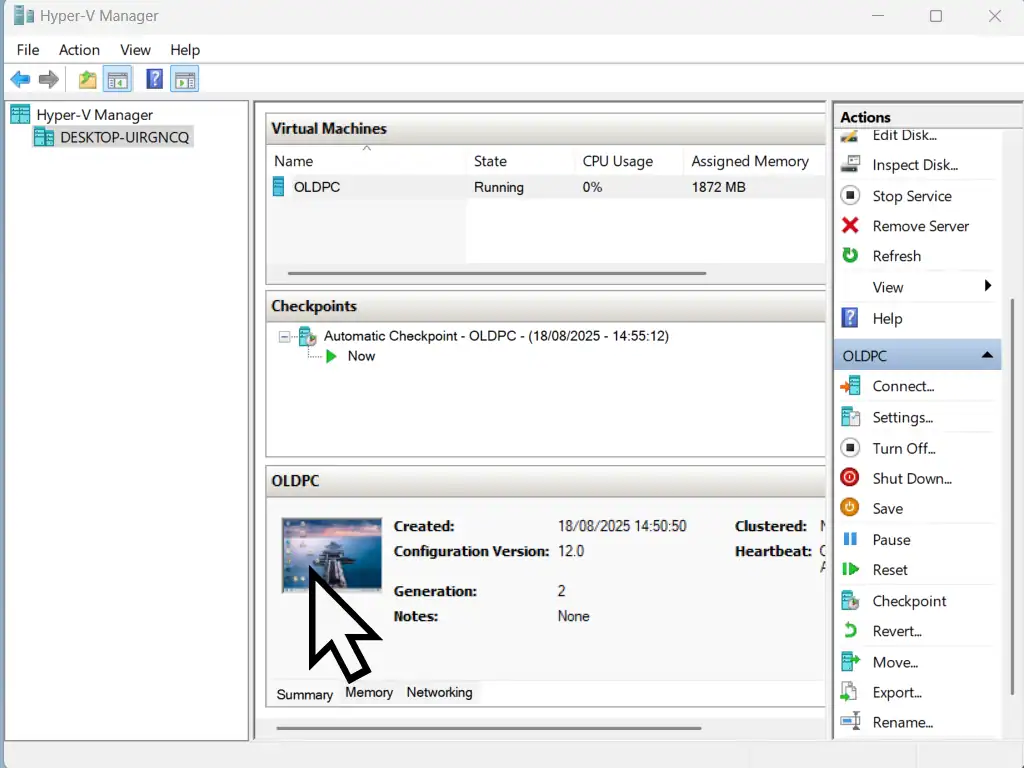
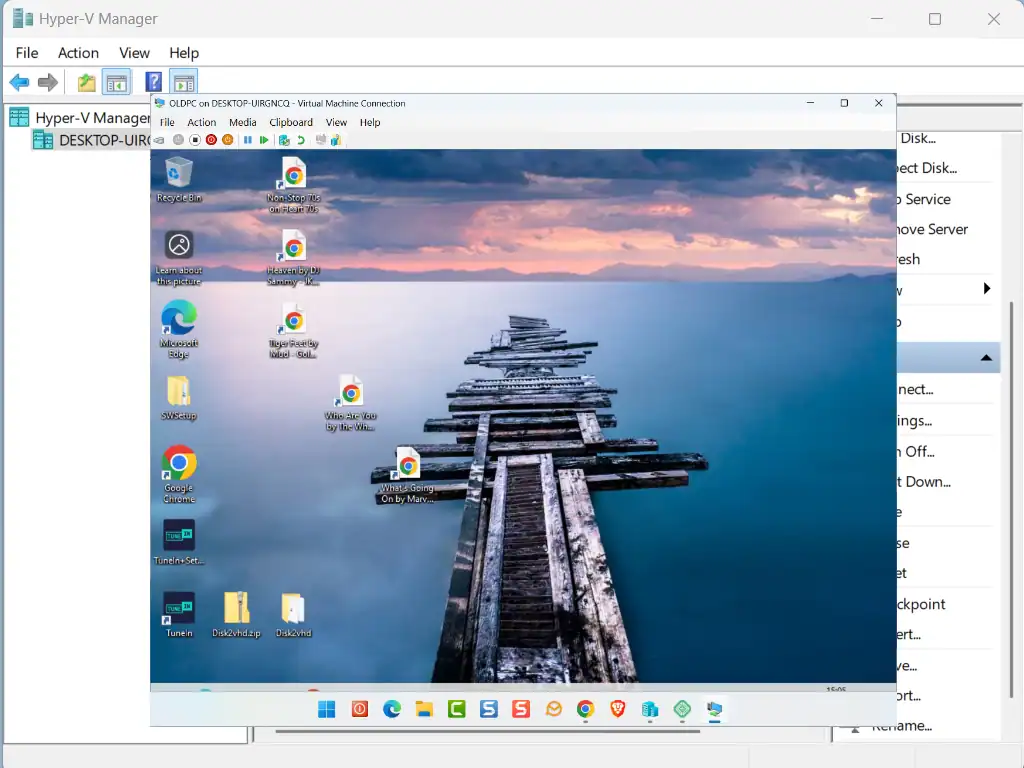
As the virtual machine starts, you’ll see it booting up. It might take a few restarts before it settles down and boots to the desktop.

Once the VM has booted to the desktop, you can double left click on it to launch it in a usable window.
Summary.
That should be that. You never can tell for sure but Hyper V is pretty good at handling VHDX files. So good luck with it.
Related Posts
Convert An Old Windows 10 PC Into A Virtual Machine
It’s easy to create a VHDX image file from a running computer. Save your old PC and use it as a VM in Hyper V.
How To Import VHD File Into VirtualBox
If you don’t have a Pro version of Windows you can use the ever popular VirtualBox.

