Do you find yourself squinting at your computer screen? e print? With today’s high-resolution monitors, text and icons often appear tiny by default.
This guide will show you how to use display scaling and accessibility settings to make your computer easier to read and use.
Make Everything Bigger in Windows 10 and 11
The most effective way to help the strain on your eyes is to change the Scale and Layout settings in Windows. This makes everything—icons, text, and apps—larger at once. It’s easy to do and you can feel free to experiment with different settings until you get it right for you.
- Right-click on any empty space on your desktop. Then left click Display Settings from the menu.
- Look for the Scale & Layout section. Click the dropdown menu under Scale.
- Change the percentage from 100% to 125% or 150% or more.
- The exact amount that you can increase the scale will vary depending on the size of your screen. For example, on laptops it’s not unusual to only be able to increase to 125%.


Quick Notes about Scaling
Windows usually tags one option as “Recommended,” and for beginners it can put you off making changes, don’t be. You can safely ignore this. Choose the size that feels most comfortable for your vision.
In the same vain, don’t be afraid to experiment with the scaling options if you’re offered a choice. You can easily change it back if you’re not happy.
Make Webpages Easier to Read
When you’re on the internet, reading small print on webpages can be very challenging. However there’s a quick keyboard shortcut that you can use that works in most browsers (including Chrome, Edge and Firefox) to “Zoom in” or “Zoom out”.
When you’re on a webpage:
- To zoom in hold down the CTRL key and then tap the Plus (+) sign. Each tap will make everything a little bigger.
- To zoom out hold down the CTRL key and tap the Minus (-) key.

Summary
Adjusting your computer accessibility settings is the best way to reduce eye strain and make technology work for you. It just makes everything easier. Don’t be afraid to experiment with different percentages as you can always change them back. Find something that suits your eyes.
At Home Basic Computer Course.
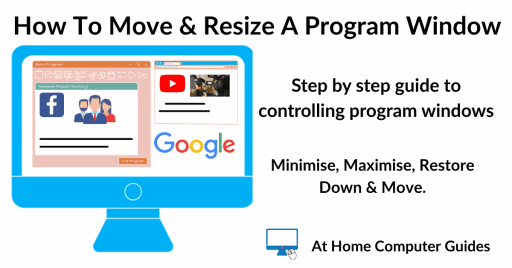
Resizing and Moving Program Windows
Control the size and position of your program windows. It’s much easier than you’d think.
Remote Desktop
Remote Desktop allows you to connect and control another computer from the one you’re using.
Windows Remote Desktop works across your home network.
Chrome Remote Desktop allows you to connect from anywhere across the internet.


