How to create a Windows 10 system image backup that can be used to restore your computer to a working state when all else fails.
System images are a single (large) file that contains everything on your PC, including your Windows installation, all the drive partitions and all your files and folders.
When needed they can be used to return the computer back to the time when the image was made.
Note that this guide is specifically for home computers running Windows 10.

Create A Windows 10 System Image Backup
Windows 10 has all the software you need to create a system image built in to it, but obviously you’ll have to provide an external hard drive that has enough spare capacity to hold the image (which can be very large).
Connect your external drive and ignore any autoplay popups that appear.
Left click the Start button and type “control panel“. Click Control Panel (system).

Back up and Restore.
When the Control Panel opens, you could be seeing it in one of two different views. You could be looking at it in Category view (which is the default view) or Icons view.
If your Control Panel has opened to Category view, then click “Back up and Restore (Windows 7)” which is in the System and Security category.
Alternatively if your Control Panel opens to the Icons view, then click Back up and Restore (Windows 7).

Why Does It Say Windows 7 When You’re Backing Up Windows 10?
You may notice that Backup and Restore references Windows 7. That’s because it was first introduced with Windows 7. And therein lies an issue. Backup and Restore will work perfectly fine creating system images of Windows 10 computers, but it can often fail with Windows 11 PCs.
Create A System Image
- When Backup & Restore opens click Create A System Image.
- Check that the correct USB drive has been selected. Use the drop down arrowhead to change the selection if need be, then click Next.
- Click Start Backup button.


Windows 10 will start backing up. It might take some time complete since system images can be very large.
When the backup has finished you’ll be asked if you want to create a system repair disc. Click NO.
Then click Close.


That’s it, you’re all done. On your backup drive you should find a folder named WindowsImageBackup. That’s the system image folder. It contains a complete copy of your entire PC.
Scheduling A Windows 10 System Image Backup
As well as making a single “one off” system image backup you can set a schedule for automatic backups.
To set up a system image schedule, open Back and Restore again through the Control Panel (see above).
- Click Setup Back up.
- Select your backup drive and click Next.
- On the next screen select “Let Windows Choose” and click Next.
- Next you’ll see a confirmation screen of the backup schedule. Note the time and frequency of the automatic backups. If that’s acceptable, click the Save Settings and Run Backup button. If it’s not what you want, then click the Change Schedule link.


Changing The Schedule
You can have the system image backup run daily, weekly (which is the default) or monthly. You can also change the day and time that the backup runs.
Click the drop down manus and make your selections.
When you’re done, click the OK button.

Other System Images Will Be Overwritten
There is one major few issue with using Backup and Restore to create system images of your Windows 10 computer. Backup & Restore only keeps one system image backup. All previous backups are overwritten.
It’s generally considered good practice to keep at least the last 3 system images. But with Backup and Restore you’ll only ever have the last one created.
There is a simple workaround that you can use, click here How To Store Multiple Windows System Images On A Single Drive.

Summary
Creating a system image with Backup & Restore does have a few advantages. It’s easy to use, you don’t need to install third party software and there aren’t any issues regarding compatibility since it is a Microsoft program.
On the other hand it does lack the finer controls of third party applications and it’s no longer being supported by Microsoft. If you’re looking for a better alternative and don’t mind installing extra software, then follow the Windows 11 Backup guide. It works exactly the same on Windows 10.
At Home Basic Computer Course.
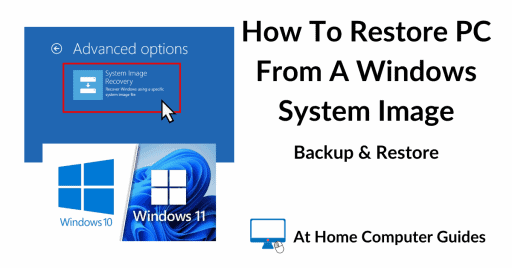
Get Your PC Working Again
Having created a system image backup you’ll need to now how to use it to recover your computer.


