Windows user accounts are used by your computer to keep your files, settings and preferences separate from other users of the computer.
There are two types of user account, an Administrator account and a Standard account.
To further complicate matters, there are two ways in which you could sign in to either of these accounts. You could use a Microsoft account or a Local account.
In this guide, I’ll show you the differences between the accounts and the ways in which you sign in to them, so that you’ll better understand which you should be using.
What Are Windows User Accounts?
Windows is designed to be used by more than one person. But that then raises an issue, how to keep each individuals’ files and settings separated.
The answer is to have each person sign into the computer with there own account. User accounts allow each person to have their own files, change settings, save bookmarks and passwords all without affecting other users of the computer.
For example, each user can setup their own desktop. With their own background image, desktop icons, taskbar icons etc.
All without changing anything on someone else’s account.
Each user will only see their own files and folders, their own documents, pictures, music, videos etc.
That way, someone else can’t edit, move or delete one of your files.

Installed Programs And Apps.
Programs and apps though, are usually different. As a general rule, a program or app installed on one account is available across all accounts on the computer.
Some programs allow you to choose whether the program should be available to all users, or just the person installing it. And any apps that are downloaded from the Windows Store will only be available to the account holder that installed it.
It’s common sense really, it saves having to buy and/or install the same program several times for different user’s accounts.
If You’re The Only User?
Even if you’re the only user of a computer, sometimes creating separate accounts can be a help.
For example, with many of us working from home these days, you might use the same computer for both work and personal use. You can easily separate the two by creating different accounts for each.
Having different accounts for different users or different uses isn’t going to suit everyone, but the option is there if you’d like to try it out.
Difference Between Administrator And Standard User Accounts.
Every Windows PC has at least one Administrator account. It’s the one that you set up when you first get your computer. After that, you can create as many Admin and Standard accounts as you need.
With a Standard User account, you can use the computer as you’d normally expect to be able to use it. You can use the Internet, email, open programs and apps, save and edit files etc. In fact, most of the time, you’d be hard-pressed to know that you were using a Standard account rather than an Administrator account.
However, a Standard User is not allowed to make changes to the system. You can’t make changes to the computer that will affect other users.
An Administrator account, you can do pretty much anything and everything. Administrators have full control over the system.
For example, if someone with a Standard User account tries to install or uninstall a program/app, they’ll be prevented from doing so by Windows User Account Control (UAC).
Whatever it is they’re trying to do, they won’t be allowed to continue until the Administrator gives them permission by signing in with their password or PIN.

Standard User Accounts.
Standard User accounts are often considered to be safer to use because, as stated above, you’re not allowed to make system-wide changes to the computer.
In theory, it’s far more difficult for computer viruses & malware to infect a machine when the user is a Standard User.
Microsoft Account And Local Account.
Regardless of which type of account you’re using (Admin or Standard), you’ll still need to sign in to your computer. And there are two ways in which to do that.
Microsoft Account. As you sign in to your computer, you’re also signing in to your MS account over the Internet.
Local Account. Signing in to your PC using a local account means that you’re only signing in on your computer. You aren’t connecting to Microsoft at all.
These days it’s quite difficult to not have an MS account because both Windows 10 & Windows 11 pretty much force you into it when setting up your user accounts on your PC (at least the Home versions do, with the Pro versions of Windows 10 & 11 you still get a choice, for now).
Microsoft Account Vs Local Account.
There are advantages and disadvantages to both ways of signing in to your computer and the Internet is full of websites that are either in favour or against one or the other. I’m not going to enter the debate here on the Beginner’s course because it’s much too involved.
The main difference between the two for home computer users that you should be aware of revolves around your passwords.
With an MS account you’re signing in to Microsoft, therefore you have to have a password. And it needs to be a good password because your account is exposed to the Internet. Hackers will try to access your account. Do not forget your password.
Trying to recover you’re Microsoft account because you’ve forgotten the password can be very difficult, if not impossible. And that means you’ll be locked out of your computer.
If you use a Local account to sign in to your computer, then things are a little different. Since the account isn’t exposed on the Internet you don’t necessarily need to use a strong password. You could just use something very easy or indeed, no password at all.
And should you forget your password when using a local account, then it’s actually not that difficult to get around. To get back into your computer.
Lesson 24
Course Progress – 23 of 37
Part of the At Home Basic Computer Course — free computer guides for beginners.
Reset a Forgotten Windows Password
You’ve forgotten your Windows password and can’t remember the answers to the security questions. In effect, you’re locked out of your own computer.
In this guide I’ll show you how to reset the Windows password without losing any data.

You can find this and other related step by step guides in –
Latest At Home Computer Guides.
Gmail Storage Full? Here’s Why (and How to Fix it)
A Beginner’s Guide to File Formats and File Extensions
How to Protect Your Data When Sending Your PC in for Repair

Why I Use Virtual Machines and You Should Too
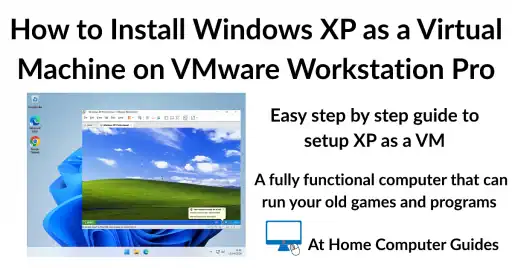
How to Install Windows XP as a Virtual Machine on VMware Workstation Pro
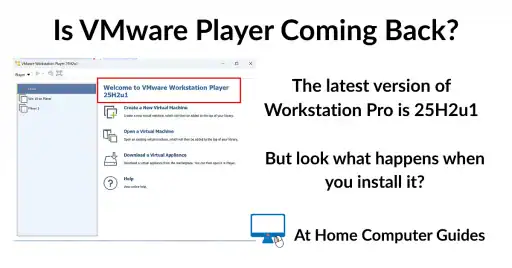
Is VMware Player Coming Back?

How to Setup OneDrive to Backup Your Files
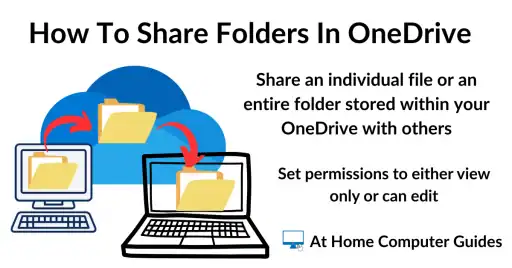
How to Share a Folder in OneDrive