How to add a new user to Windows computers. Regardless of whether you have a Windows 10 or Windows 11 PC, giving your users their own accounts is easy to do.
You can add the new users as either a Local or Microsoft account, and either a Standard or Administrator account.
How To Add A New User In Windows 10 & 11.
Creating a new user account is pretty much the same in both Windows 10 & Windows 11.
In both versions you’ll need to be logged in as an Administrator to add the new user.
To begin, click the Start button and then type “add edit or remove“. As you type you’ll see the search results populating.
In Windows 10 – click on “Add, Edit or Remove other users (system settings)”.
In Windows 11 – click on “Add, Edit or Remove other users on this device (system settings)”.


The screens that open are slightly different depending on whether you’re using Windows 10 or Windows 11.
In Windows 10 the Family & Other Users screen will open. Click “Add someone else to this PC”.
And in Windows 11 the Accounts – Other Users screen will appear. Click the Add Account button.


How Will The New User Sign In?
The “How will this person sign in?” window will open.
This is where you can decide whether you want the new user to sign in with a Local account or a Microsoft account. If you’re not sure of the difference then click here Explaining The Different Windows User Accounts.
To sign in with a Microsoft account, simply enter the email address or phone number related to the account and click the Next button. Then you’ll need to enter the password for the account.
To create a new local account, click “I don’t have this person’s sign-in information”. Then you’ll see the “Create account” screen. Click “Add a user without a Microsoft account”.


How To Create A New User In Windows.
Creating a new user as a Microsoft account is pretty much straightforward. You’ll just enter the account credentials and Windows will do the rest.
For the purposes of this guide, I’ll continue by setting up a Local account for the new user.
To setup your local account you’ll need to enter a username. The username can be anything you like.
Then you’ll have the choice of whether to use a password or not.
If you don’t want a password, just leave them blank and click the Next button.
If you want a password on the account, type it into the two lower boxes. Then scroll down the window a little.
You’ll see that you need to answer some account recovery questions.

If you forget your password, then these security questions will get you back in. Assuming that you can remember the answers.
Click the drop down arrowheads, choose the questions that you want to answer, and then supply the answer.
When you’ve completed all three questions, click the Next button.

Make A Note Of The Questions & Answers.
If you should forget your password, these questions are a quick and easy way back into your computer.
Write down the answers that you enter paying particular attention to the spellings. Keep them somewhere safe because you probably won’t need them for quite some time.
New Windows Users Are Always Created As Standard User Accounts.
After clicking the Next button, your new Windows user account will be created. You’ll see it appear in the Other Users section.
All new users are created as Standard user accounts by default. If you want the account to be an Administrator, then you’ll need to change the account type.


How To Change A Standard Account To An Administrator Account.
To change the new user account from a Standard user to an Administrator –
- Click on the account name and then click Change Account Type.
- In the Account Type box, click the dropdown arrow and then select Administrator from the list.
- Click the OK button.
- The new account will changed to an Administrator account.


Summary
On your home computer you certainly don’t have to have different accounts for everyone that uses the PC. Your whole household could simply use the same account.
However giving each user their own Windows account allows for more privacy and personalisation. Each person can have their own files, bookmarks, logins, settings, and desktop preferences.
Lesson 25
Course Progress – 24 of 37
Part of the At Home Basic Computer Course — free computer guides for beginners.
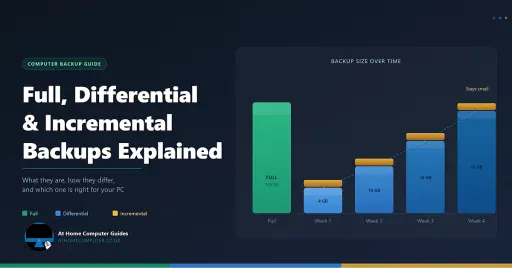
Differential Vs Incremental Backups
What they are, how they differ, and which one to use on your home PC?
This guide explains all three backup types in plain English, so you can make the right choice for your home PC.
You can find this and other related step by step guides in – At Home PC Tech Guides
Latest At Home Computer Guides.
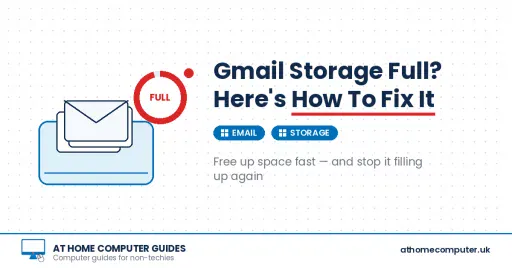
Gmail Storage Full? Here’s Why (and How to Fix it)
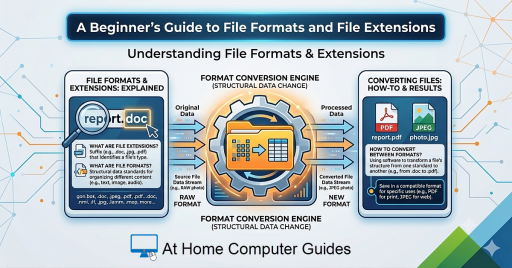
A Beginner’s Guide to File Formats and File Extensions
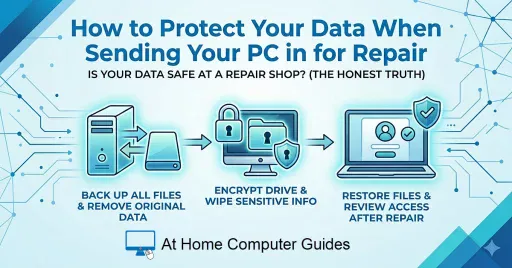
How to Protect Your Data When Sending Your PC in for Repair

Why I Use Virtual Machines and You Should Too
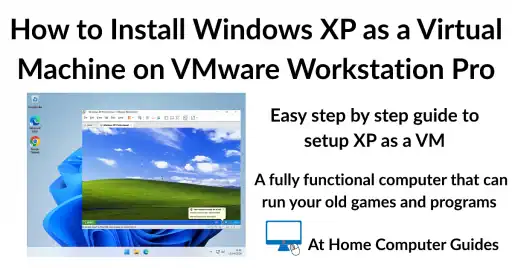
How to Install Windows XP as a Virtual Machine on VMware Workstation Pro
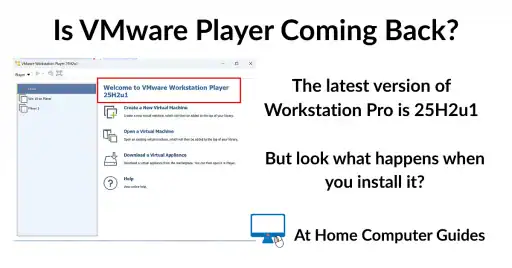
Is VMware Player Coming Back?

How to Setup OneDrive to Backup Your Files
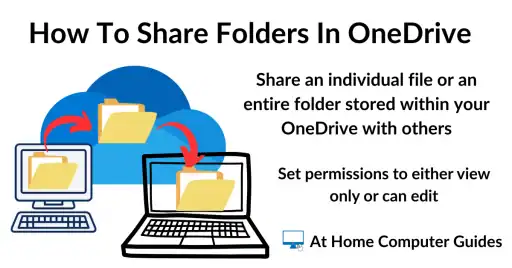
How to Share a Folder in OneDrive