How to delete a Windows account from your computer. Deleting a user account will remove all that person’s files and settings. It’ll be as if the account never existed.
On shared home computers, it’s not unusual to have multiple user accounts setup. Over time, some of these accounts can fall into disuse, people just move on.
Deleting old accounts from both Windows 10 & Windows 11 is easy to do, just be sure that you’ve saved any data (pictures, documents etc) from the account before you go ahead and delete it.
How To Delete A Windows User Account.
It’s very slightly different depending on whether you’re using Windows 10 or Windows 11.
Windows 10 – Click the Start button and then type “accounts”. Then click Add, Edit or Remove Other Users (system settings). It usually appears at the top of the search results.
Windows 11 – Click Start and then type “other users”. Then click Other Users (system settings). Again it will normally appear at the top of your search results.


Remove User Account.
In Windows 10 the Family and Other Users page will open.
And in Windows 11 the Accounts > Others page will open.
Select the user account that you want to delete by left clicking on it once. Then click the Remove button.


After clicking the Remove button, Windows will ask for confirmation.
To proceed, click the Delete account and data button.

That’s all there is to it. The deleted account will disappear from the Other Users section.
You won’t see the account on the Windows login screen either.
It has gone for good.

Summary
Be sure that you’ve saved any files or folders that you or the other person might need before you go ahead and delete an account. You can simply save the files to a USB drive for use later on.
Next page we’re looking at what useful programs come with Windows. See you there.
Lesson 26
Course Progress – 25 of 37
Part of the At Home Basic Computer Course — free computer guides for beginners.
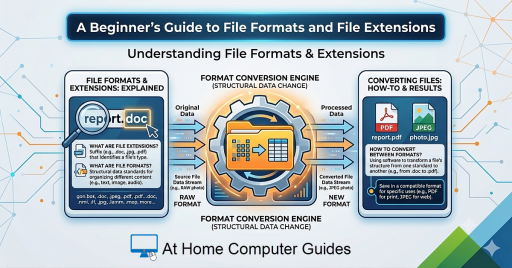
What are File Formats and Filename Extensions
Every file on your computer — whether it’s a photo, a document, a song, or a video — has two important things: a file format and a file name extension.
In this guide I’ll explain what they are, how to show filename extensions and how to convert between formats.
You can find this and other related step by step guides in – At Home Computer Windows 11 Guides
Latest At Home Computer Guides.
Gmail Storage Full? Here’s Why (and How to Fix it)
A Beginner’s Guide to File Formats and File Extensions
How to Protect Your Data When Sending Your PC in for Repair

Why I Use Virtual Machines and You Should Too
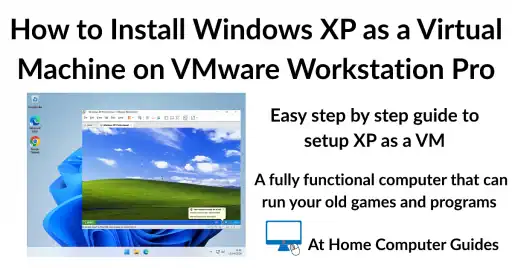
How to Install Windows XP as a Virtual Machine on VMware Workstation Pro
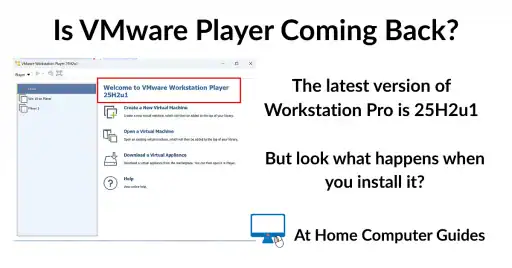
Is VMware Player Coming Back?

How to Setup OneDrive to Backup Your Files
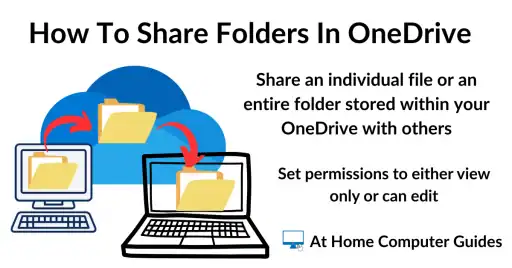
How to Share a Folder in OneDrive