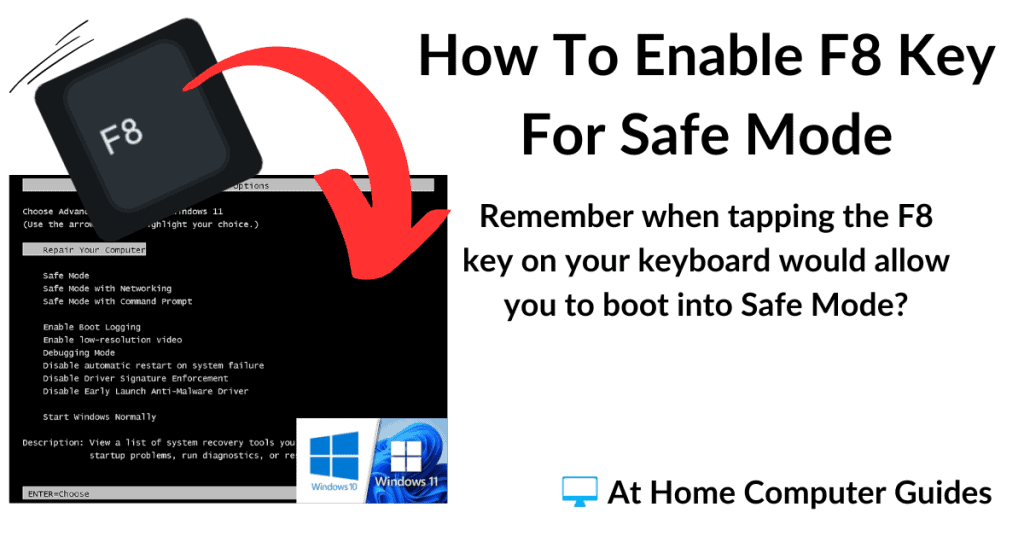
Remember when you could start a troublesome computer in Safe Mode by tapping the F8 key. Since the release of Windows 8, that option has disappeared.
However, all is not lost. You can re-enable the F8 key to boot into Safe Mode in both Windows 10 and Windows 11.
How To Enable The F8 Key To Boot Into Safe Mode.
To get started enabling the F8 key, open Command Prompt as an Administrator.
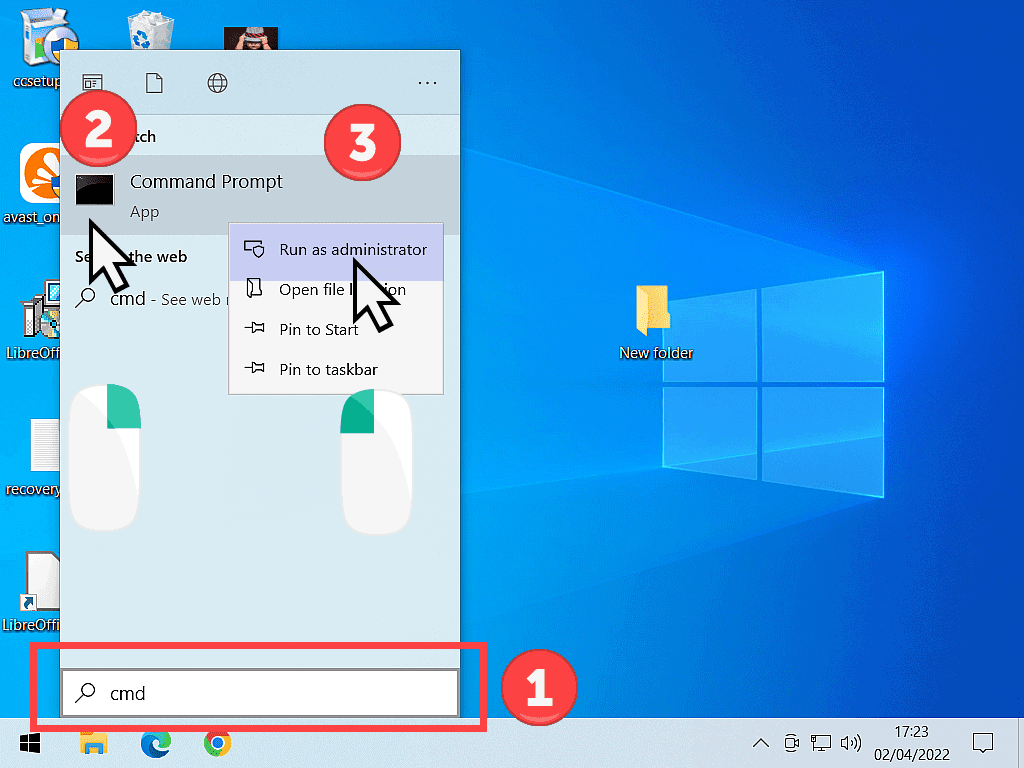
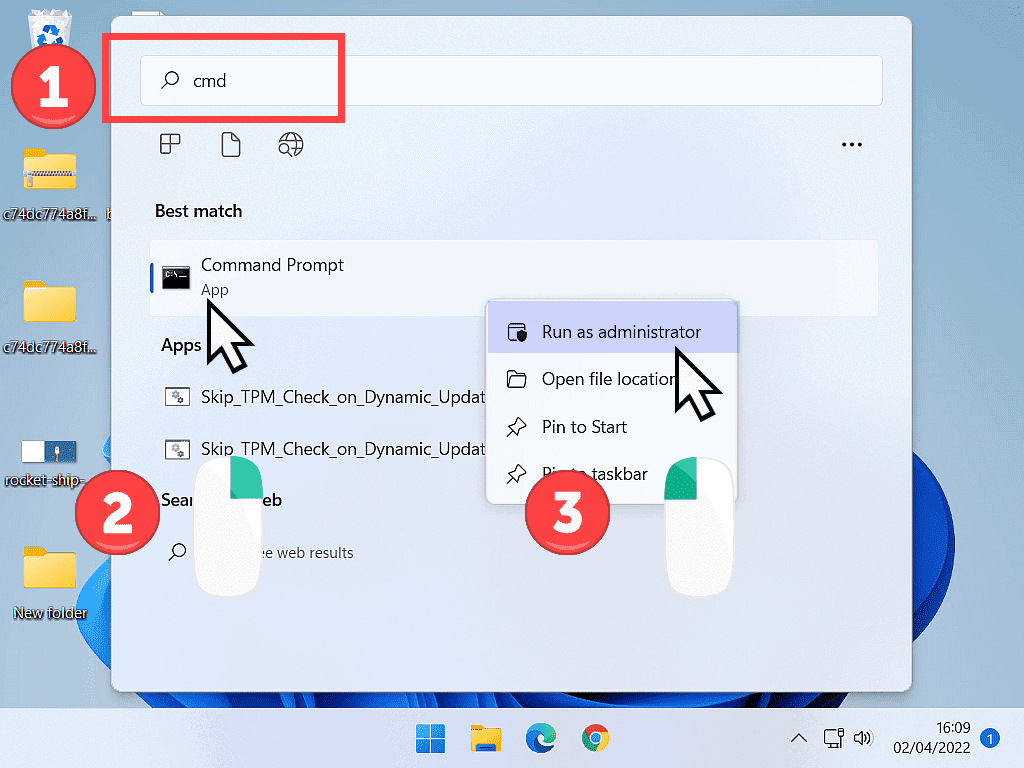
Left-click the START button and type “cmd” into the search box. When Command Prompt (App) appears in the results, right-click on it and then left-click RUN AS ADMINISTRATOR.
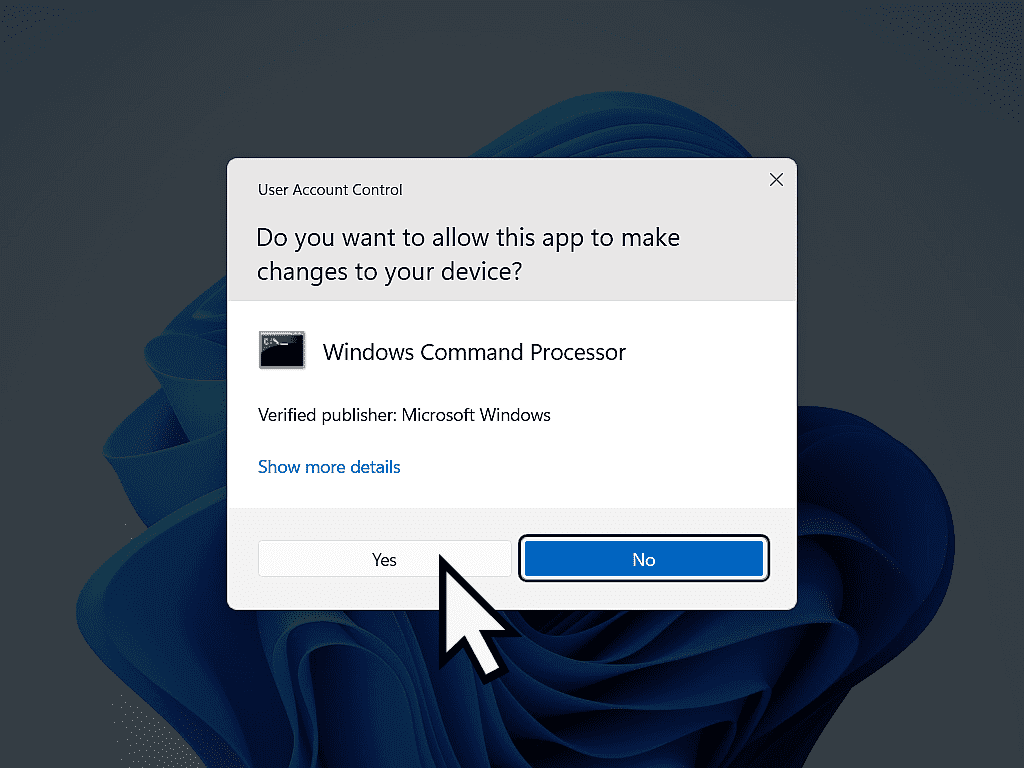
In both Windows 10 and 11, you’ll probably see a User Account Control window pop up.
Check that it is referring to Windows Command Processor and click the YES button to continue.
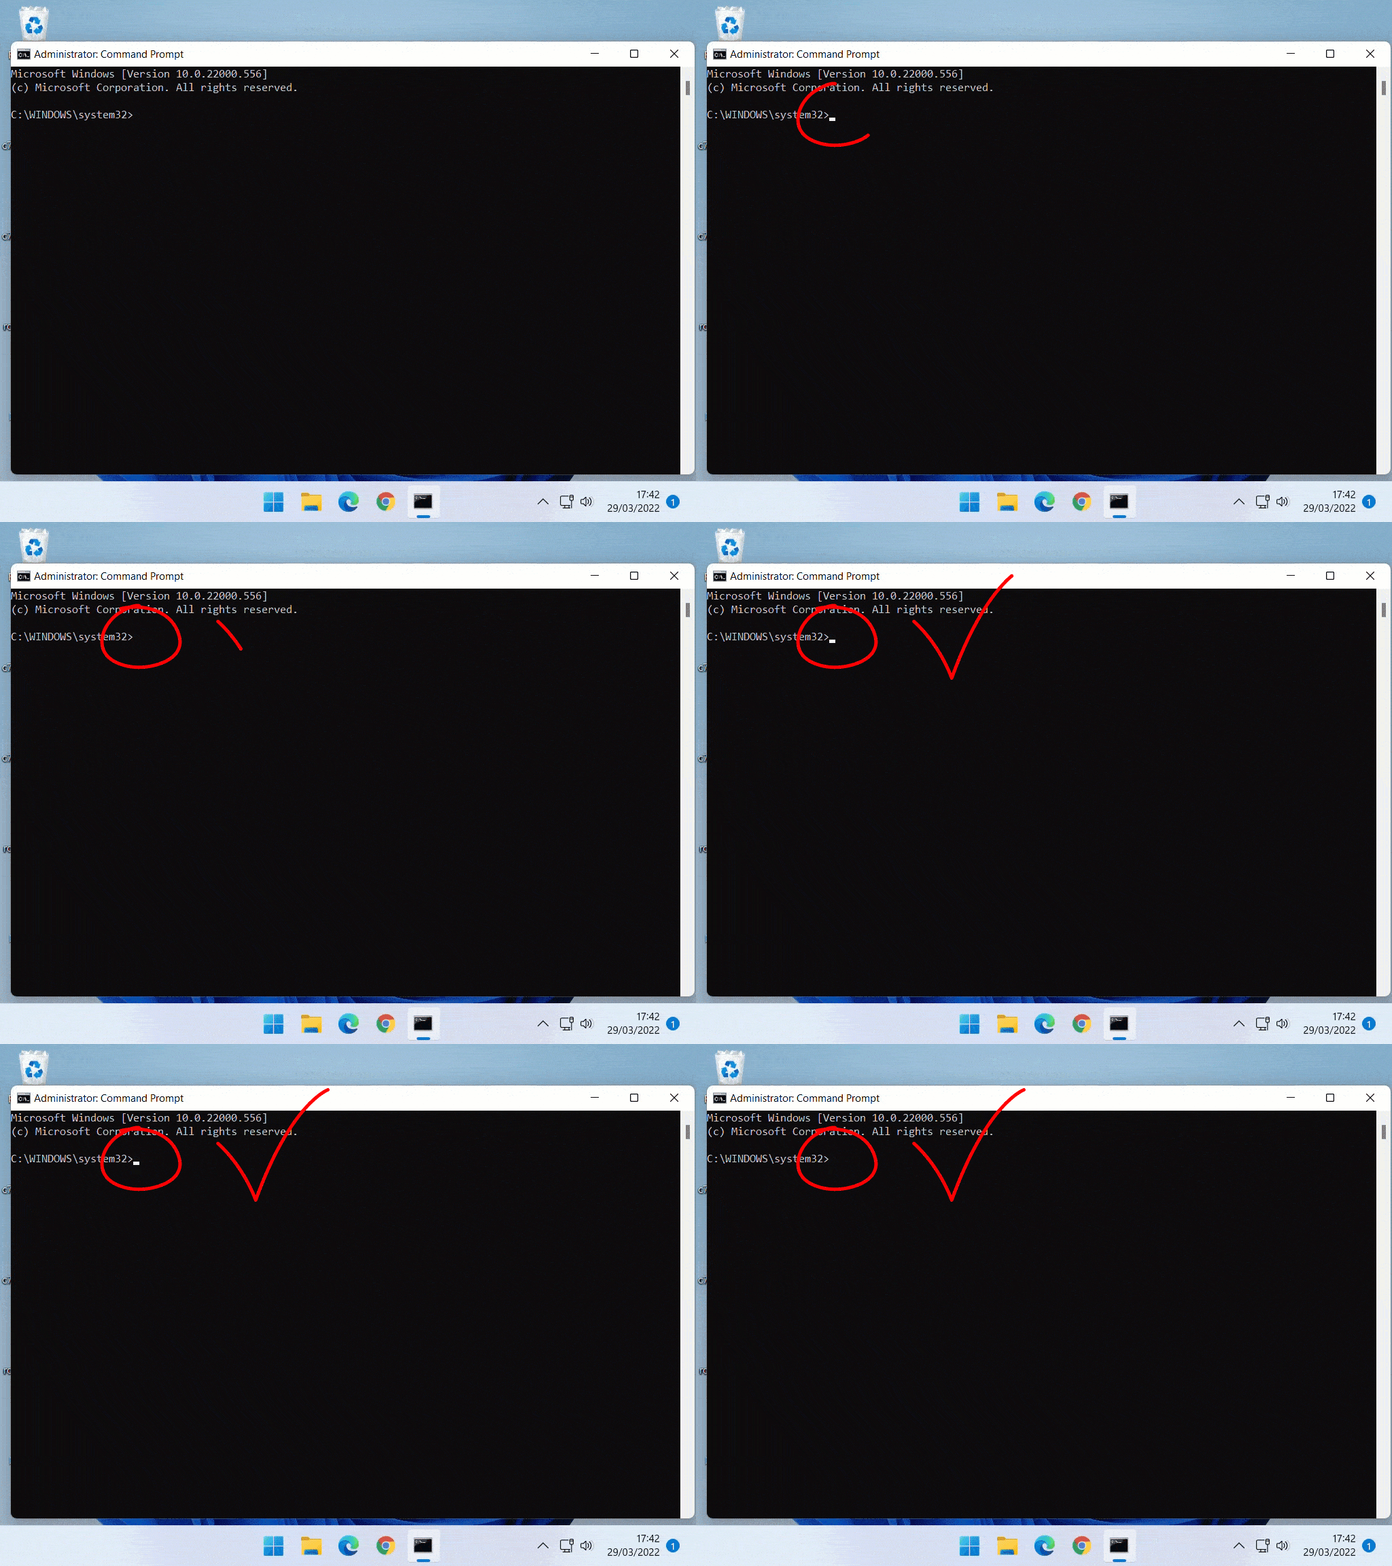
The Command Prompt can take a few moments to fully load, so give it time.
You’ll know when you’re ready to go when you see the flashing (or blinking) cursor.
To Enable The F8 Key in Windows 10 and 11.
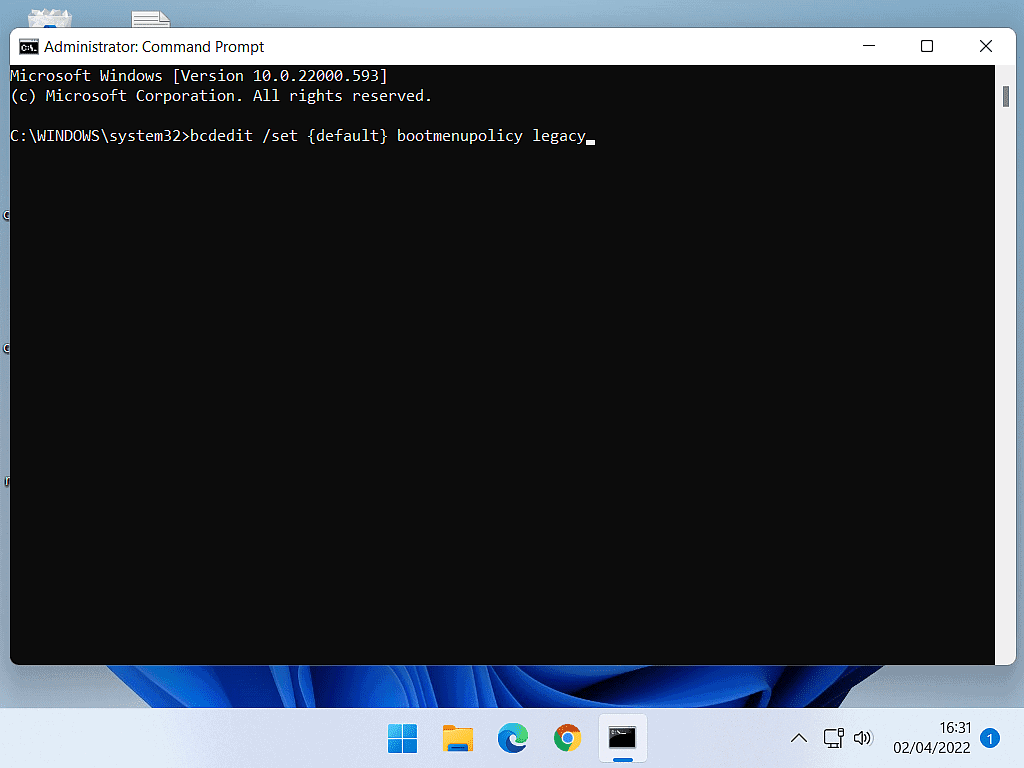
To enable the F8 keypress, type this command exactly as it is written here and press the Enter key on your keyboard.
bcdedit /set {default} bootmenupolicy legacy
Or better still, you can copy and paste it into Command Prompt.
Don’t forget to press Enter.
After you press the Enter key on your keyboard you should see the message –
“The operation completed successfully”
That’s it, you’ve successfully enabled the F8 key to start Windows 10 and 11 in Safe Mode.

Note.
If you get any other type of message, try again. The Command Prompt is a rather unforgiving tool and demands absolute accuracy when you’re typing in these commands.
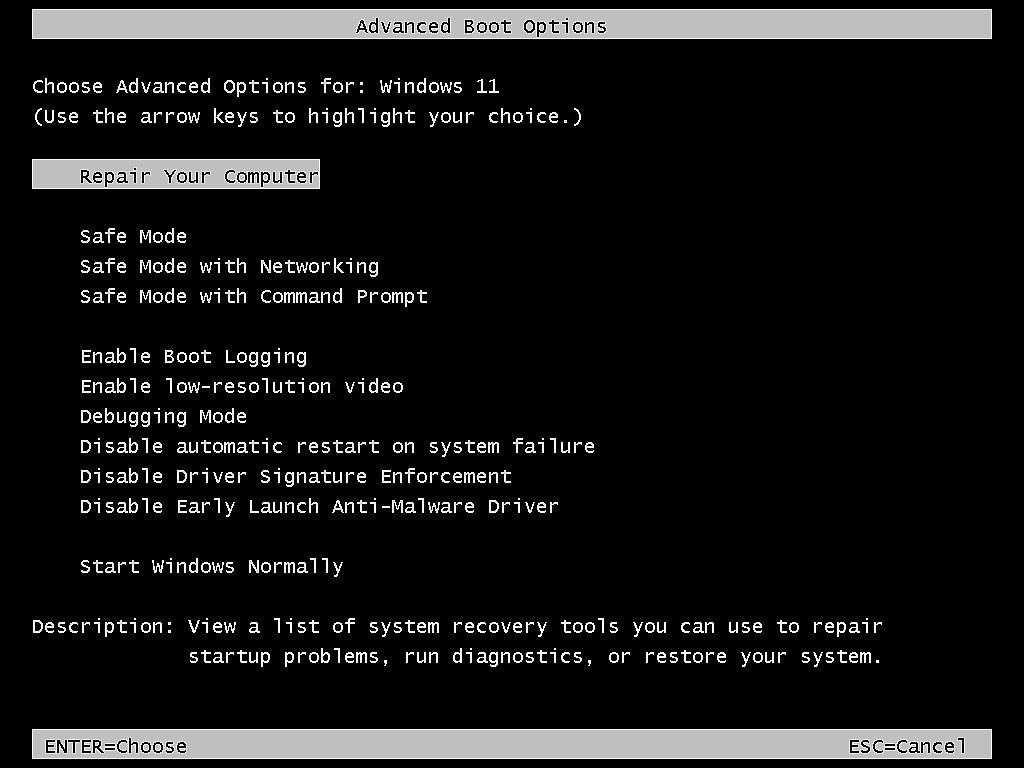
Try it out for yourself. Reboot your computer and keep tapping the F8 key.
The old Windows 7 style Advanced Boot Options page will appear.
Use the arrow keys on your keyboard to select either Safe Mode, Safe Mode with Networking or with Command Prompt.
How To Disable The F8 Key For Safe Mode.
Once you’ve enabled the F8 key to boot into Safe Mode, you can, of course, disable it. And it’s almost exactly the same as enabling it.
Start Command Prompt as an Administrator and then type
bcdedit /set {default} bootmenupolicy standard
And then press the Enter key on your keyboard.
Again it would be a good idea to simply copy and paste the command.
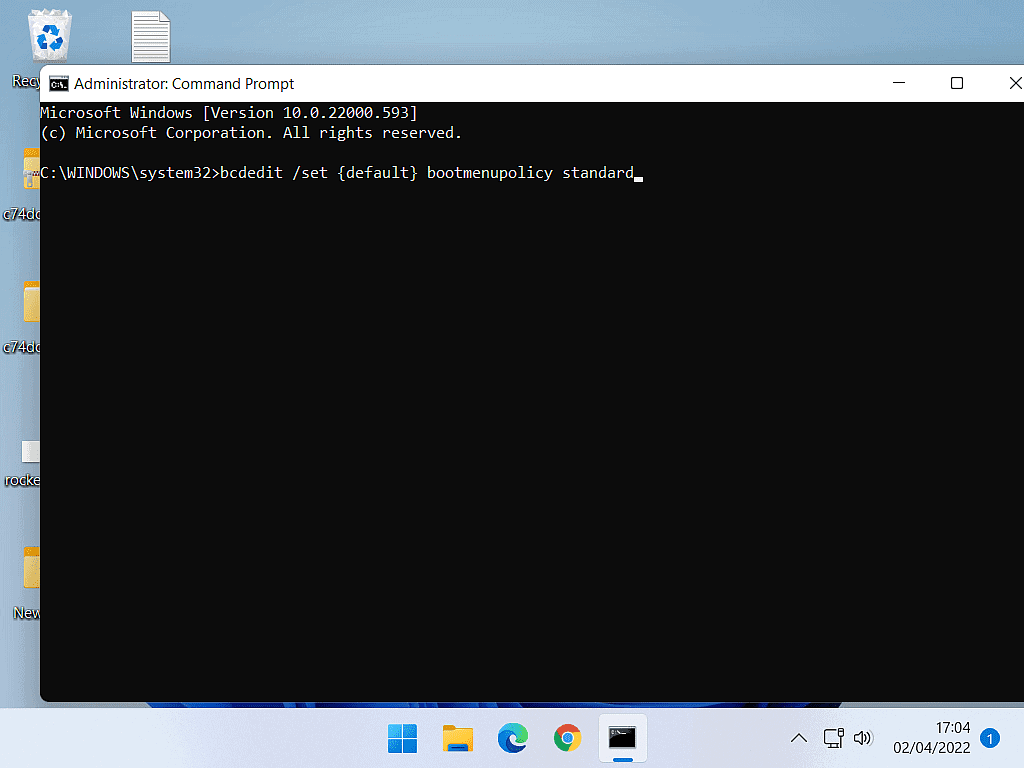
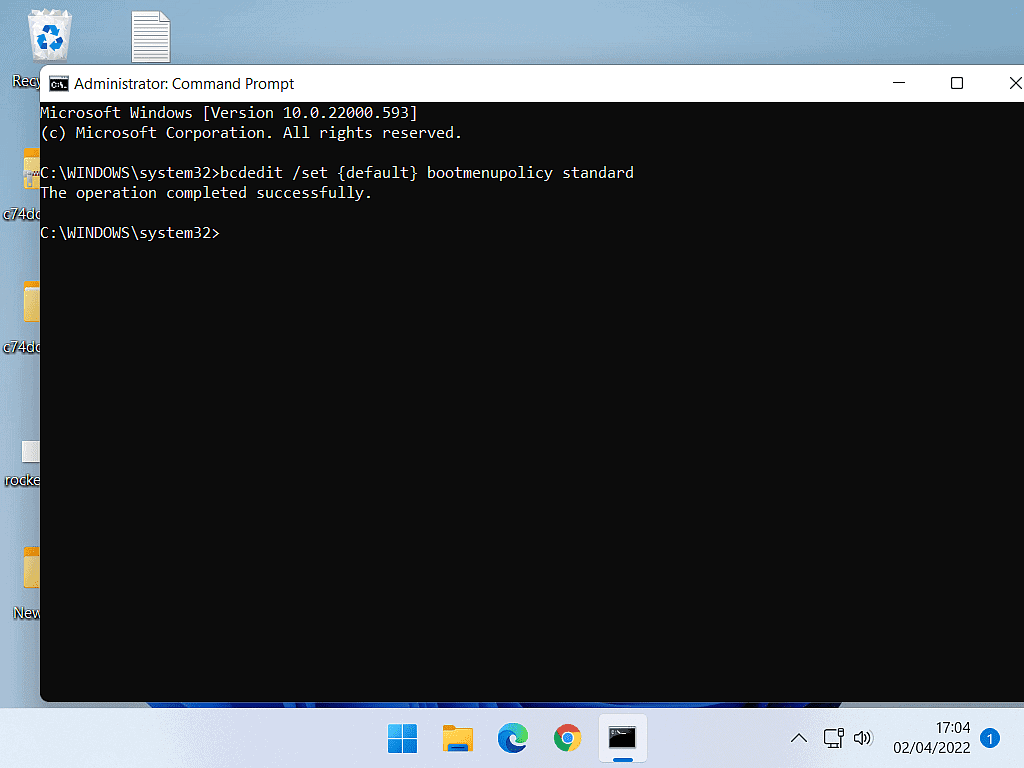
Just as before when enabling the F8 key for Safe Mode, when you disable it, you’ll get a “The operation completed successfully” message.
Keep Up With Home Computer Guides.
All the latest guides and articles published on At Home Computer delivered to your inbox.
No account needed, just add your email address.

