Home » Computer Guides » Windows Guides » How To Screenshot A Computer Screen.

How To Screenshot A Computer Screen.

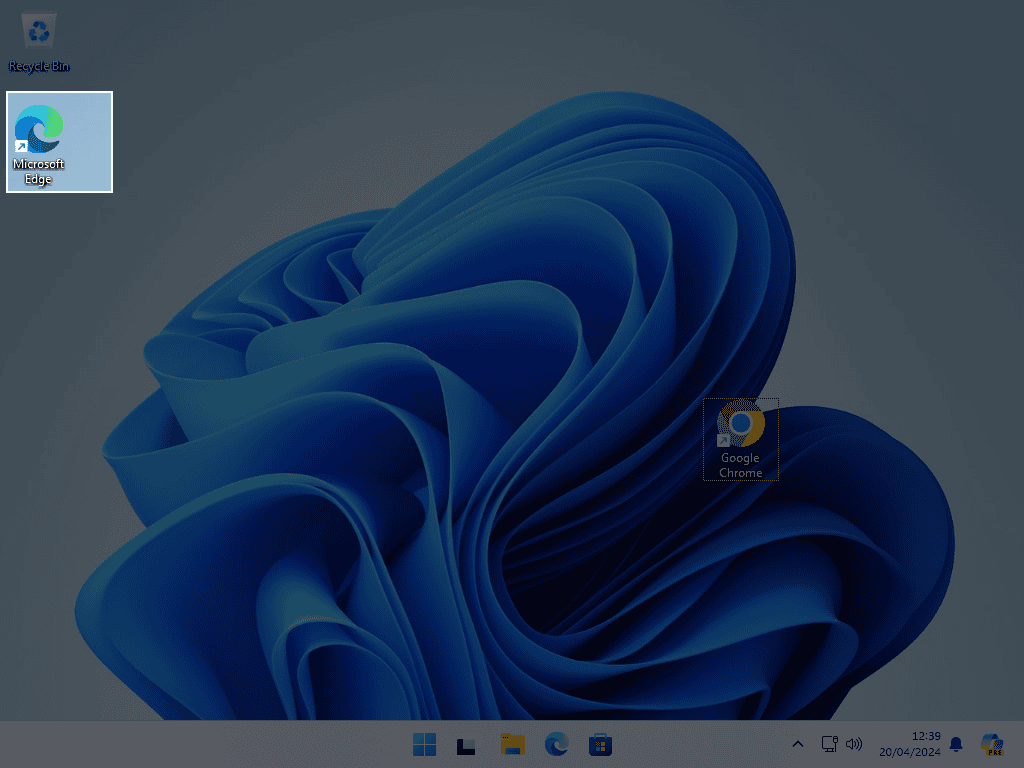
A screenshot, sometimes called screengrab, screencap or screen capture, is basically a picture, or image of your computer’s screen. It doesn’t matter whether it’s a laptop screen or desktop monitor.

It’s a way of capturing what you’re actually seeing on your screen.

Taking a screenshot is incredibly useful in a variety of ways. It can, of course, capture error messages that pop up so that you don’t have to remember what they say. But for me, one of the best uses of a screengrab is when you’re filling in an online form, or you’ve some form of instruction.

Creating an image of what’s on your screen means you’ll have something to refer back to later. But just how do you take a screenshot on a computer?

How To Screenshot With Snip & Sketch.

Windows 10 comes with its own screenshot app called Snip & Sketch. It’s fairly basic, lacking many of the extra tools provided by third-party software, but it’s free with your computer and you won’t need to install anything.

Snip & Sketch is probably all most people are going to need for making the occasional screengrab.

You can find Snip & Sketch by clicking the START button and then typing –

snip and sketch

Left-click the Snip & Sketch app at the top of the list.

Windows 10 Start menu open and "Snip and Sketch" has been typed into the search box.
Type Snip and Sketch and then click on it.

To take a screenshot (called a snip), click the NEW button in the top left corner.

New Snip button marked.
Click the New snip button in the top left corner.

You could also use the keyboard shortcut Windows key – Shift key and the letter S

On a standard UK layout keyboard, the Windows key, Shift key and letter S are all indicated.
Windows key – Shift key- Letter S.

The way in which you launch (start) Snip and Sketch has an effect on how you proceed with viewing the capture after you’ve made them, as you’ll see shortly.

Regardless of how you launch Snip & Sketch, your screen will darken and the “Snip options” box will appear at the top of the screen.

There are only four options.

  1. Rectangle
  2. Freehand
  3. Window
  4. Fullscreen
Snip options are indicated by an arrow pointing at them.
Snip options.

With the Rectangle and Freehand options, hold down the left mouse button and then drag the shape over the area of your screen you want to grab. When you release the mouse button.

For the Window option, click on whichever window you want to snip (grab). And for the Fullscreen option, a snip or screenshot is taken of the whole screen.

Click whichever option you require.

If you launched Snip & Sketch from the Start menu, when you take your screenshot, the editor will pop up on your screen.

Screenshot of Windows desktop.
Snip and Sketch editor.

But if you launched Snip & Sketch using the keyboard shortcut, when you make your screengrab, a notification will appear in the lower right corner of your screen.

Click on the notification to view and edit the screenshot.

"Snip saved to clipboard" notifiction on Windows desktop.
The snip (screenshot) has been copied to your clipboard.

If you missed the notification pop-up, click the notification icon (button) in the bottom right corner.

Then click your screenshot on the list that opens.

Arrow points to the notification area.
The Notification icon.
Notifications open.
Click the Snip and Sketch notification.

Editing The Snip & Sketch Screenshot.

Inside the Snip and Sketch editor, it’s pretty basic. You get a couple of pens to draw on your screenshot and you can crop the image.

Annotating the screenshot (adding text) is difficult on a standard computer, you have to “draw” the letters with your mouse.

But if you’ve got a touchscreen, then you can use the touch writing option.

A folder is circled.
You can add annotations to your screengrab.

For most of us, most of the time, we’re only really going to want the screenshot itself.

Usually, we don’t really need to make any sort of marks on the image.

The reference number or login details or whatever your trying to capture will be pretty self-evident.

Screenshot of a webpage.
Use a screenshot to quickly grab important information.

But if you do need to make a better job of marking up your screenshot, you can actually paste it into any image editor that you’ve got installed on you computer.

Microsoft Paint has been around forever and will do a reasonable job of marking up your screenshot.

After taking a screenshot,

Click the START button, then type –

paint

You’ll see Paint (app) appear at the top of the list.

Left-click on it.

Windows 10 start menu open and Paint has been entered into the search box.
Lauch MS Paint to add extra annotations to your screenshots.

MS Paint will open, but you won’t see your screen grab yet. It’ll just be a blank canvas.

To paste the screenshot into Paint, hold down the CTRL key (bottom left corner of the keyboard) and then hit letter V on the keyboard.

Blank canvas in Microsoft Paint.
The canvas will be blank when Paint first opens.
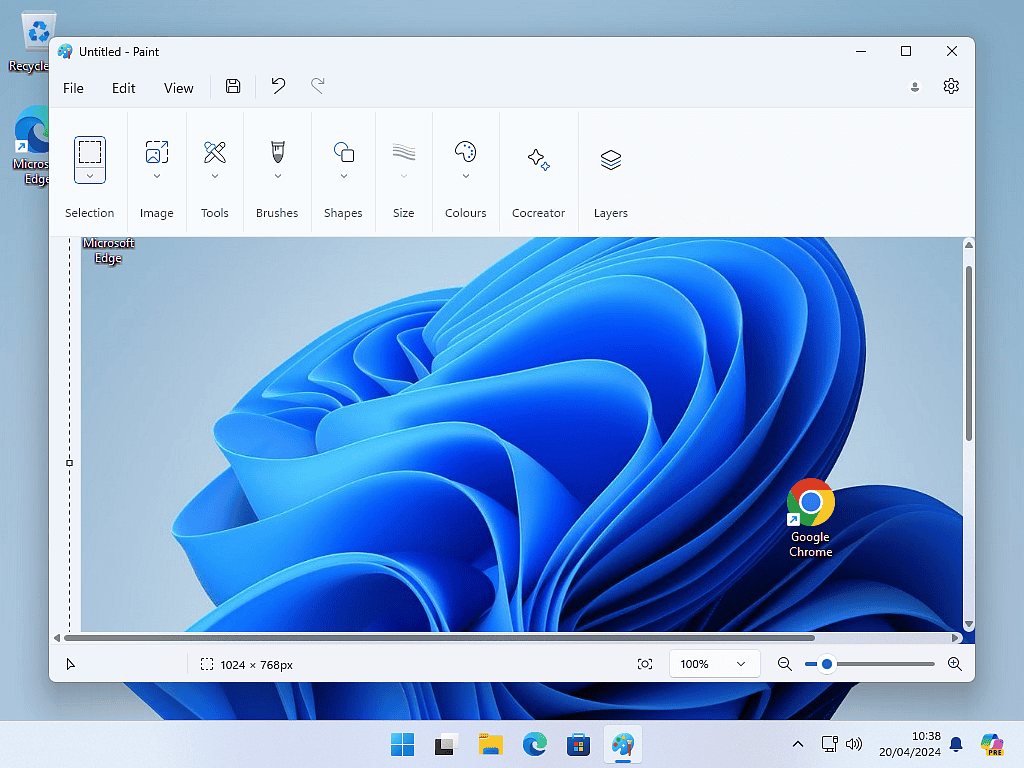
A screenshot of a Windows desktop pasted into Paint.
Press CTRL + V to paste in your screenshot.

MS Paint is an image editor.

Yes, it’s basic by the standards of Photoshop and other image editors, but it will get the job done and it’s already on your computer.

Paint provides you with a much better selection of tools to edit your screenshot without being overly complex.

Importantly, it has a proper Text Box that you can type into.

Folder on screenshot circled and listed.
You can make your notes much easier to read.

How To Screenshot – Print Screen Key.

Print screen is probably the oldest way to capture what’s on your screen. What it does is to take an image of whatever is on your monitor and then copy that image to the computer’s clipboard.

That means that you’ll have to paste the captured image into an image editing program in order to do anything with it or to save it.

On the upside though, it’s very quick and easy to take a screenshot.

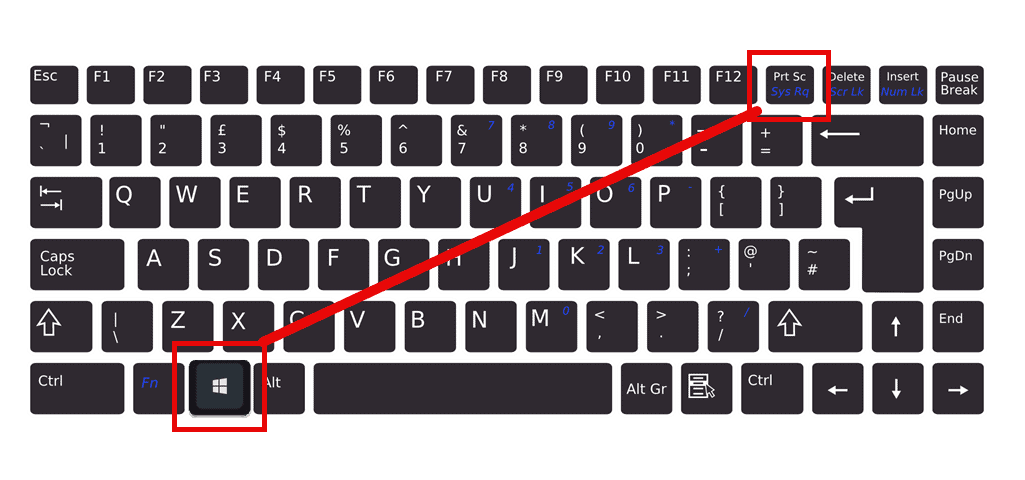
To use “print screen”, on your keyboard, simply press the Print Screen key or sometimes CTRL and Print Screen. Often the print screen key will be labelled Print Scrn or maybe PrtScn, or some other variation.

Standard UK layout keyboard. CTRL and Print Screen keys are indicated.
Press CTRL and Print Screen keys at the same time.
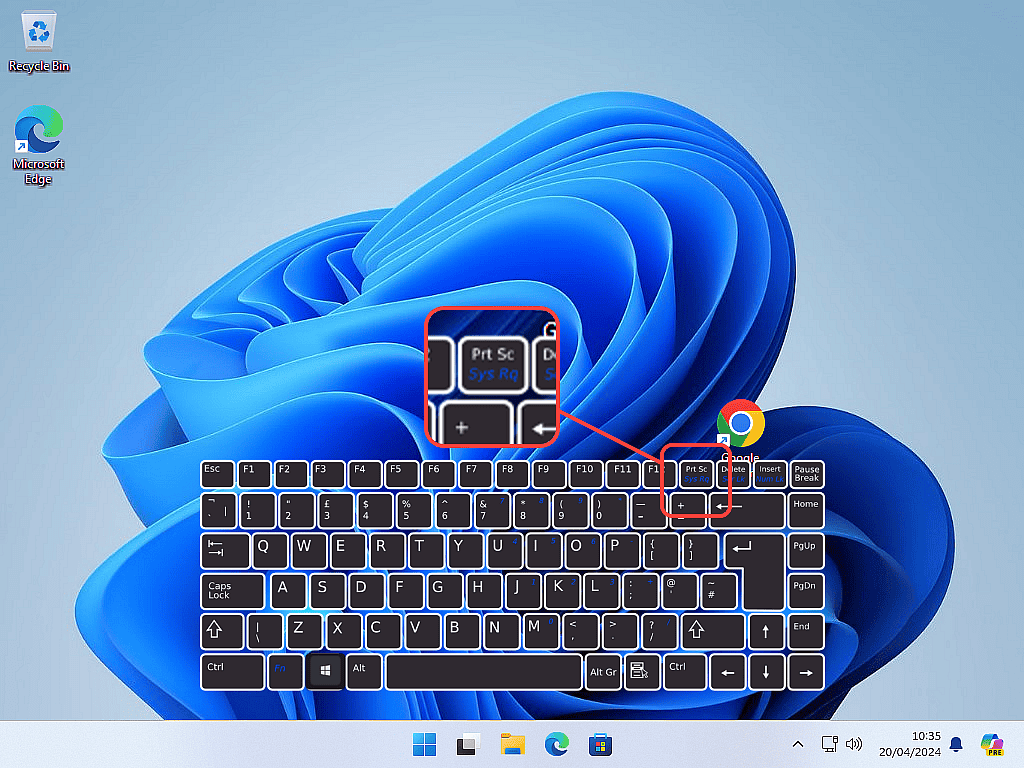
Close up view of the Print Screen key.
The Print Screen key is often abreviated to Prt Sc.

The actual location of the Print Screen key will vary on different keyboards, particularly smaller laptop keyboards. But it’s usually there somewhere.

So if you wanted to screenshot your desktop, you’d just press the Print Screen key or CTRL & Print Screen on the keyboard.

You won’t notice anything happen, there’ll be no indication that anything has happened at all.

To see the screenshot, you’ll need to paste it into an image editor. You can use any image editor installed on your computer, or indeed, any program that can handle images.

Microsoft Paint will do for now.

Windows desktop and the Print Screen key.
To make a screen grab, press Print Screen.

After you’ve taken your screenshot, open the program you want to use. I’ll use Paint because everyone will have it.

Open Paint as above in the Snip & Sketch section.

Then press CTRL and the letter V to paste the image in.

Folder on screenshot circled and listed.
Your screenshot will appear in whichever program or app you want to use.

Once the image is pasted into Paint, or whichever program you’re using, you can proceed to add whatever mark-up you need to add to the screenshot.

Should You Use Snip & Sketch Or Print Screen For Your Screenshots?

It doesn’t really matter that much. It’s more a case of which you personally prefer. Either way, you get a quality image of what’s on your screen and usually that’s all we want/need.

What I will say though, is have a go. Have a go at screenshotting now. Use both methods and see which one you find easiest.

You don’t have to save the screenshots on your computer, but if you’ve had a go, then sometime in the future, when you need to make a screengrab, you’ll know how to do it.

About Third Party Screenshot Software.

Let me say right now that for most people, you’re not going to need third party screengrab software. Print Screen or Snip & Sketch will work fine for how often you’re going to use it.

Where third party software shines through though, is in the editors that usually come with them. These image editors are designed specifically for working with screenshots.

That makes marking up and annotating your screen captures much easier and better.

Paid for – Currently, I’m using a program called Snagit by TechSmith for this website. In the past, I’ve also used Snap by Ashampoo.

If you’re going to be making a lot of screenshots and need to mark them up, then I can recommend either of these. They both have a free trial version available, so try them both out and see which you prefer.

For free – Not sure. There’s an awful lot of screengrab software out there. Some of it legit and some of it, well, not so legit.

The best advice I can give you is to do some research before downloading and installing “free” software.

Scroll to Top