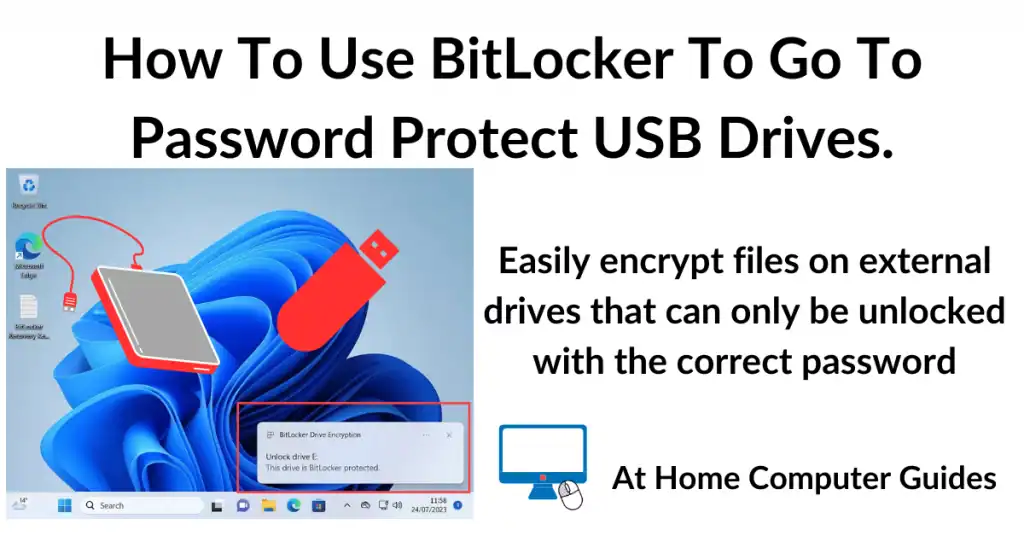
BitLocker To Go will password protect any USB flash drive or external hard drive. The contents of the drives will be encrypted and only unlocked when you enter the correct password. It’s a great way of keeping the files on your portable storage devices private.
Flash drives and USB hard disks are often used to backup files from your PC, or to store system images or the entire computer. However they’re easily lost or stolen so use BitLocker To Go to encrypt their contents so only you can access them.
What Is BitLocker To Go?
BitLocker is Microsoft’s full-disk encryption feature built into the Pro versions of Windows 10 and Windows 11. It’s function is to encrypt all the data on your computer. BitLocker To Go is the portable version of this tool designed for removable data drives. This includes USB flash drives, SD cards, and external hard disk drives.
When you use BitLocker To Go, you’re essentially scrambling the data on your drive so that its unreadable to anyone who doesn’t have the key to unlock it. For you the user, that “key” is usually a password. Once you password protect a USB drive using this method, the drive prompts you for that password the moment you plug it into a computer. Without it, the drive will remain locked and unusable.
Drives encrypted with BitLocker To Go can be unlocked on any Windows PC and that includes Home versions.
Windows Home Version Encryption.
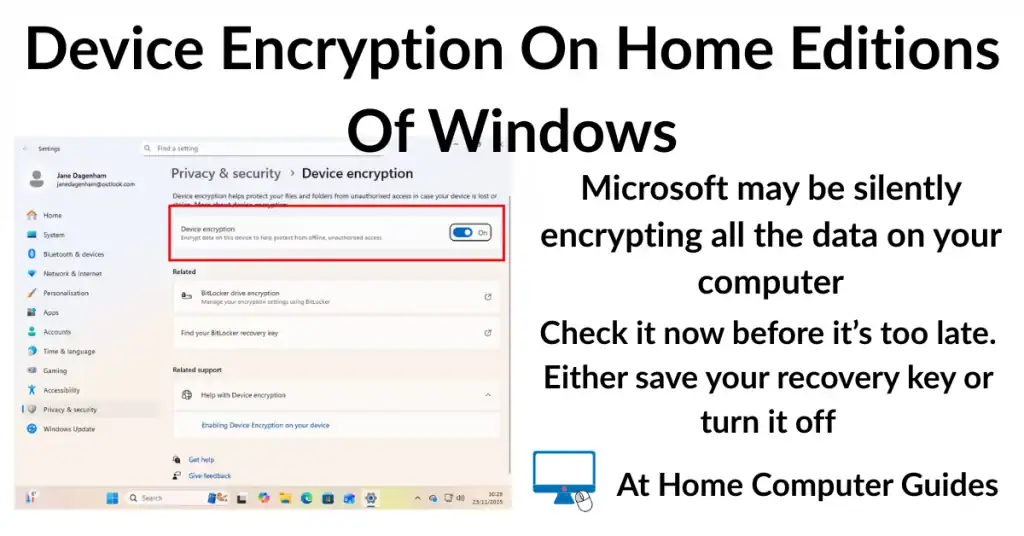
If you have a Home version of either Windows 10 or Windows 11, you won’t have access to BitLocker, it’s only available for Pro, Enterprise and Education versions. You may be able to use Device Encryption to secure to the contents of your computer.
How to Password Protect a USB Drive
Connect your USB flash drive or external hard drive to your PC. You can ignore any Autoplay popups that appear.
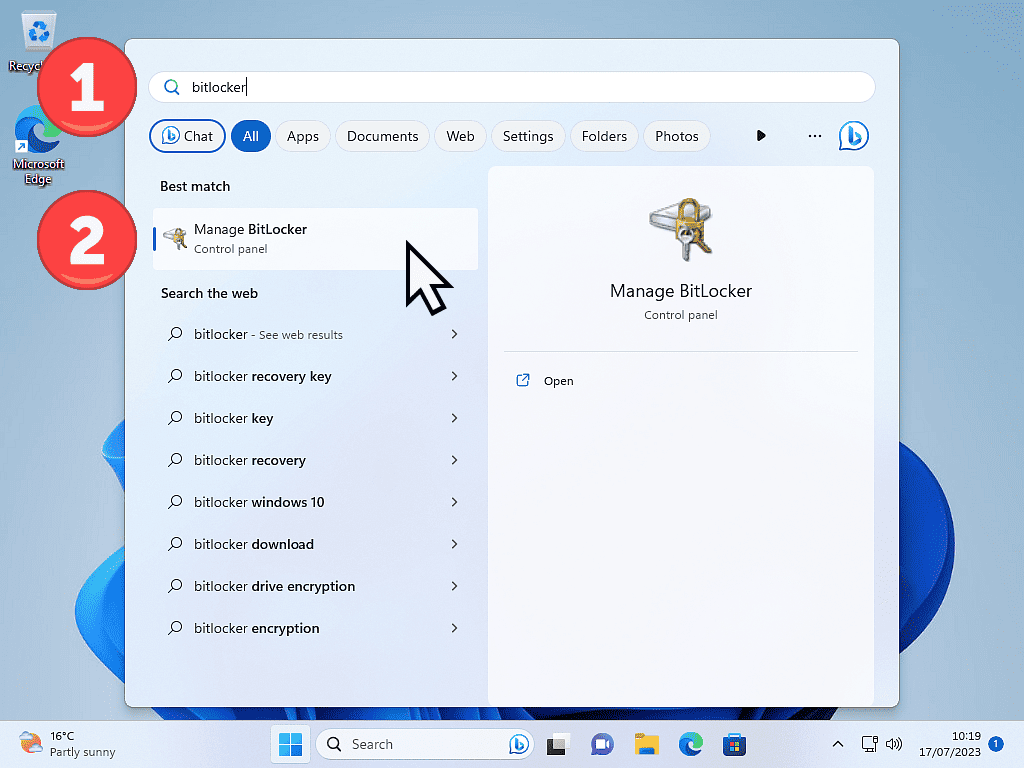
Click the Start button and then type “bitlocker“. Click on Manage BitLocker (Control Panel).
Turn On BitLocker To Go
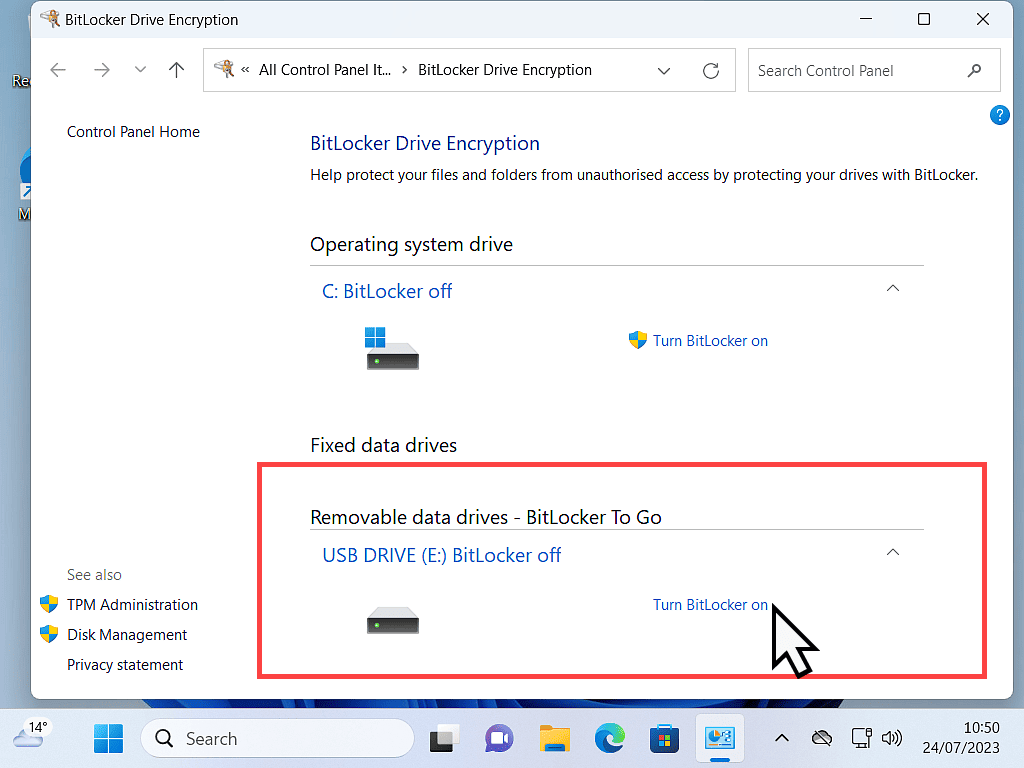
When the Manage BitLocker screen opens, you should see your USB drive listed near the bottom of the page under Removable Data Drives.
Click the drive you want to password protect to select it and then click the “Turn BitLocker on” link.
Choose Your Unlock Method
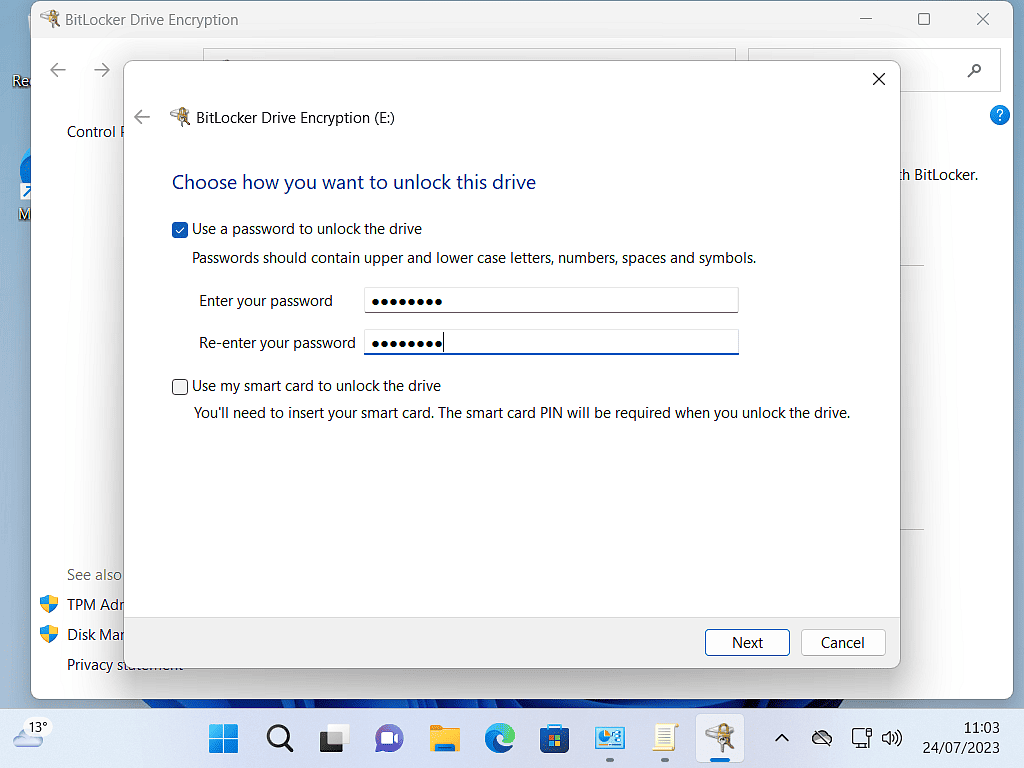
Once initialized, a window will pop up asking how you want to unlock the drive. You’ll see two options, one for a password and one for a smart card. For most home computer users, the password option is probably the best choice.
Select “Use a password to unlock the drive”.
Then type in the password that you want to use, then re-enter it into the confirmation box.
Be sure that you know the password that you’ve just entered. If you’re not absolutely sure, click the Cancel button and start again.
When you’re ready click Next.
About Passwords
Try to use a password you’ll be able to remember but others can’t just guess. Avoid “123456” or “password.” A good tip here is to open Notepad (or another text editor) and create a password. Then simply copy and paste it into the password boxes in BitLocker To Go. As an example a short phrase like “Blue-Coffee-Mug-22!” is very strong but easy to remember.
Save The Recovery Key
If you should forget your password, the Recovery Key is the only way to regain access to your files on the USB drive. Without the password or this key, your data is gone forever. Take good care of the recovery key.
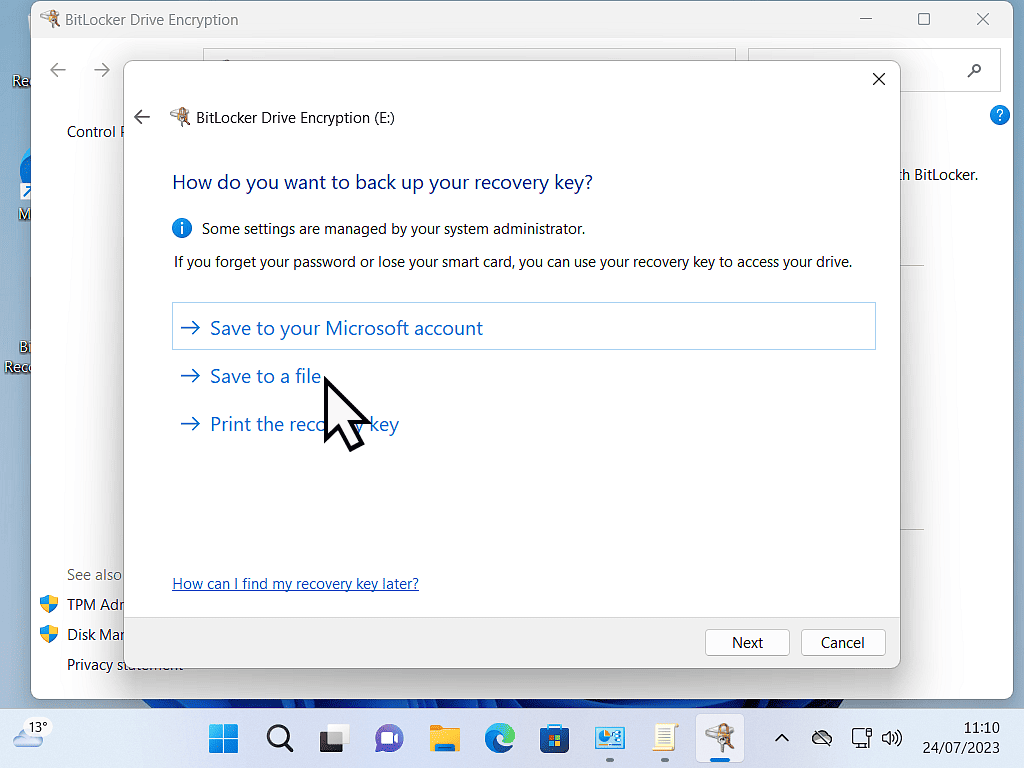
You can save the recovery key to your Microsoft account, to a file on your computer, or print it out if you’ve got a printer.
For this example, I’ll save the recovery key as a file on my computer.
Click Save to a file, then save the file anywhere on your PC. Somewhere that you’ll remember where it is.
Click the Next button when ready.
Save The Recovery Using All 3 Methods
My best advise here is to use all 3 methods to save the recovery key. During this setup phase of BitLocker To Go you’ll only be able to use one option. But once it’s finished, come back here and use the other 2 methods as well. You just can’t be too careful.
Encrypt Just Your Files Or The Entire Drive?
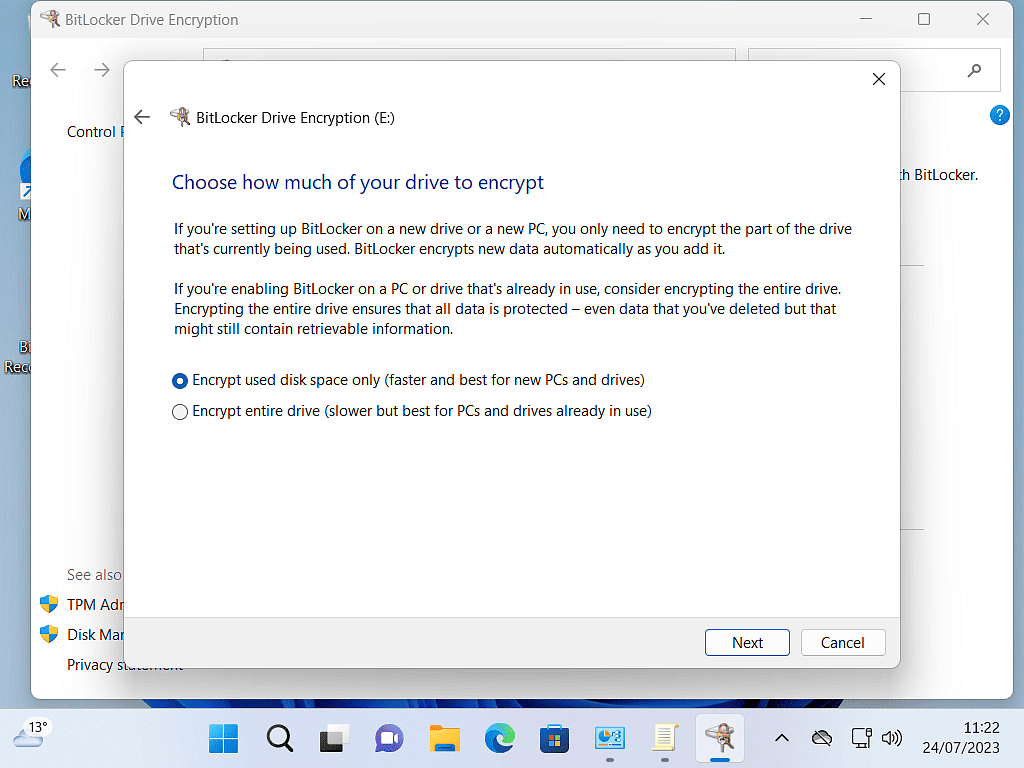
When BitLocker To Go encrypts your USB drive, it can either encrypt just the files that are stored on the drive, or it can encrypt the entire drive.
- Encrypt used disk space only: This is faster and ideal for new drives that are empty. It only encrypts the data currently on the disk. As you add new files later, they’re encrypted automatically.
- Encrypt entire drive: This takes longer but is recommended for drives that are already in use. It encrypts both current files and “deleted” data that might still be recoverable on the free space.
Encryption Mode
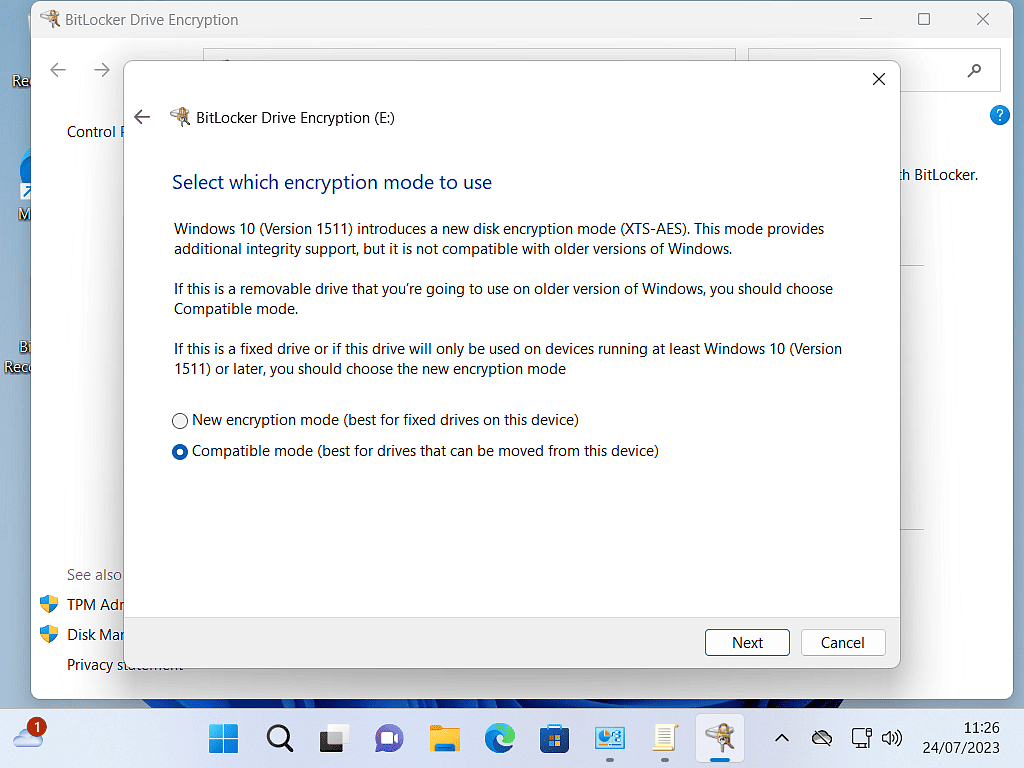
From Windows 10 onwards, Microsoft introduced a new, more secure encryption mode (XTS-AES), but it isn’t it backward compatible with older versions of Windows such as Windows 7 and Windows 8.
The new encryption mode is much stronger than the previous version, but won’t unlock if you plug the drive into computers running any version of Windows prior to Windows 10 version 1511.
If you might be connecting the USB drive to older versions of Windows select Compatible Mode.
Password Protect Your USB Drives
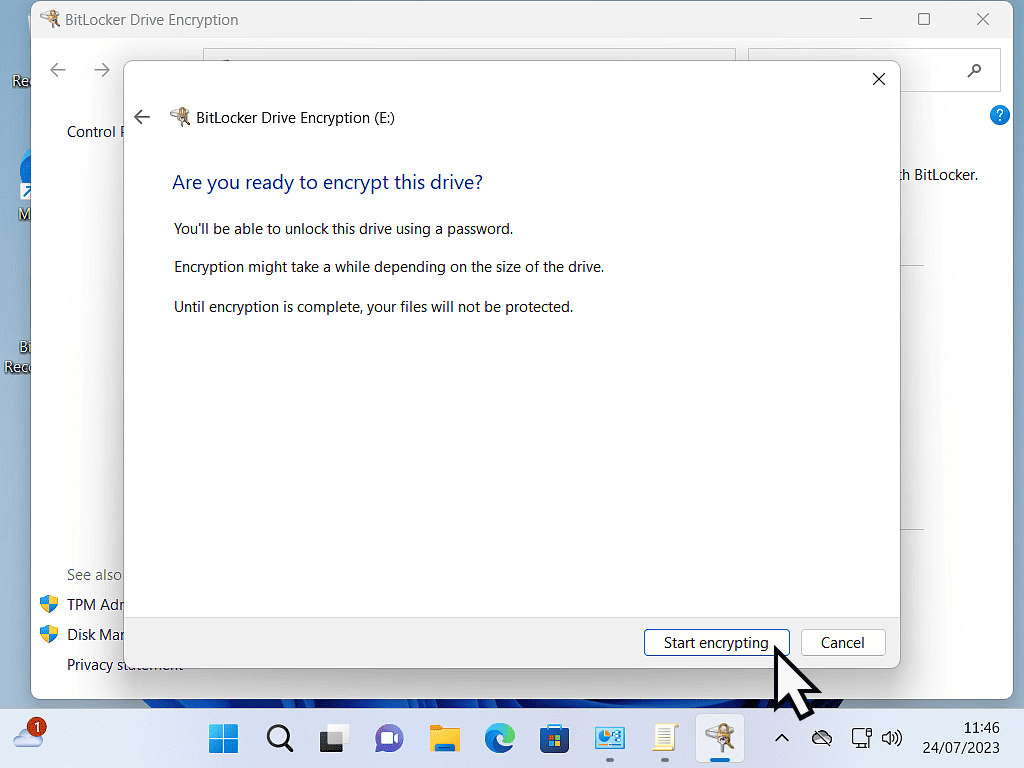
You’re now ready to encrypt the USB drive. You know the password to unlock the drive, right? You can access your Recovery Key? If you’re at all unsure, click the Cancel button and start over.
Assuming all’s good, click the Start Encrypting button. A progress bar will appear. Don’t unplug the drive until this process reaches 100%. If you remove the drive mid-encryption, you risk corrupting your data.
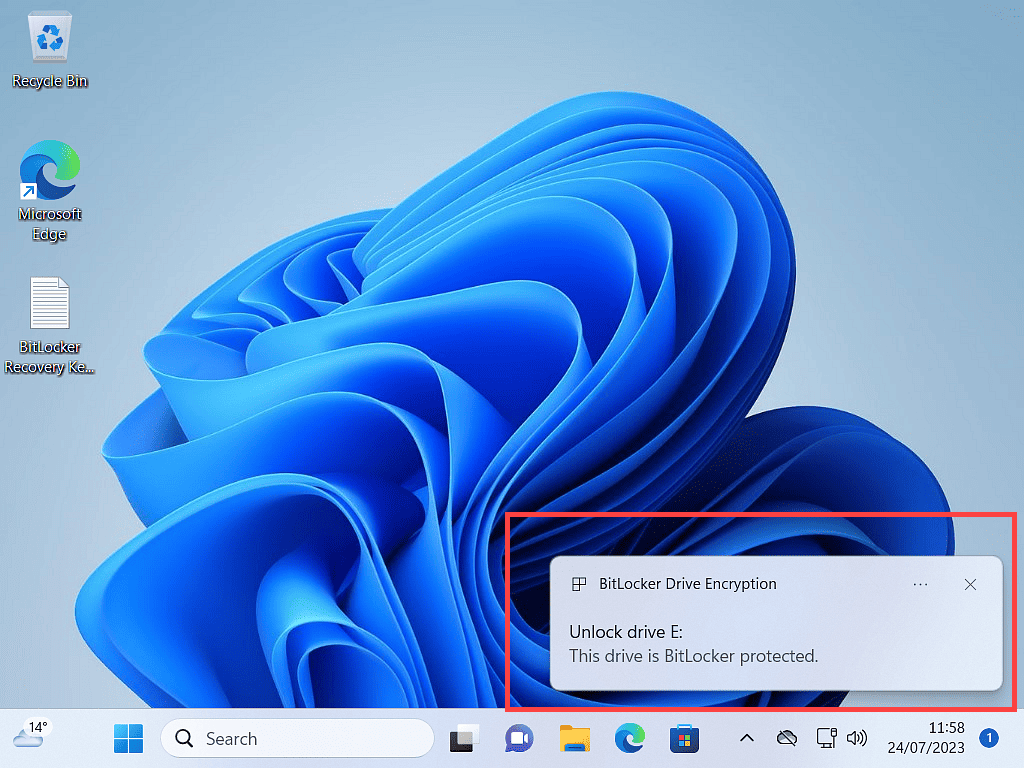
After the encryption process has finished, whenever you plug in the drive you’ll need to use the password that you set to unlock it. All the files on the drive will remain encrypted and protected until you do.
Frequently Asked Questions
Q: What happens if I forget my password?
A: Plug the drive in. When asked for the password, click “More options” or “I forgot my password.” Enter the 48-digit recovery key you saved earlier. This will unlock the drive and allow you to reset the password.
Q: Does encrypting a USB drive slow it down?
A: Yes, there is a tiny amount of overhead because the computer has to decrypt data as you read it and encrypt it as you write it. However, with modern processors and USB 3.0/USB-C speeds, this difference is negligible. Most likely you even notice it.
Q: Can I turn BitLocker To Go off later?
A: Yes. If you decide you no longer want to password protect the USB drive, you can turn BitLocker To Go off for that drive. This’ll cause the drive to be decrypted and you’ll no longer have to enter a password to access it.
Summary
USB drives (hard drives or flash drives) are a fantastic way to both store and carry all sorts of data. But their small size and portability makes them means that they can easily be lost, left behind or stolen. Using BitLocker To Go is easy and will protect the sensitive data on those drives.
Make sure that you keep your recovery key safe and accessible. The key is actually just a simple text file, so make yourself a few backup copies and store them in different locations. You just never know when you’ll need it.
Related Step By Step Guides
How To Enable BitLocker Without A TPM.
BitLocker requires a TPM (Trusted Platform Module) to be present on your PC. Many Windows 10 users may not have one. But You can still protect your computer data.
How To Password Protect And Encrypt A File Or Folder On Your PC.
VeraCrypt is free and open source and very secure. It’s perfect for password protecting file your PC.
How To Use 7-Zip To Password Protect Files.
Want a quick and easy way to password protect a folder? Use 7-Zip to create encrypted, portable folders.
Hiding Files From View
Adding password protection to your files and folders is generally a secure method of keeping your data private but it does carry slight risk. There’s always the possibility that you’ll forget the password and lose access to your own files. Essentially locking yourself out.
Hiding files and folders on your computer isn’t as secure but might be all the security that you need.

