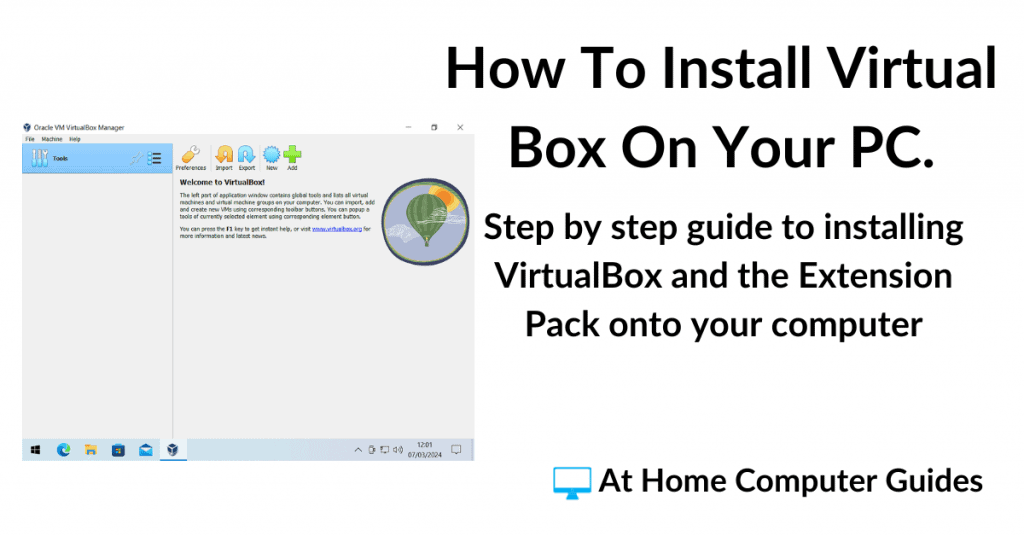
How to install VirtualBox on your PC. VirtualBox is a great way to setup and use virtual computers on your home PC for free.
It’s easy to install it by following this step by step tutorial.
You will need to have virtualisation enabled on your computer. If you’re running Windows 11, then it should be enabled by default. How To Enable Virtualisation On A PC.
Download VirtualBox.
To install VirtualBox, you’ll need to download it first. There are actually two downloads that you’ll need to get but they’re both available on the same download page.
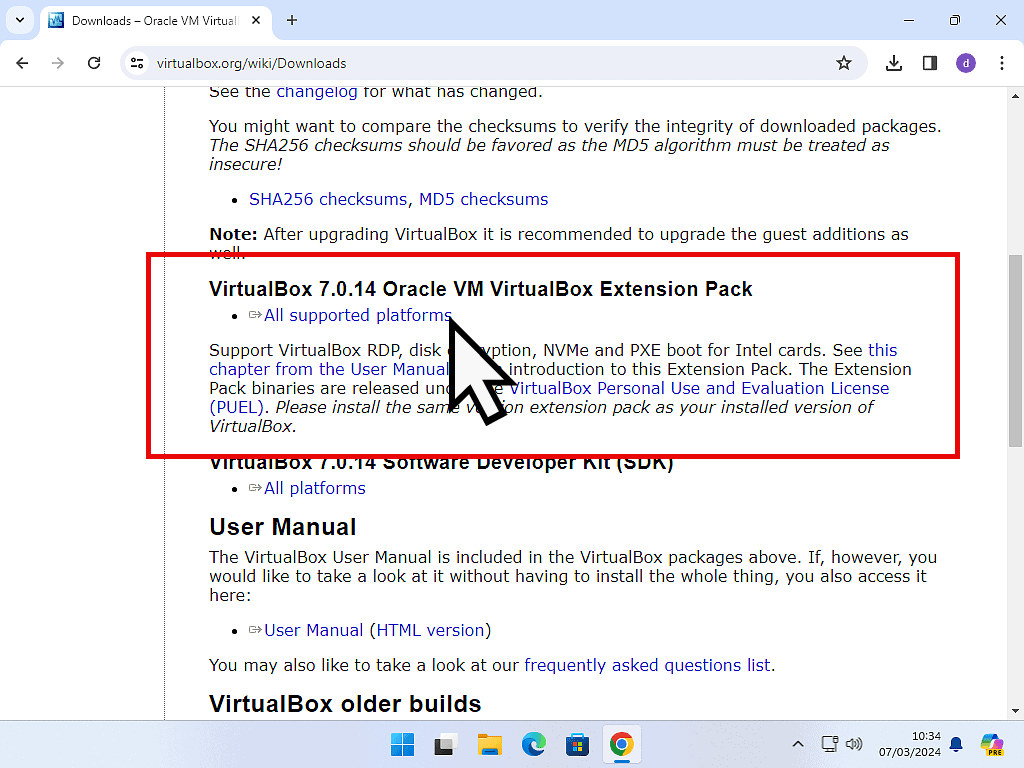
Firstly you’ll need to download VirtualBox itself (obviously) and secondly you’ll need what’s called the Extension Pack.
The VirtualBox Extension Pack simply adds extra drivers to the virtual machines that you create to enable them to work properly.
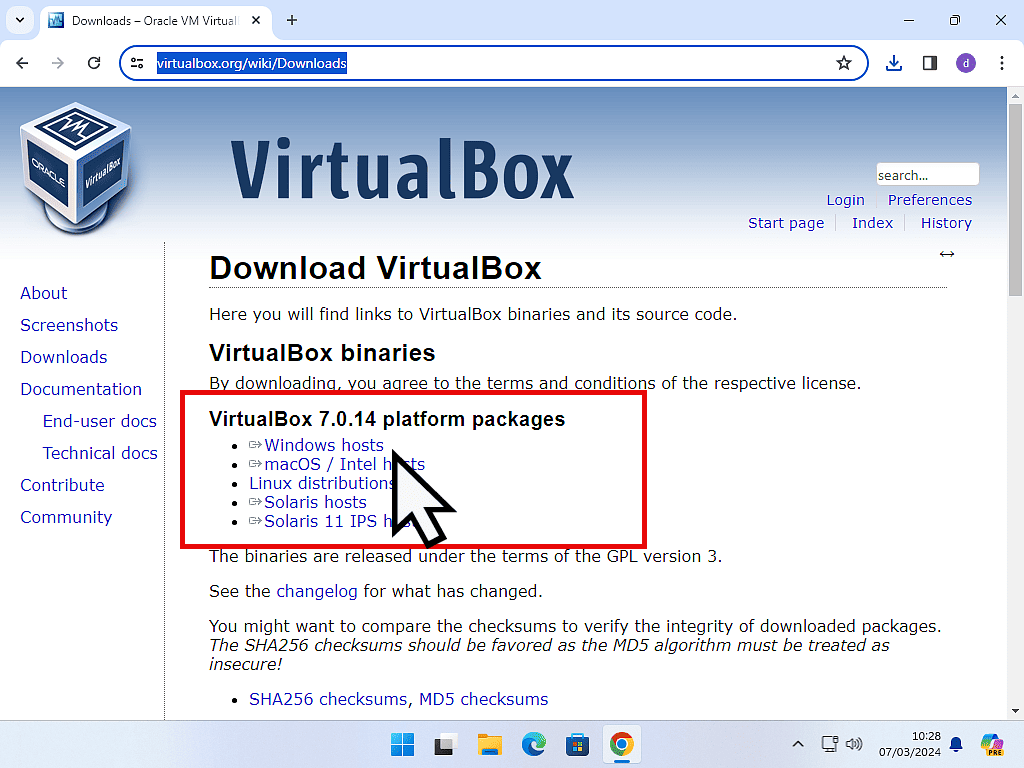
Head to the VirtualBox download page. You can click the link here https://www.virtualbox.org/wiki/Downloads
Download the version of VirtualBox to suit your current operating system. In this guide, we’re installing onto a Windows computer, so it’s the the Windows Hosts download that we need.
Next scroll down the page a little and download the Oracle VM VirtualBox Extension Pack. Click the link “All supported platforms”.
How To Install VirtualBox.
Installing VirtualBox onto your computer is reasonably easy and straightforward, with just a couple of issues to note.
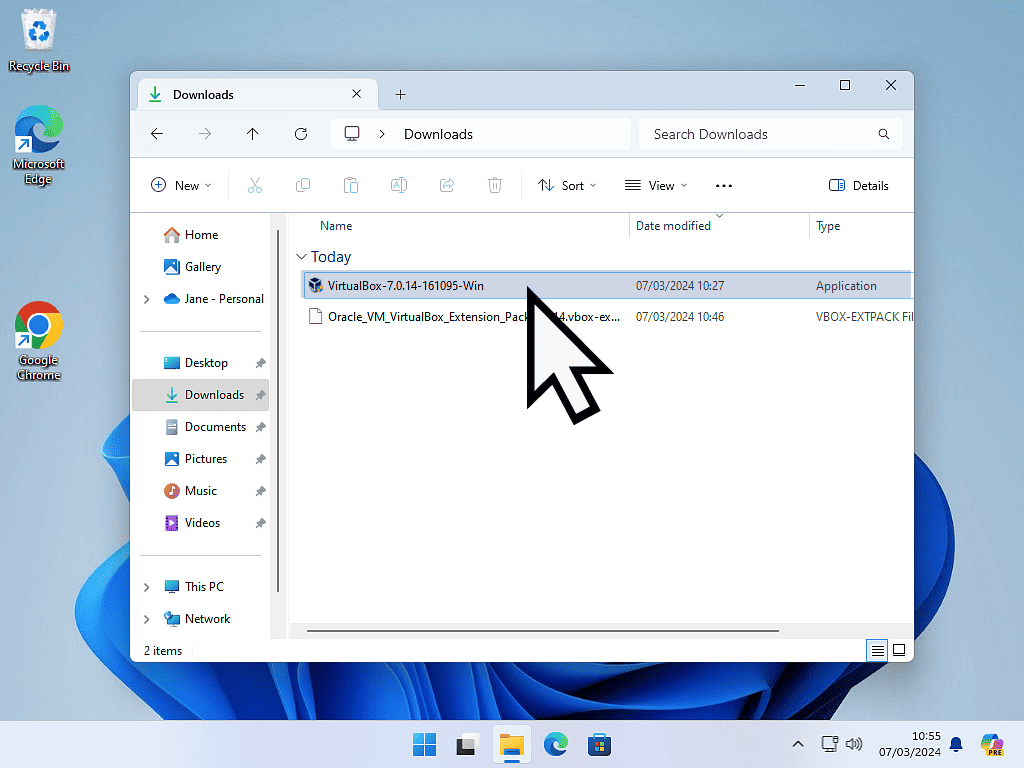
- Find the VirtualBox installation file that you downloaded ealier and double left click on it.
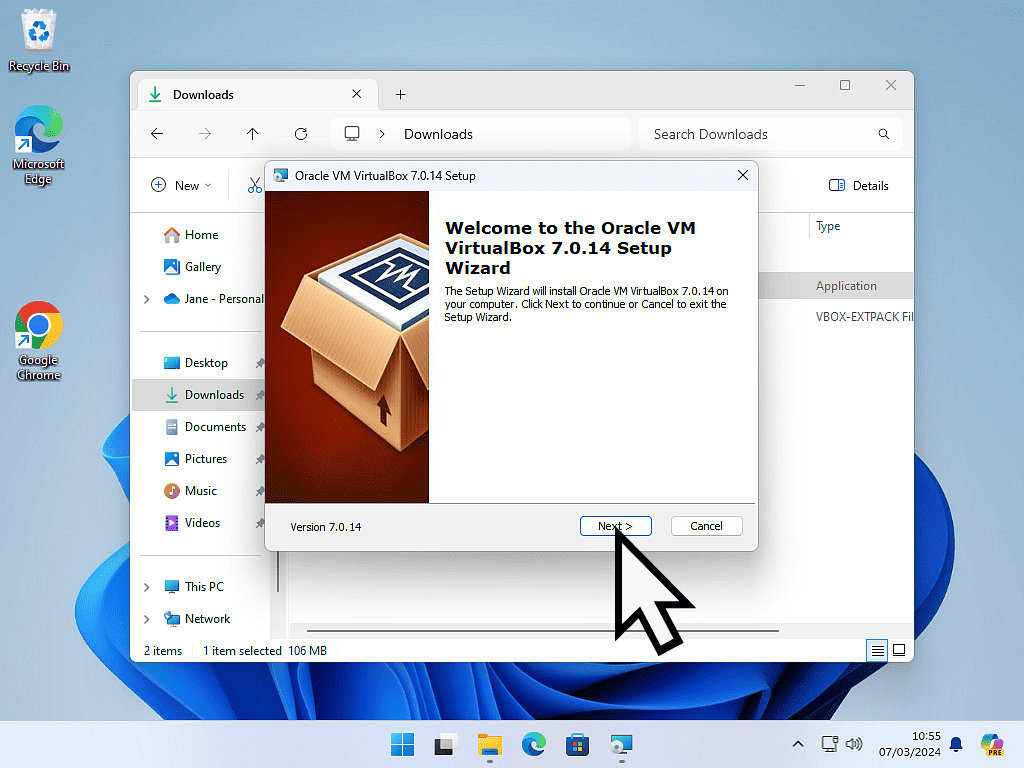
- On The “Welcome to the Oracle VM VirtualBox” setup screen, click the Next button
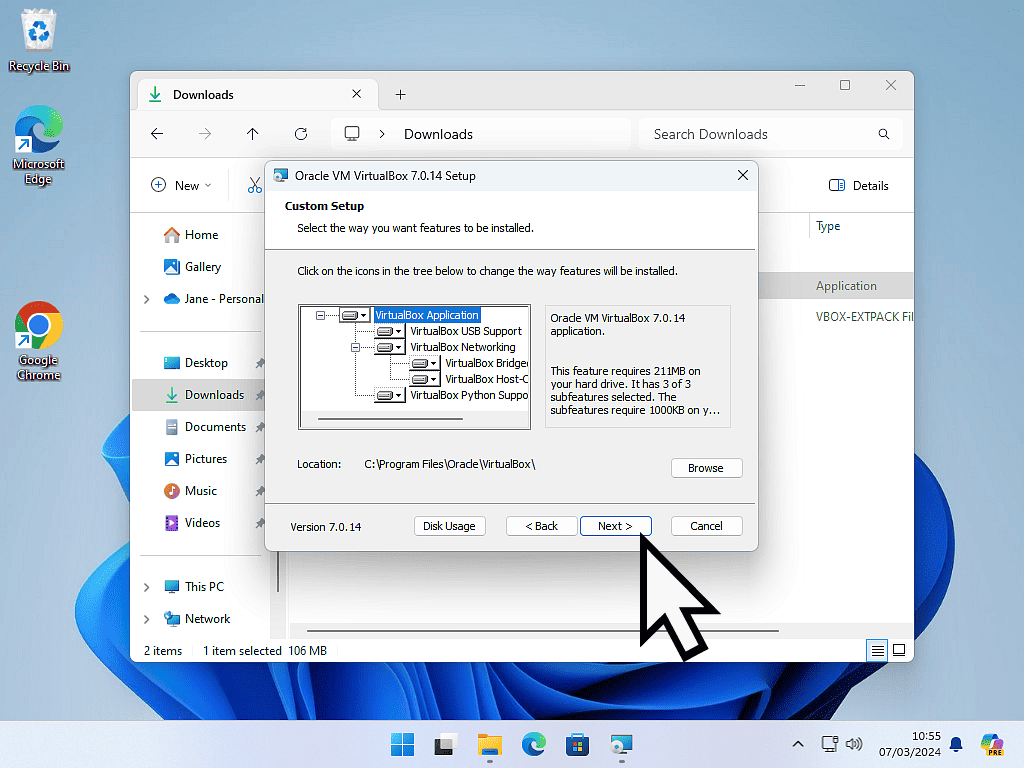
- In the Custom Setup screen, you can leave everything set as the defaults, click the Next button.
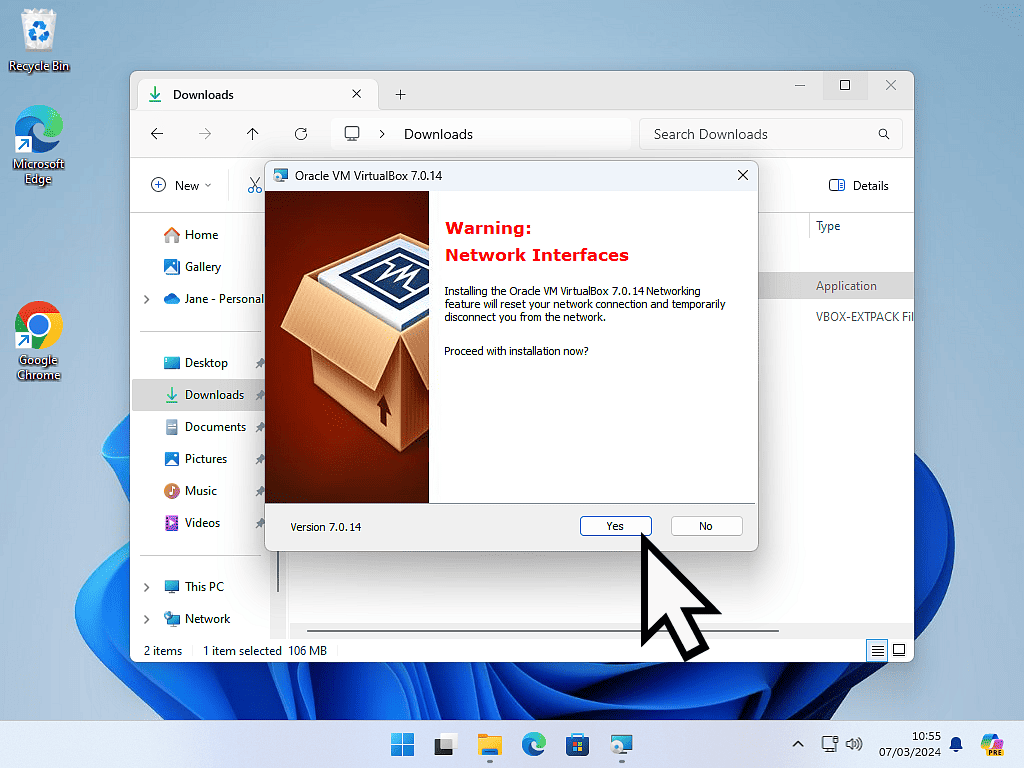
- Warning Network Interfaces screen will appear. Simply informing you that you’ll lose your Internet connection. It’s only tempoaray and probably only momentry. Click the Yes button.
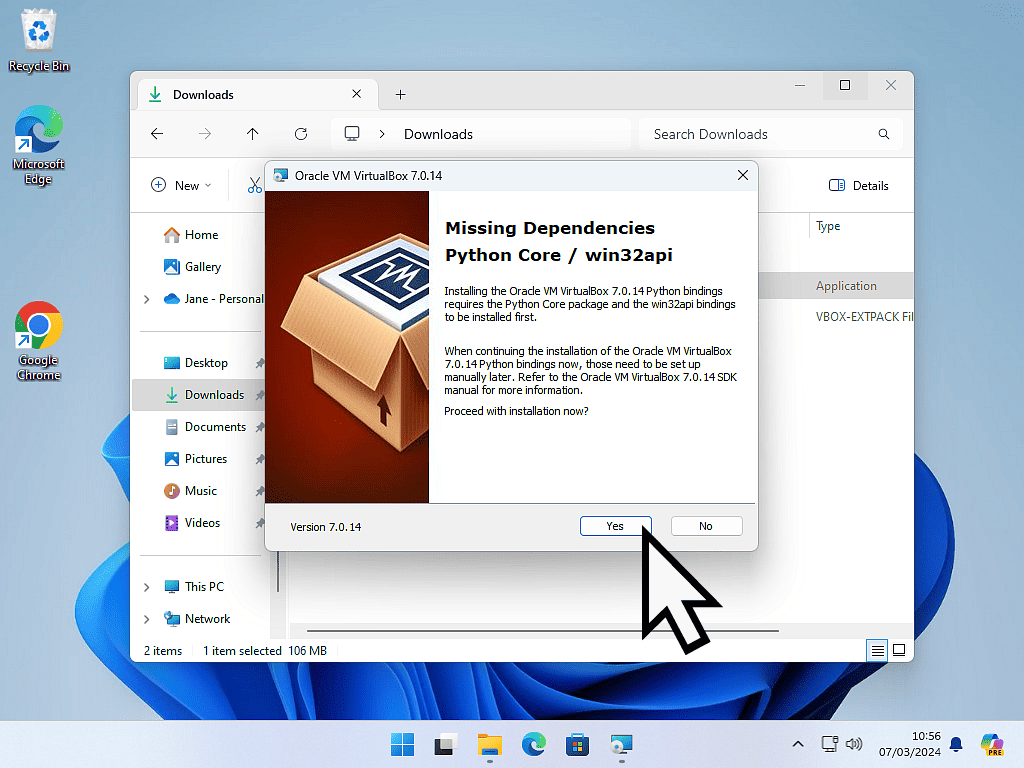
- Missing Dependencies Python Core / wim32api. On your home computer you’ll probably not need these dependencies, so click the Yes button.
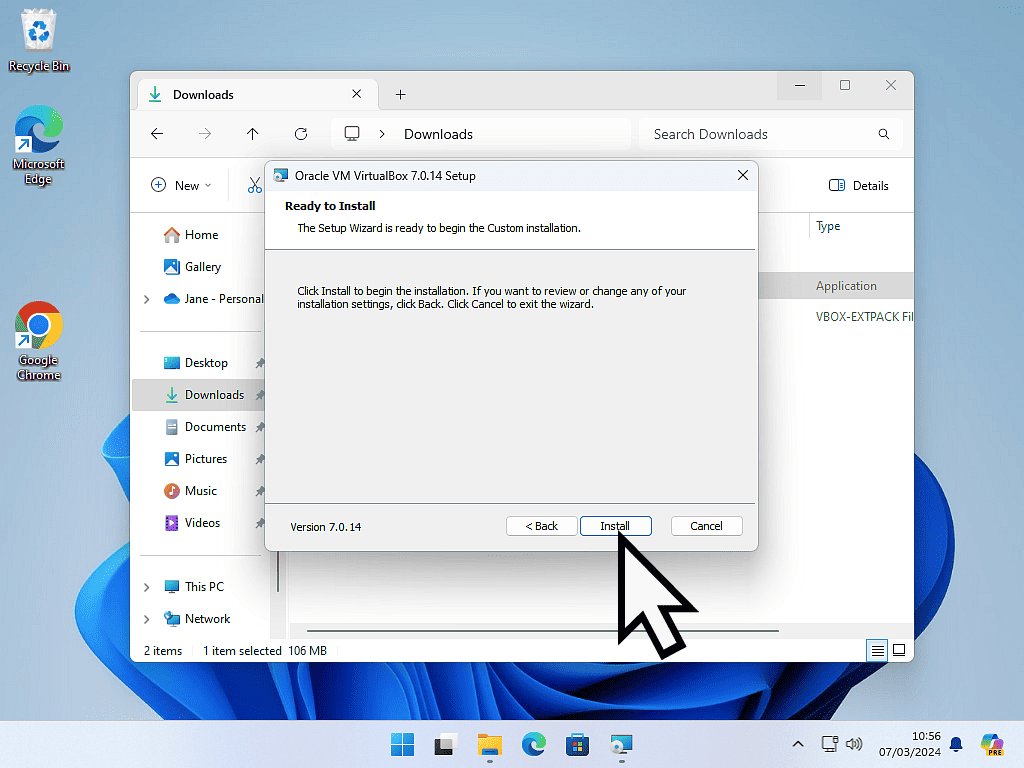
- Ready to install, click the Install button
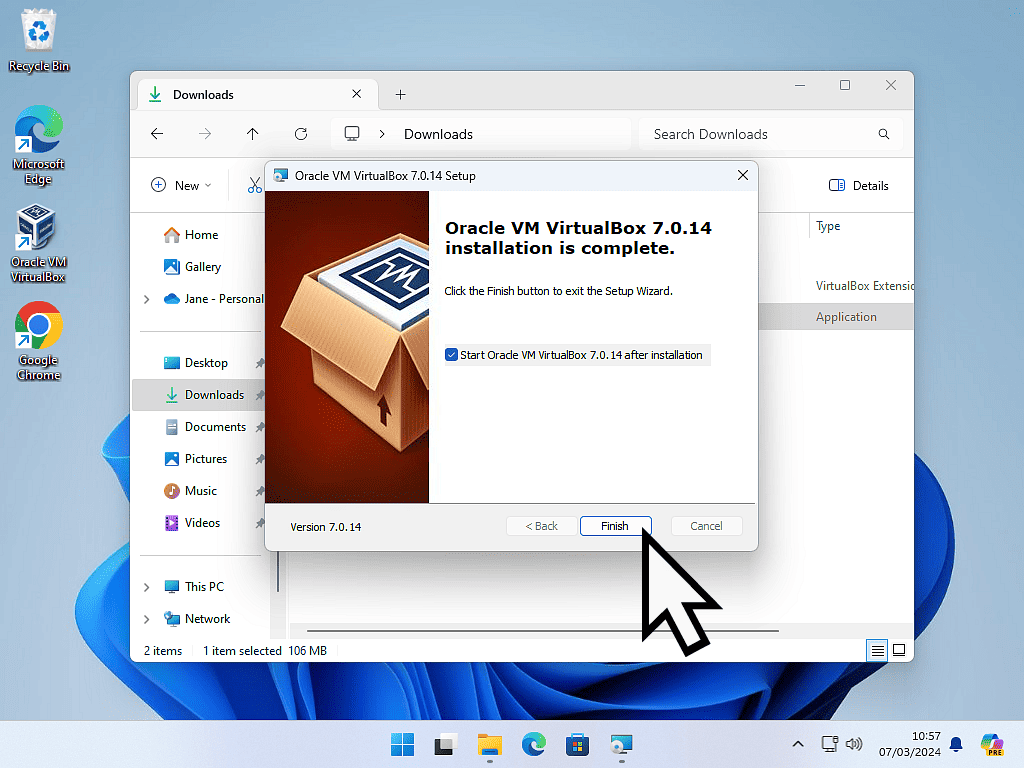
- Finally, ensure that the “Start Oracle VM VirtualBox after installation” option is selected and then click the Finish button.
How To Install The VirtualBox Extension Pack.
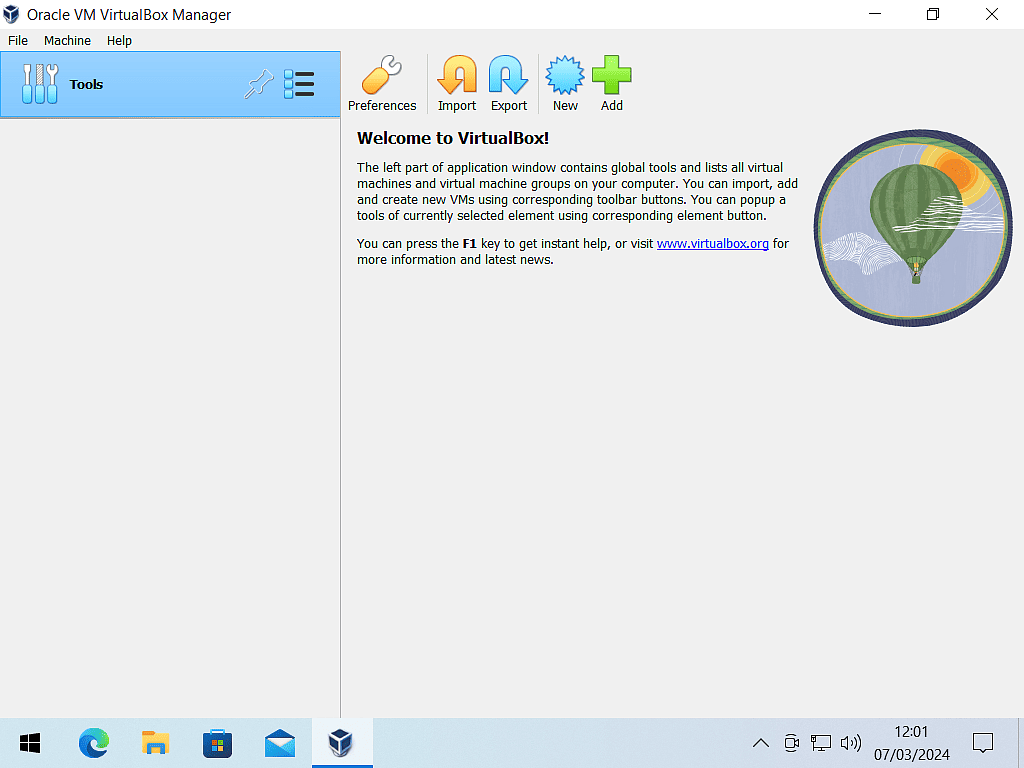
Once VirtualBox is installed onto your PC, you’ll want to add the Extension Pack to it. On the Welcome screen :-
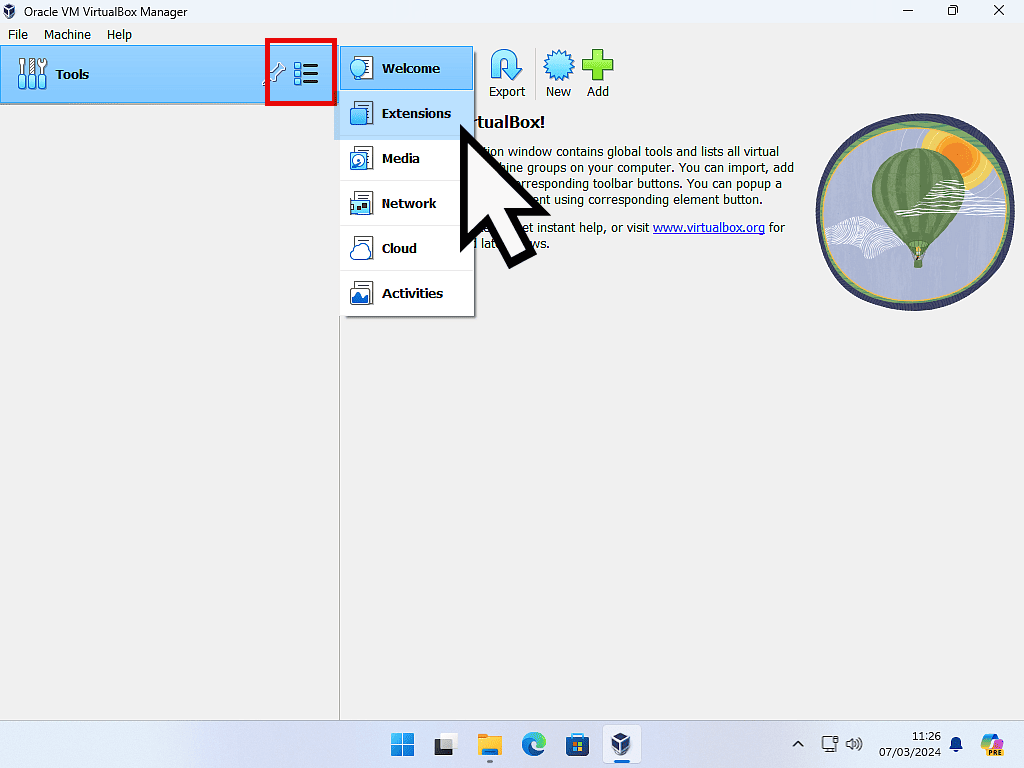
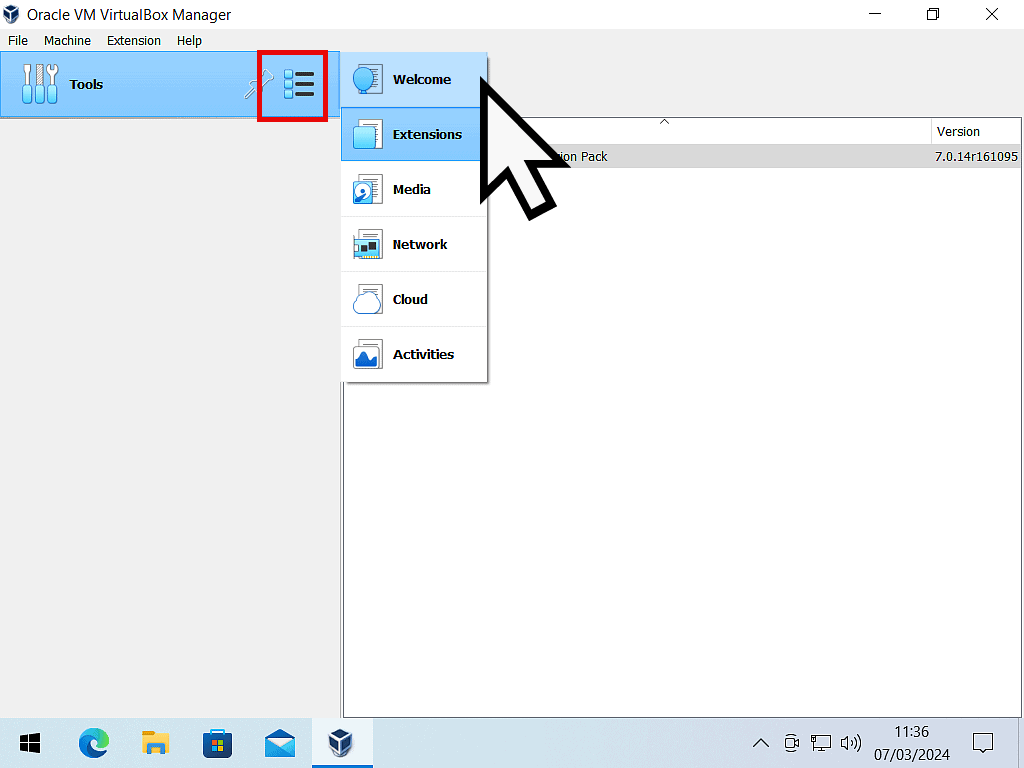
- Click the 3 horizontal lines beside the Tools. On the menu that opens, click Extensions.
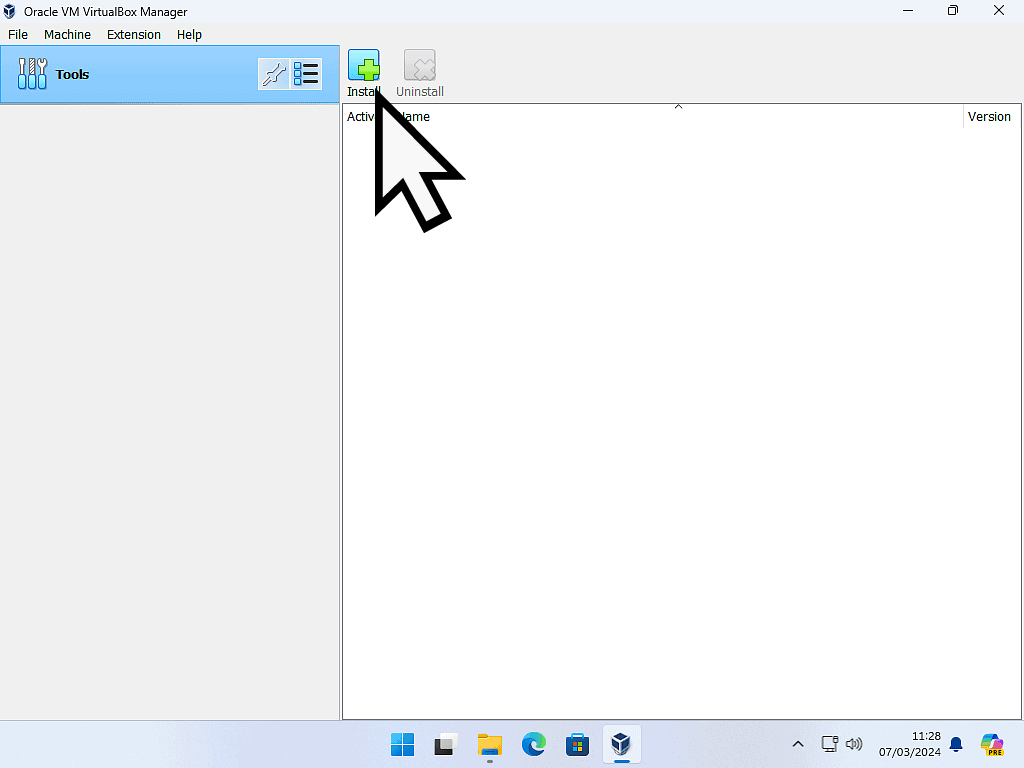
- Then click the Install button
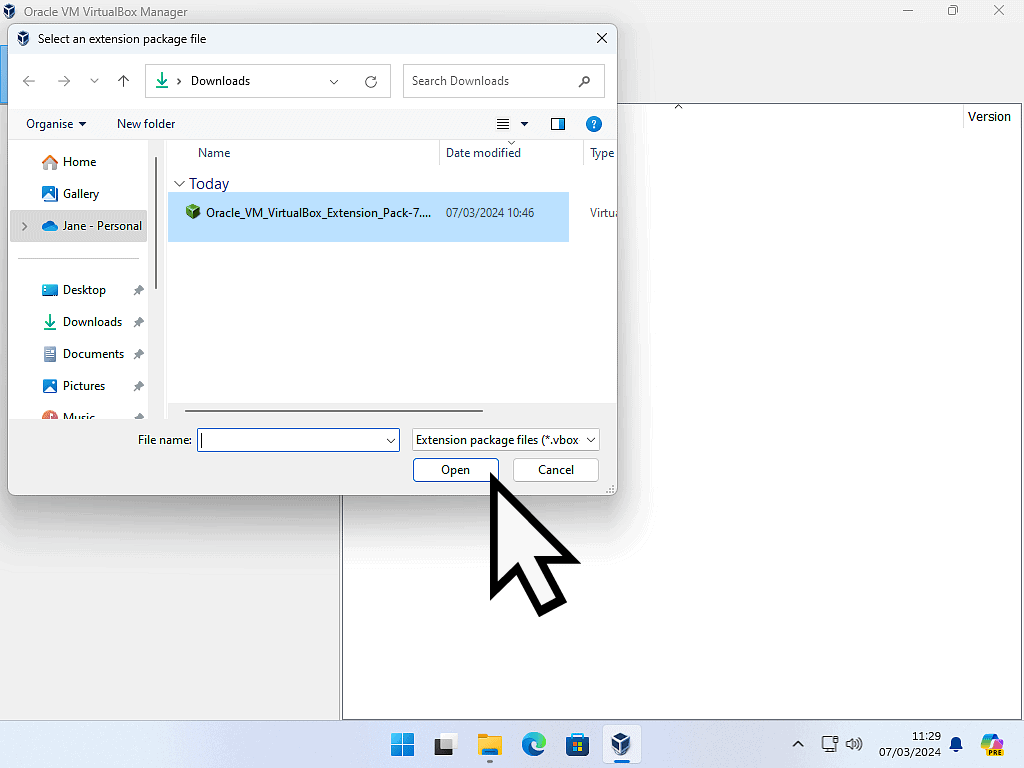
- Navigate to where you downloaded the Extension Pack to, select it and then click the Open button.
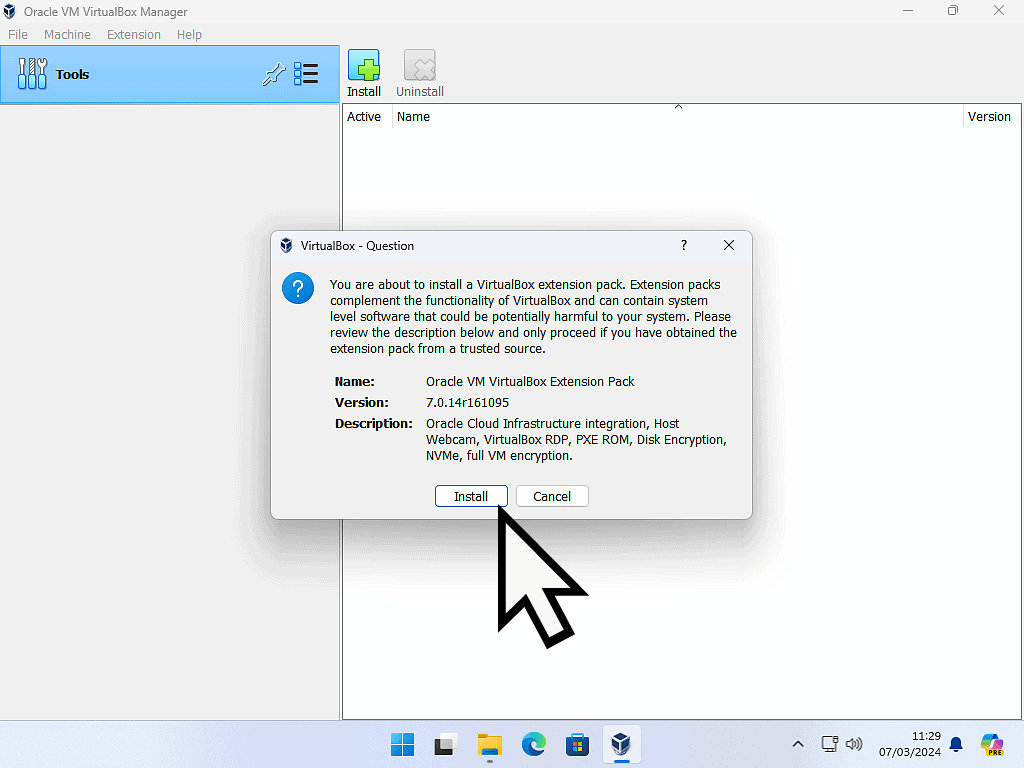
- VirtualBox will show a warniing about installing extension packs downloaded from anywhere other than the official downloads page. Click the Install button.
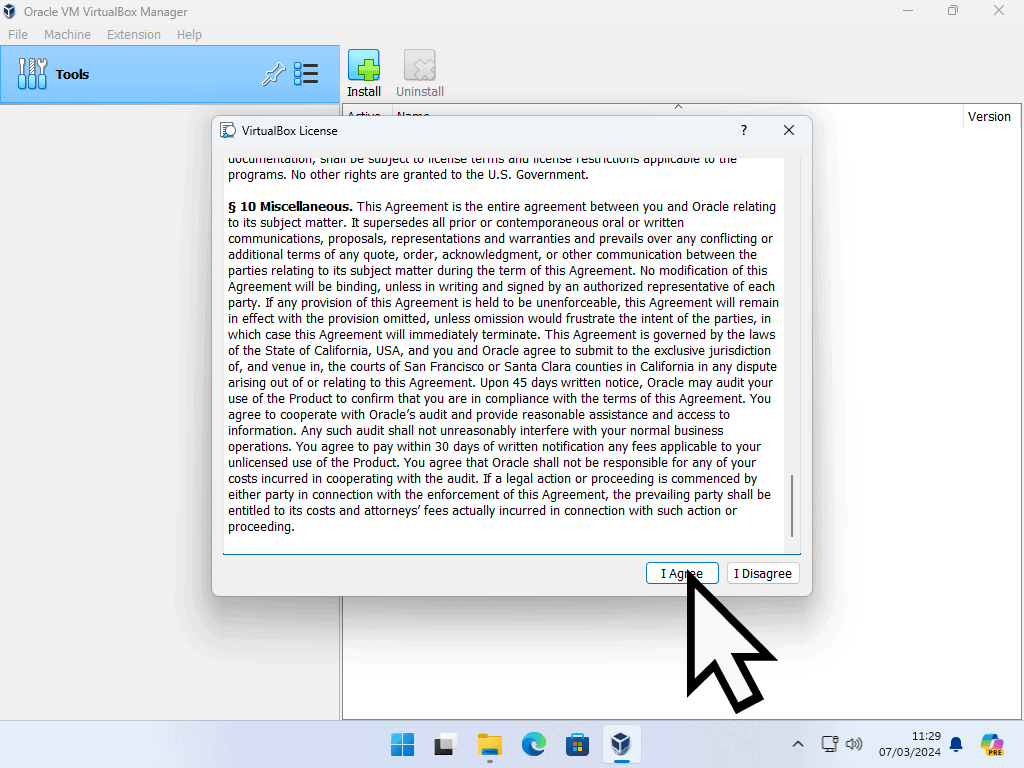
- Accept the license agreement. You’ll need to scroll down the the bottom of the license to get the I Agree button to work.
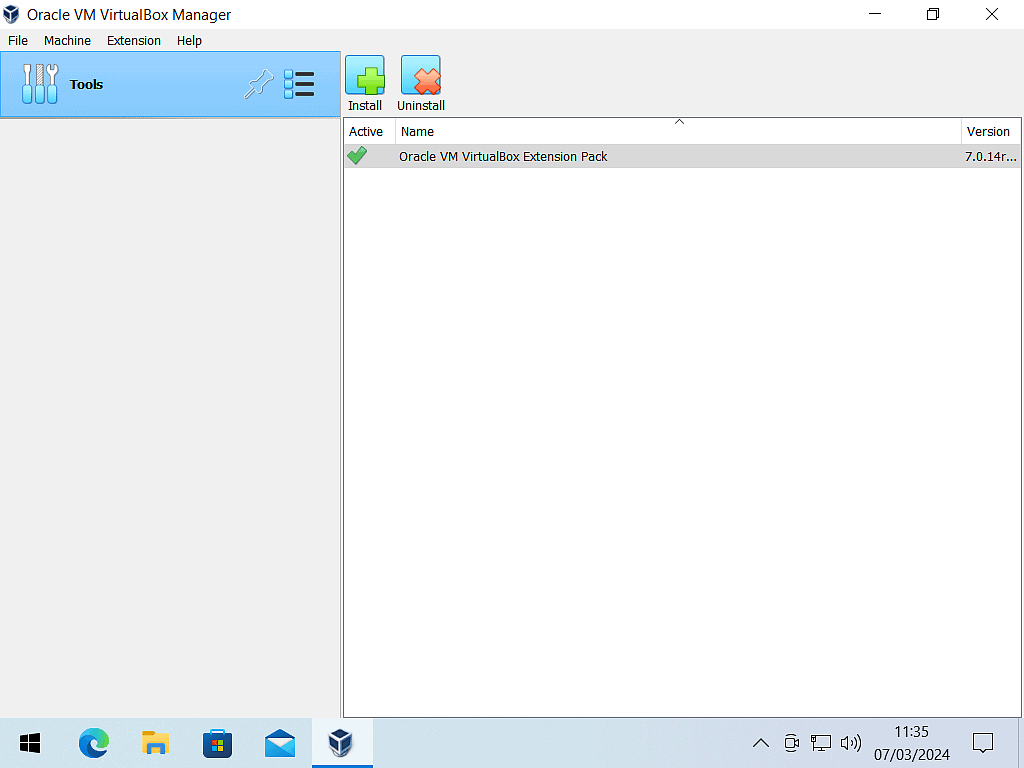
- The Extension Pack will be installed and you’ll be returned to the Tools screen.
- Click the 3 horizontal lines beside the Tools. On the menu that opens, click Welcome.
That’s all there is to it.
VirtualBox is now installed on your system and ready for you to start creating virtual machines.
Keep Up With Home Computer Guides.
All the latest guides and articles published on At Home Computer delivered to your inbox.
No account needed, just add your email address.

