In Microsoft Edge you can save web pages (websites) as Favourites. Favourites make it easy to return to web pages later, rather than having to search Google again.
In this guide, I’ll show you how to create Favourites, show the Favourites Bar and how to manage them.

How To Create A New Favourite.
When you reach a web page that you want to save, mark it as a Favourite.
- Press CTRL and the letter D on your keyboard or
- Click the Add to Favourites Icon in the address bar.
Whichever way you choose, the Favourite Added window will open.
By default, Edge will save the webpage to Favourites Bar.
Click the DONE button .
How To Show The Favourites Bar In Edge.
By default, Edge doesn’t show the Favourites Bar, it’s turned off or hidden. You have to manually turn it on. There are two ways in which to enable or show the Favourites Bar in Edge.
The first and by far the easiest way is to press CTRL and Shift and the letter B at the same time on your keyboard.
The second way of showing the Favourites Bar is by using the Favourites menu. Click the Favourites icon. The Favourites icon is the second star.
When the Favourites menu opens, left-click once on the 3 dots in the top right corner.
Move your pointer onto the “Show Favourites Bar”
Click ALWAYS.

Hidden (Or Overflow) Favourites In Edge.
The Favourites Bar can only hold so many favourites before you run out of space.
Once the bar is full, it seems that no more favourites are being saved. But they are, there’s a kind of “overflow” for the Favourites that won’t fit on the bar.
Click on the small arrowhead right at the end of the Favourites Bar and the hidden (or overflow) favourites will appear on a menu.

How To Move Favourites Along The Favourites Bar.
The Favourites Bar is the place to have your most-used bookmarks because they’re easy and quick to get to. While lesser-used favourites can be stored under the hidden favourites menu, or within folders.
To move a favourite along the bar you can simply drag and drop it to where you want it to be.
Put your pointer onto the favourite that you want to move, then hold down the left mouse button. Now move your mouse (drag) and you’ll see the favourite follow your movements. When it’s in place, let go of the mouse button (drop)
To help position the favourite properly, as you move it, you’ll see a straight black line appear on the Bar.
The line is where the favourite will go when you release the mouse button. All other favourites will be shunted left or right along the Bar to make way for it.
Note that the black line that appears is nowhere near as big as in the image shown. It’s actually quite small, so you do have to look for it.

You Can Also Move Your Hidden Favourites.
You can also use drag and drop to move items from the hidden favourites menu onto the Favourites Bar, but obviously, as you do this, something else will drop off the Bar to make way for the new entry.
It can be a bit like juggling glass bottles to get it right but it’ll be worth the effort in the long run.
How To Delete Favourites In Edge.
One quick and easy way to manage your favourites in Edge is to just delete any that you don’t use anymore. Simply put, the fewer bookmarks you have, the easier it is to manage the list.
To delete a Favourite, simply right-click on it.
Then, on the menu that opens, left-click DELETE.
When you delete an item from the bar, you’ll see all the other favourites automatically shuffle along to take its place.
If you’ve created enough space on the bar, then one of your hidden bookmarks will get “promoted” to the end of the bar.

How To Rename Favourites.
Websites saved as Favourites don’t always have great names. Some will be rather obscure and others will have names that are so long that they take up too much space on the bar.
Rename your favourites to be shorter and more descriptive.
As an example, take a look at these two bookmarks.
The first one (as many of you will already know) is for eBay, but it doesn’t say eBay, apparently, it’s “Electronics, Cars, Fa”, whatever Fa is.
And then there’s Amazon.co.uk etc. That’s a little too long for what it is when space is at a premium.

To Edit An Existing Favourite.
In Microsoft Edge, to change the name of an existing favourite, you need to edit it.
Right-click on the favourite that you want to edit.
On the menu that opens, left-click EDIT.

The “Edit Favourite” window will open.
Simply type a new name for your favourite in the NAME box.
You can pretty much name it anything you like, but short and descriptive generally works best.
In this example, I’ll change “Electronics, Cars, Fa” to simply eBay
When you’re done, click the SAVE button

Manage Your Favourites With Folders.
If like me, you have a lot of favourites (bookmarks), then it really does become a challenge to manage them all. In Microsoft Edge, it’s actually rather easy to organise your favourites into folders. You can store related bookmarks together in a folder, similar to how you’d store related files in a folder on your PC.
A folder only really takes up the space of a single bookmark on the bar, but it could easily hold 10 or 20 plus bookmarked webpages.
As an example, let’s say you’ve got accounts with Amazon TV and Netflix and other video streaming services.
You could easily save all the Favourites for these services into a single folder.
You can obviously do the same for online shopping, online banking, social media, email accounts, etc.

How To Create Folders For Favourites In Microsoft Edge.
To create a folder in Edge, right-click on the Favourites Bar.
On the menu that opens, left-click ADD FOLDER.

On the “New Folder” page that opens, type a name for your folder into the NAME box.
Just below the Name box, you’ll see the two default locations for the new folder, Favourites Bar and Other Favourites.
Left click once on the Favourites Bar to select it and then click the SAVE button.

After clicking the SAVE button, you’ll return to Edge.
You should be able to see your new folder on the Favourites Bar.
If you can’t see it, then it’s been stored on the Hidden Favourites menu.
You can position the folder anywhere on the Favourites Bar. Simply drag and drop it as if it were any other Favourite.

How To Store Favourites In Folders.
Now that you’ve got a folder, all you need to do is to drag and drop whichever favourites you want to go into the folder.
Put your pointer onto the favourite in question, then hold down the left mouse button.
Drag the bookmark directly onto the folder and then release the mouse button.

Summary
Managing (or organising) a large collection of Favourites can take some time and a little planning, but in MS Edge it’s certainly not difficult to do, and the results are well worth the effort.
Lesson 20
Course Progress – 18 of 37
Part of the At Home Basic Computer Course — free computer guides for beginners.
Delete Your Search History
How to delete your internet search history. Remove your tracks from the internet.
You can find this and other related step by step guides in – At Home Computer Microsoft Edge Guides
Latest At Home Computer Guides.
How to Setup FreeFileSync
How To Use VeraCrypt To Encrypt A Folder
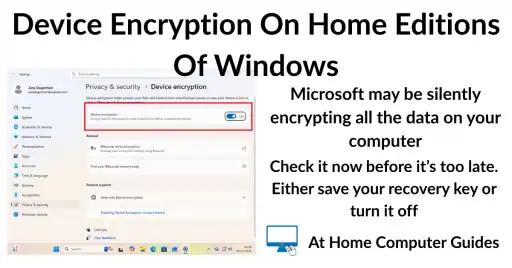
Device Encryption on Windows Home Editions
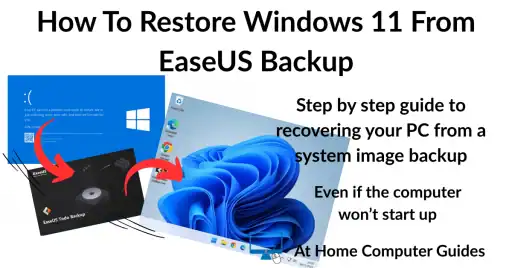
How to Restore Windows 11 from EaseUS System Image Backup
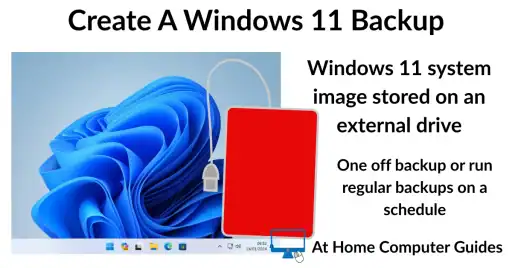
Windows 11 Backup

Change Download Folder In Chrome, Edge And Firefox

How To Expand A Virtual Hard Disk
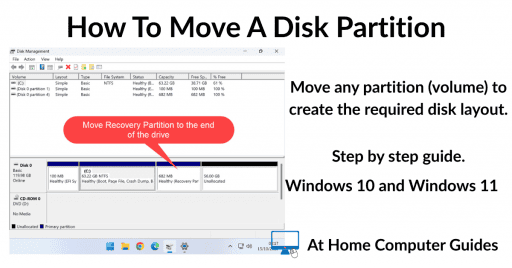
How To Move A Hard Disk Partition