DISM.exe is a tool built into Windows that you use to repair your Windows system image. It uses an Internet connection to compare the files in the component store on your PC with those on Microsoft’s servers. Any missing or corrupt files will be downloaded and replaced with working copies.
DISM (which stands for Deployment Image Servicing & Management) will generally be used in conjunction with the How To Run System File Checker (SFC).
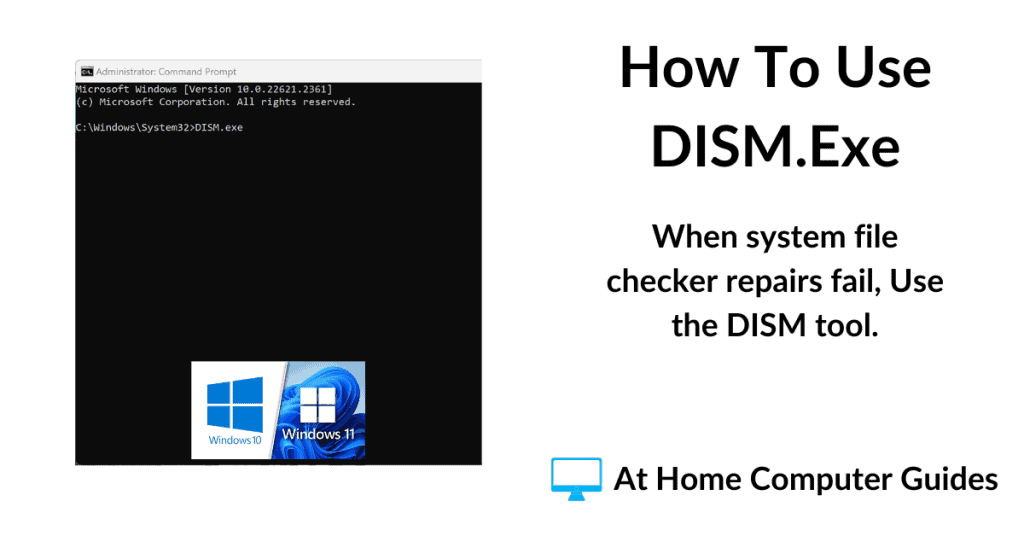
How To Use DISM.Exe.
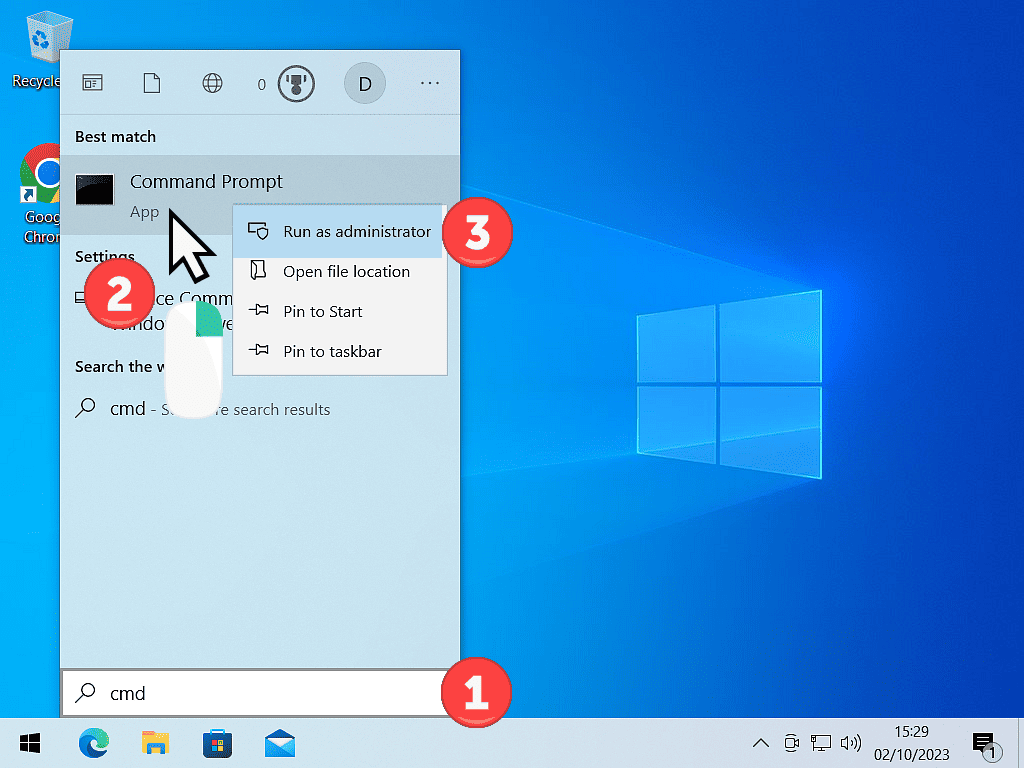
You can only use DISM from an elevated Command Prompt.
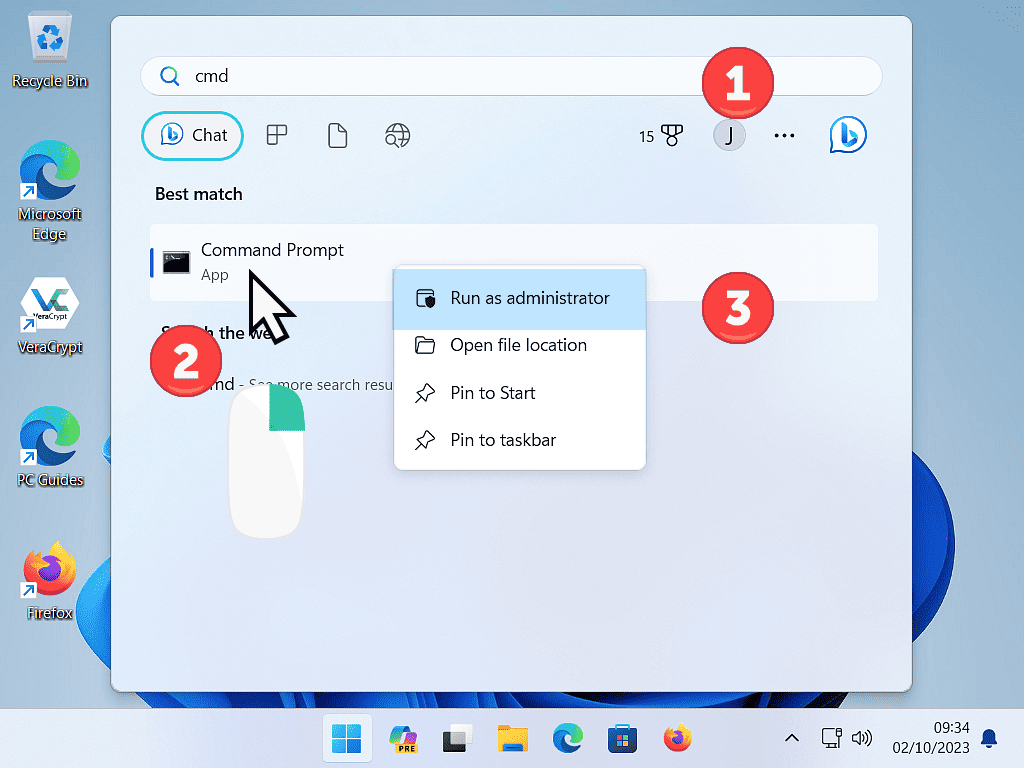
Left click on the Start button and then type “cmd”. Right click on Command Prompt (app). Then left click “Run As Administrator”.
You’ll need to click Yes on the UAC pop up that appears.
DISM.exe /Online /Cleanup-image /Restorehealth
The DISM tool comes with many options that you’d specify by use of switches (sometimes called modifiers) which change or define what the tool should do.
Most Internet guides will quote three switches and suggest that you use them in order. They are
- /CheckHealth – This switch instructs DISM to scan the Windows image for corruption and missing files.
- /Scanhealth – A more intensive scan
- /Restorehealth – Scan and fix any problems that it finds.
However, for troubleshooting your home computer, or repairing the Windows image so that you can get SFC to work properly there doesn’t seem much point in simply scanning without repairing.
So I recommend that generally you simply go with the 3rd option straight away.
When the Command Prompt window has opened, type
DISM.exe /Online /Cleanup-image /Restorehealth
Then press the Enter key on your keyboard.
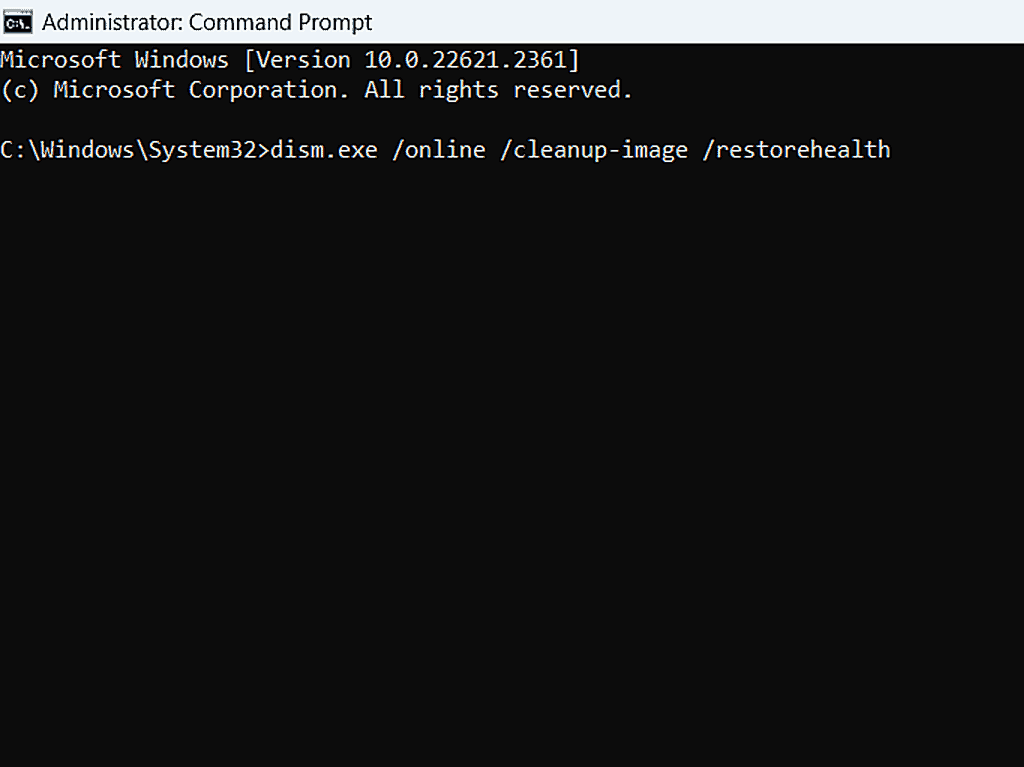
After hitting the Enter key, DISM will start scanning and repairing your Windows image files.
How long this will take varies between individual computers and setups.
Unlike the System File Checker tool, DISM will need to access the Internet in order to compare and download any files that it needs.
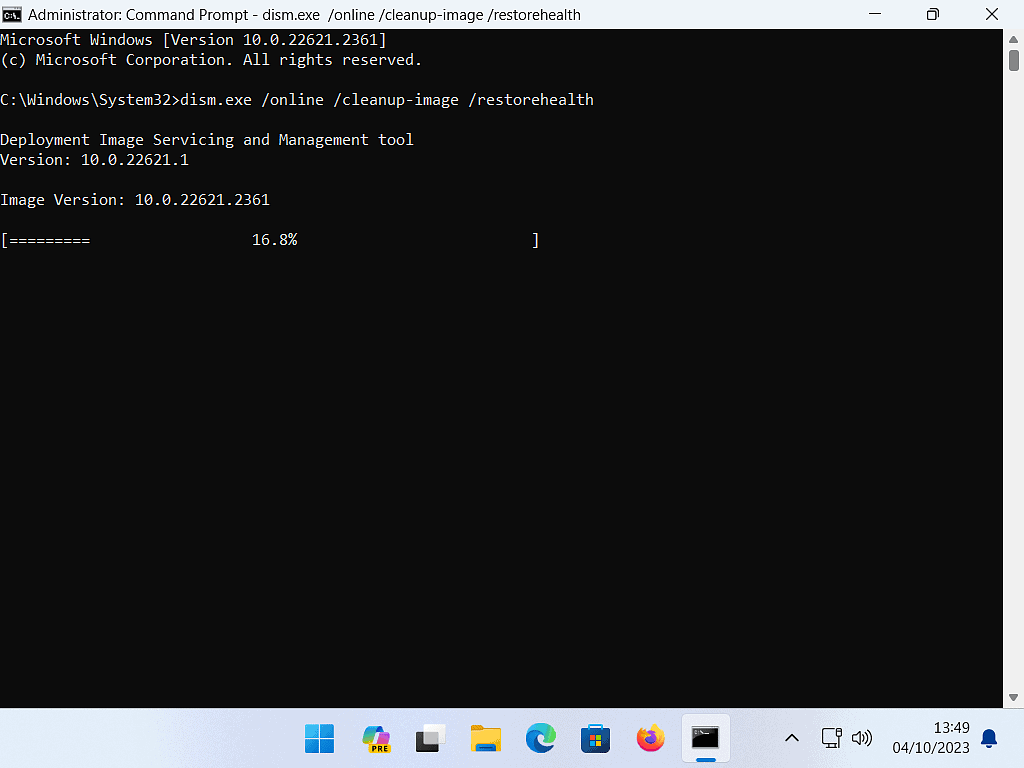
It Might Seem To Freeze.
It’s also quite common for it to pause or seem to “freeze” somewhere between 40% & 70%. So be patient and allow it to finish.
When writing this article, the computer I was using to demonstrate froze at 62.3%. It stayed there for several minutes and then suddenly shot up to 100%.
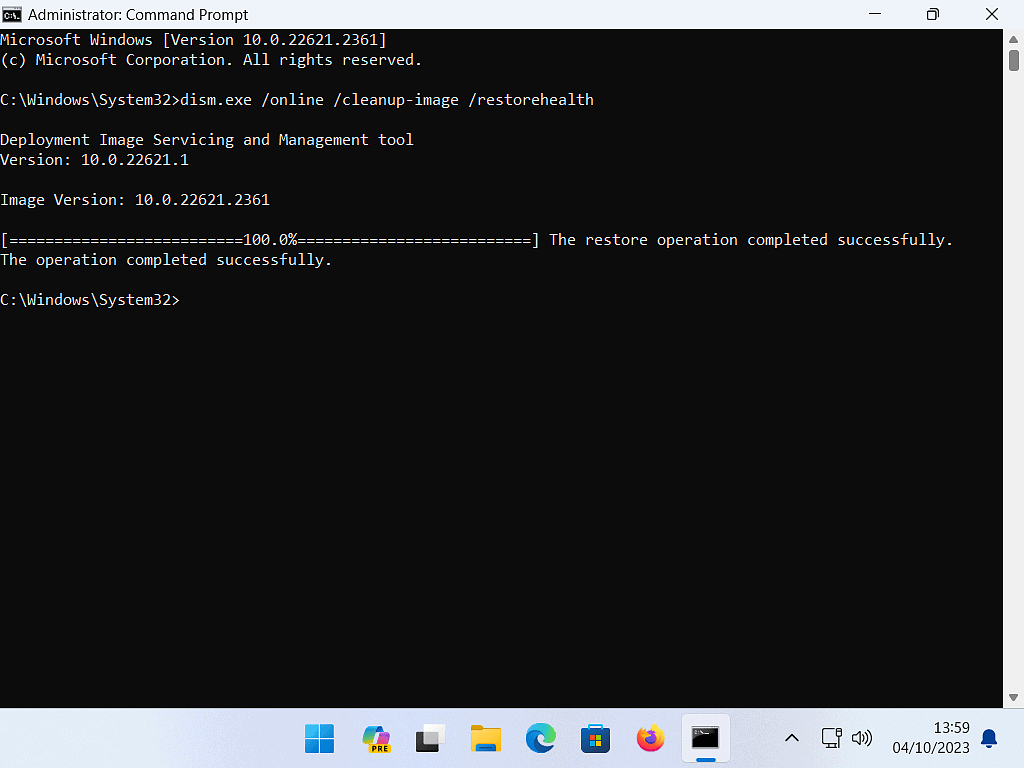
When it’s finished, you should get a message saying “The restore operation completed successfully”.
That should mean that your Windows image is now back to where it’s supposed to be and you can try running SFC again.
Keep Up With Home Computer Guides.
All the latest guides and articles published on At Home Computer delivered to your inbox.
No account needed, just add your email address.

