Backup any virtual machine that you’ve created using VirtualBox. It’ll save you a lot of time later if you create a full backup of your VM and it’s so easy to do.
In VirtualBox you can of course use Snapshots to take a virtual machine back to a time when it was working just fine. But Snapshots won’t always work. They’re great, but limited in what they can do.
Having a full backup of the entire backup of the VirtualBox virtual machine means that you can quickly replace it.
How to Backup a VirtualBox Machine
VirtualBox stores all the virtual machines that it creates inside a single folder. One folder for each machine.
In order to backup a virtual machine, all you need to do is to copy and paste that folder into a different location on your PC. It’s as easy as that.
Make sure that your virtual machine is shutdown first. It should be properly shutdown and not simply in sleep or hibernation. And VirtualBox should also be closed down.
By default the location of the VirtualBox virtual machines is C:\Users\Username\VirtualBox VMs
To backup a virtual machine, just open the folder VirtualBox VMs and inside you’ll see folders relating to each VM that you’ve created.
Just copy the entire folder and paste it somewhere else.


It doesn’t really matter where you store your backup, but do keep in mind that it’ll probably be a large size.
In this example I’m backing up a vanilla copy of Windows 10 and it’s well over 10 GB.

How to Restore a VirtualBox VM Backup
Of course it’s all very well having a backup of your VMs, but then how do you use them? How can you restore a virtual machine from the backup?
It’s a lot easier than you might think. Copy and paste again.
If you’re VirtualBox VM isn’t working and you want to restore it from the backup, close down the VM and also close VirtualBox.
Navigate to the C:\Users\Username\VirtualBox VMs folder.
Open it and then delete the troublesome virtual machine folder.

Then go to wherever you stored your backup VM folder and simply copy and paste it into the VirtualBox VMs folder.
All you’re doing is replacing one folder with another.
VirtualBox won’t know that the folders have been swapped.

Summary
It’s well worth taking a moment to create a full backup for your VirtualBox virtual machines. It’ll save you a lot of time and effort later on. It comes in especially handy for Windows VMs.
Ideally you’d create a backup as soon as you’ve got your VM up and running. That way it’ll be a clean installation that you’re returning to.
Related Posts
How To Install VirtualBox Guest Additions.
Guest Additions are the virtual drivers that power your VM.
How To Install Windows 10 Virtual Machine In VirtualBox.
Windows 10 runs great on ViBox.
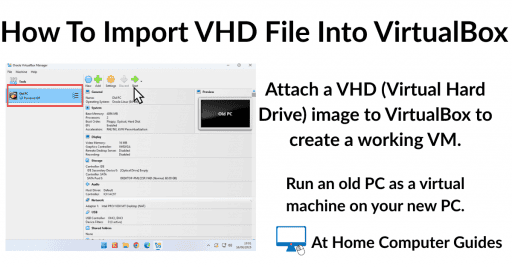
How To Import VHD File Into VirtualBox
Complete, ready to go virtual machines.
How to Setup a Windows 11 VM on VirtualBox
Windows 11 runs great on VirtualBox.
You can use it even if your current PC doesn’t meet the system requirements
You can find this and other related step by step guides in – At Home Computer VirtualBox Guides
At Home Computer Step By Step Guides
![]() Easy to follow tutorials for users of Windows 10 and Windows 11 computers.
Easy to follow tutorials for users of Windows 10 and Windows 11 computers.
How to Install Windows XP as a Virtual Machine on VMware Workstation Pro

How To Expand A Virtual Hard Disk
How to increase the size of a virtual disk in…
How to Setup a VMware Shared Folder
Setting up a VMware workstation shared folder is one of…
Add A USB Device To VMware Workstation Pro
How to add a USB device to a virtual machine…
Convert A Physical PC To A Virtual Machine On Workstation Pro

How To Import VHDX File Into Microsoft Hyper V
How To Import VHD File Into VirtualBox
Convert an Old Windows 10 PC into a Virtual Machine
VMware Workstation Pro Snapshots
Whether you are testing new software, performing risky updates, or…