How to copy (or rip) a music CD to a Windows computer.
In an age of streaming and digital downloads, many of us still have a collection of music CDs. Whether it’s to preserve your favourite albums, create a digital backup, or simply listen to your music on a modern device, ripping CDs to your computer is easy to do and completely free.
This guide will walk you through the simple steps to convert the tracks on your physical CDs into digital audio files.
How To Copy A Music CD
To copy a music CD onto your computer, load an audio CD into the CD drive. Depending on how your PC is configured, the CD might start playing automatically, or maybe a File Explorer window will open.
Whatever happens on your PC, just close any windows that open and stop the CD from playing. You just want to be at your desktop with the audio CD in the CD/DVD drive.
Click the Start button and type “media player“. Click Media Player (App).


Rip CD With Media Player
- If this is the first time you’ve used Media Player it’ll probably open at the Home screen.
- Click the title of your CD in the navigation menu in the left hand panel.
- On smaller screens the navigation panel could be hidden. Click the 3 horizontal lines to open the navigation menu


Rip Settings
Before beginning to copy your audio CD, check the Rip Settings. Here you can select which audio format your want to rip the CD in and also change the bitrate (where applicable).
Click the Rip Settings button. If you’re using a smaller screen you might need to click the “See More Options” button (3 horizontal dots).


On the Rip Settings window you can change which audio format you’d like to save the ripped CD in. By default Media Player will copy the CD in the AAC format, but you can opt for either MP3, WMA, FLAC or ALAC formats.
Click the drop down arrowhead and select the format you want to use.
Some of the formats allow for different Bitrates to be used. Higher bitrates produce better quality rips but at the cost of larger file sizes.


Audio Formats.
When ripping music CDs you’ll have to decide which audio format to use. There’re two main types of file format, lossy and lossless.
Lossy formats permanently remove some of the audio data and then compress the resulting file to reduce the file size.
Lossless formats do still use compression, but the decoded audio is an exact bit for bit replica of the original.
When you’re happy with the rip settings, click the Rip CD button.
Media Player will start copying the CD to your computer.
You can see the progress of each track in the right hand column.

Summary
As Media Player copies the CD, it’ll create a folder with the artist name inside your Music folder to save the audio into.
Related Posts
How To Remove DRM From WMA Audio Files.
If you used the old Windows Media Player to rip CDs, it’s likely that they had a form of copy protection added to them. Remove it using a Microsoft tool.
How to Burn a Music CD in Windows 10 and 11 in 2026
Create your very own “mix tapes” CDs. Brilliant, No fillers, just the good stuff.
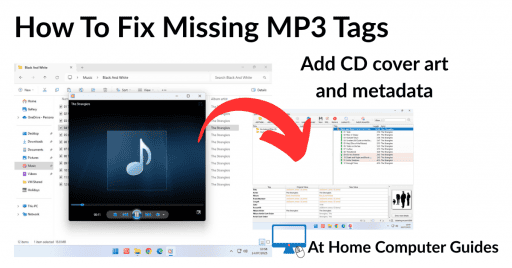
How To Fix Missing MP3 Tags
Often your MP3 files will be missing certain data such as the artist name, album title, or CD cover picture. Fix it.
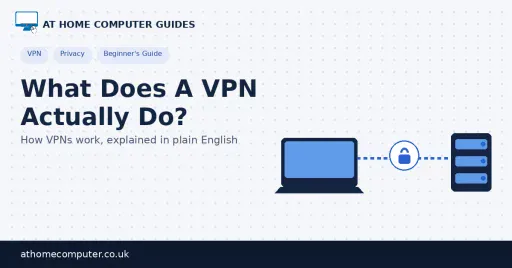
What Does a VPN Do?
What does a VPN actually do, and is it worth paying for one?
I’ll walk through exactly how they work, when a VPN genuinely helps, and where the marketing oversells what it can do.
You can find this and other related step by step guides in – At Home Computer Internet Guides
At Home Computer Step By Step Guides
![]() Easy to follow tutorials for users of Windows 10 and Windows 11 computers.
Easy to follow tutorials for users of Windows 10 and Windows 11 computers.
How To Fix Missing MP3 Tags
MP3 music files (along with many other audio formats) allows…
How to Convert WAV Files to MP3
Copy a CD to Computer Without Any Loss of Sound Quality

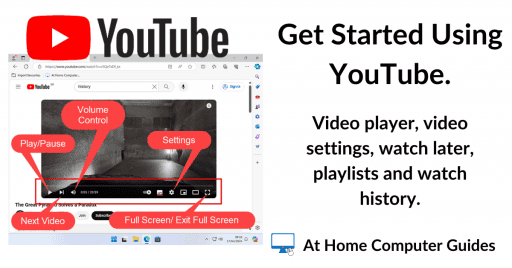
How to Upload Your First Video to YouTube

How to Burn a Music CD in Windows 10 and 11 in 2026

How to Install Windows Media Player Legacy

The Different Types of Blank CD and DVD

What Does Subscribe Mean on YouTube?