If you’ve got a video that you want to share with the world, post it on YouTube. In this guide I’ll show you how to upload your first video to YouTube from your computer.
Uploading a Video to YouTube
In order to upload a video to YouTube, you’ll need to be signed in. You can use your Google account to sign in or just create a new account.
To post your first video on YouTube, click the Create icon in the top left corner of the screen.
The Create icon (button) looks a little like a drawing of a movie camera.
On the menu that opens, click Upload Video.

Related Posts.
How You’ll Appear on YouTube
If this is the very first time that you’ve ever tried uploading a video to YouTube, you’ll see the “How you’ll appear” window.
Every video that you post (upload) to YouTube, is posted to your channel. For now, think of a channel is just a way of keeping all your videos together in one place.
You can upload a picture if you want to by clicking the Select Picture link. Or you can just leave it as is (you can add pictures later).
Click the Create Channel button to continue.
Your new YouTube channel will be created. It’s this page where you’ll find all the videos you’ve uploaded. It’s kind of like your YouTube home page.
To upload your first video, click the Create icon again (the camera) and then click Upload Video.


Uploading Videos
A new window will open.
You can drag ‘n drop video files directly onto the window.
Or click the Select Files button to open a File Explorer window allowing you to find and select the video files that you want to upload.

Video Details
As your video uploads to YouTube you can enter some details for it.
- Give your video a title and enter a brief description of what it’s about.
- In the Audience section, select whether the video is made for kids or not.
- Then in the Age Restriction section, select whether it should only be shown to over 18’s or not.
- After the video has finished being processed, you can choose a thumbnail for it. YouTube will offer 3 thumbnails automatically. These are just stills taken from the video itself. Or you can upload your own thumbnail.
When you’re ready, click the Next button.


- You can add what are known as “Cards” to your video. These are the links that appear on some YouTube videos. Click Next.
- YouTube will briefly check your video for copyrighted material. After the check, click Next.
- Finally you can choose whether the video should be Private, Unlisted or Public. Click the Save button after making your selection.


Summary
You’ve just published your first video on YouTube. There is an awful lot more that you can do using YouTube, but that’s for another day.
One thing to keep in mind though is that anything made public on the Internet is there forever. Just saying.
Related Posts
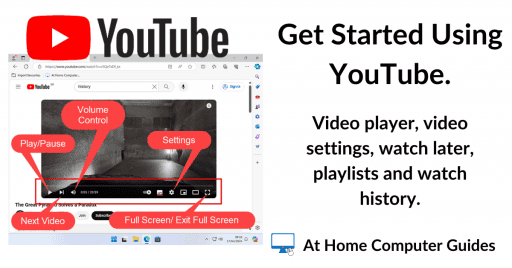
How To Use YouTube.
get to know how to use YouTube.
What Does Subscribe Mean On YouTube?
Is it free? What does it mean?
How to Setup Google Chrome.
The most popular web browser in the world.
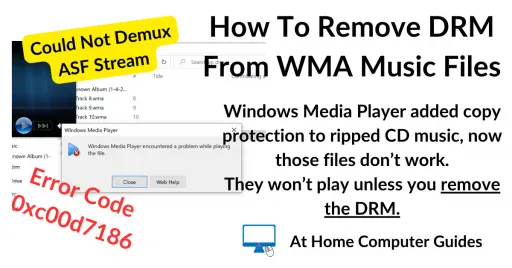
How to Remove DRM from WMA Files
CD’s ripped with Windows Media Player Legacy may have DRM (Digital Rights Management) attached to them, making them pretty much useless.
Microsoft has released an app that will remove the DRM from your old music files ripped in the Windows Media Audio (WMA) format.
You can find this and other related step by step guides in – At Home Computer Audio and Video Guides
At Home Computer Step By Step Guides
![]() Easy to follow tutorials for users of Windows 10 and Windows 11 computers.
Easy to follow tutorials for users of Windows 10 and Windows 11 computers.
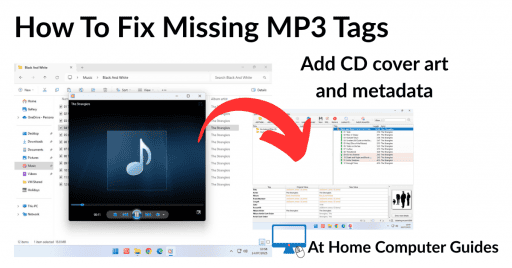
How To Fix Missing MP3 Tags
MP3 music files (along with many other audio formats) allows…
How to Convert WAV Files to MP3
Copy a CD to Computer Without Any Loss of Sound Quality

How to Burn a Music CD in Windows 10 and 11 in 2026

How to Install Windows Media Player Legacy

The Different Types of Blank CD and DVD
What Does Subscribe Mean on YouTube?
How to use YouTube
