In this guide we’ll look at how you can scan your computer for viruses and malware using the free version of AVG Antivirus.
It often seems as if AVG free antivirus has been around for ever. These days it’s based on Avast, but it’s still a very reliable AV solution.
AVG Antivirus Scan Options
AVG has five different types if antivirus scan that you can use. They all have their different uses and we’ll go through each in turn.
- Smart Scan – The Smart Scan is going to be most often used type of antivirus scan in AVG. It doesn’t scan through everything on your computer, instead it looks at the running processes and what’s loaded into RAM. As such, it’s a quick scan.
- File or Folder Scan – The File and Folder scan checks whichever file/folder you point it at. Ideal for checking any downloads.
- USB/DVD Scan – Does exactly what it says on the tin. AVG will detect any USB drives and/or DVD drives attached to your PC and run a virus scan on their contents.
- Deep Scan – The Deep Scan is what AVG call a full system scan. It’ll check through every file and folder on your computer. Depending on your PC and how much data you’re storing on it, the Deep Scan can take quite a long time to complete.
- Boot-Time Scan – A Boot-Time Scan is one of the best features of AVG antivirus. There are many forms of malware that can hide their presence once the operating system has loaded. A boot time scan is designed to run before the OS loads up.
How To Run A Smart Scan In AVG Free
The Smart Scan option is one of the quickest and easiest antivirus scans in AVG.
Launch AVG and then click the Run Smart Scan button.

The AVG Smart Scan
AVGs Smart Scan will start up. It doesn’t usually take long, but that really does depend on your PC.
- Firstly the AVG will check your computer system settings for weaknesses. We’ll come back to this in step 3.
- Then a real malware scan will initiate. This is the actual antivirus scan.
- After the malware scan you’ll probably see the “Advanced Issues Found” screen. The advanced issues refer back to the system settings scan earlier. In order to “fix” the issues that AVG has found, you’ll need to pay for the Premium version. Assuming that you want to stay with the free version, click Skip For Now.
- After skipping the advanced issues, AVG will offer you a trial of it’s premium version, In my case it was a 60 day trial.


After The Scan Has Finished
The Smart Scan has finished. If you haven’t already, enable a scheduled scan of your computer by clicking the button. the click the Close Smart Scan button.
AVG will have one more attempt at getting you to invest in the Premium version by informing you that “your computer is getting slower”.


How To Run A File Or Folder Scan In AVG
The File and Folder scan is the easiest of all the scan types that AVG has to offer. The idea is to check just a single file or folder. Nothing else.
Although you can run a file/folder scan from within AVG, I find it easier to use the right click menu.
Just right click on any file or folder that you want to scan and then click “Scan selected items for viruses”.
If you’re using Windows 11, you’ll need to click Show More Options on the menu first.

Windows 11 Right Click Menu.
Windows 11 uses a much more simplified right click menu (options menu), than previous versions of Windows. That will suit some but not others.
You can get the “normal” full menu back again if you’d like to How To Restore The Old Right Click Menu To Windows 11.
How To Run A Deep Scan In AVG Free
The Deep Scan is a full system antivirus scan. It will search through and check every single file and folder on your computer that it can find.
To run a Deep Scan open AVG and then click the “Run other scans” link in the bottom right hand corner of the window.
You’ll see a small menu appear. Click Deep Scan.

AVG will begin scanning your whole computer for any sign of malware infection. A deep scan can take a long time (it all depends on the speed of you PC and how much data you’re storing on it), so you have the option to have AVG automatically shutdown your PC after the scan has completed.
When the scan finishes, if nothing was found just click the Done button.


AVG Deep Scan Found Something
If the AVG Deep Scan finds something it’ll automatically move that item (whatever it may be) into the Quarantine area.
The quarantine area is a safe place within AVG that stores suspect files. Whatever is inside the quarantine area can’t escape, so it’s OK to just leave it there.

Antivirus Quarantine
Most antivirus programs will quarantine anything that they identify as being a threat rather than simply deleting it immediately. The reason is that even the best AVs make mistakes. What are known as “False positives”.
With the suspect file in quarantine, it’s quite safe. The file is isolated from the rest of the system. Generally the antivirus program will delete items from quarantine after a set period of time, usually about a month.
How To Run A Boot-Time Scan With AVG Free Antivirus
The Boot Time scan runs before Windows starts up. Doing this helps AVG to find and deal with viruses and other malware that could otherwise remain hidden.
Because the Boot Time scan runs before Windows loads, you’ll have to schedule the scan and also download a special set of virus definitions for AVG to use.
To start a Boot-Time scan, open AVG and then click the Run Other Scans option.
On the menu, click Boot-time Scan.

Install Specialised Antivirus Definitions
- Before you schedule a boot-time scan in AVG, install the specialised antivirus definitions. Click Install Definitions.
- The definitions will be downloaded and installed.
- When they’re completed click the Run On Next PC Startup button.
- Close AVG and restart your computer.


As your computer restarts, just before Windows loads, the AVG Boot Time scan will begin. You can cancel the scan at any time by pressing the Esc (Escape) key on your keyboard.
When the AVG Boot Time Scan finishes it’ll briefly show the results before restarting Windows.
If anything was found AVG will ask you to resolve the threats. Click the See Results button.
The AVG Scan History page will open. Check the files that have been moved to quarantine and then click the Done button to finish.


Summary
As well as continuous real time scanning, AVG Free Antivirus provides you with several on demand scan options. You should have the Smart Scan scheduled. It runs once week by default and will help clear out anything that you might have inadvertently picked up.
If you’ve just opened a web page or email that you suspect may be malicious, then run the Smart Scan immediately.
Use the File & Folder scan to check anything and everything that you download to your computer. It’s not a guarantee that the item is clean, but it’s better than nothing.
Deep scan your computer about once a month. This’ll obviously vary depending on how much the machine is being used and what type of activities it’s being used for, but once a month is a good average.
If you suspect that your computer is infected, then run a Boot Time scan first and then a Deep scan after the PC has restarted.
Related Posts
Scan Computer for Malware your Antivirus Missed
If you suspect that you’ve been infected, try scanning your computer with Malwarebytes to get a second opinion.
How To Scan Your Computer With Avast Free Antivirus 2024.
Avast can also be used for free.
How To Use Microsoft Windows Security Anti-Virus.
No longer is Microsoft’s antivirus program useless. It’s actually very good.
How to Backup Windows 11
Create a complete and reliable system image of your Windows 11 PC for free.
Backup everything on your computer before it’s too late.
You can find this and other related step by step guides in – At Home Computer Backup Guides
At Home Computer Step By Step Guides
![]() Easy to follow tutorials for users of Windows 10 and Windows 11 computers.
Easy to follow tutorials for users of Windows 10 and Windows 11 computers.
Gmail Storage Full? Here’s Why (and How to Fix it)
A Beginner’s Guide to File Formats and File Extensions
How to Protect Your Data When Sending Your PC in for Repair

Why I Use Virtual Machines and You Should Too
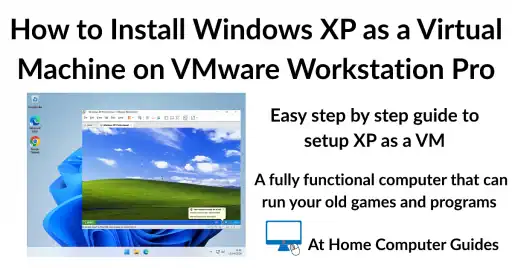
How to Install Windows XP as a Virtual Machine on VMware Workstation Pro
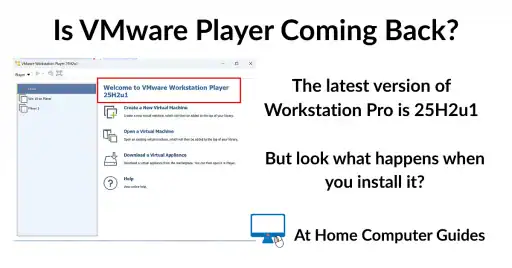
Is VMware Player Coming Back?

How to Setup OneDrive to Backup Your Files
OneDrive allows you to backup files to the cloud. It…
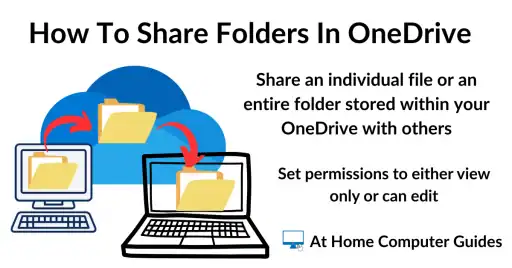
How to Share a Folder in OneDrive
One of the best features of OneDrive is the ease…
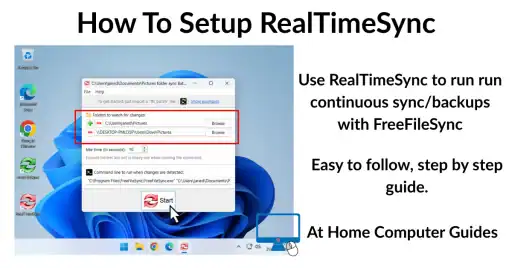
How to Setup RealTimeSync
RealTimeSync is a companion tool for the popular sync program…