How to convert WMA files into MP3 files for free.
If you used Windows Media Player (Legacy) to rip your music CDs to your computer, then there’s a good chance that they were saved in the WMA file format.
The problem is that WMA isn’t really supported across many different devices. It should play easily on your PC, but so much if you move your music to another device.
MP3, on the other hand, is the most widely used audio format in the world. Most modern media devices will play MP3s.
In this guide, I’ll show you how to convert your WMA files to MP3.
Converting WMA To MP3.
When it comes to converting, or changing, WMA files to MP3, Windows doesn’t have a built in tool that you can use. Windows Media Player can’t do it and neither can any of the other pre installed apps.
Instead you can use a program called VLC Media Player to do the job for you. VLC is both free and open source, so it’s completely safe to use.
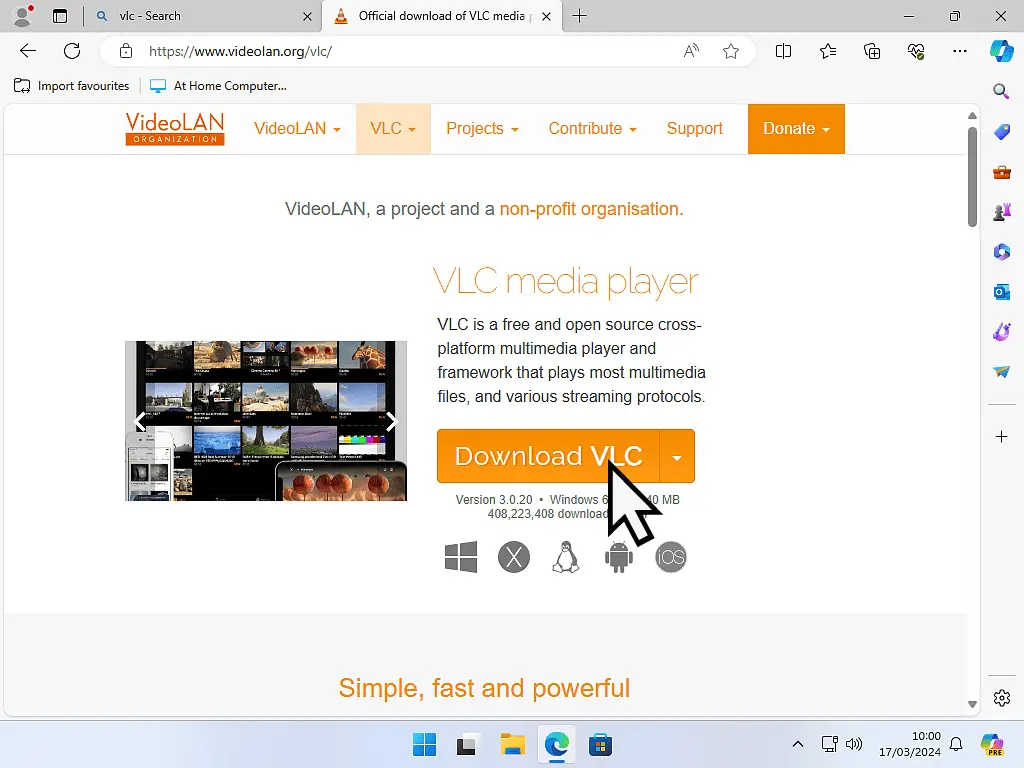
You can download VLC from here https://www.videolan.org/vlc/
- On the VLC download page, click the Download button.
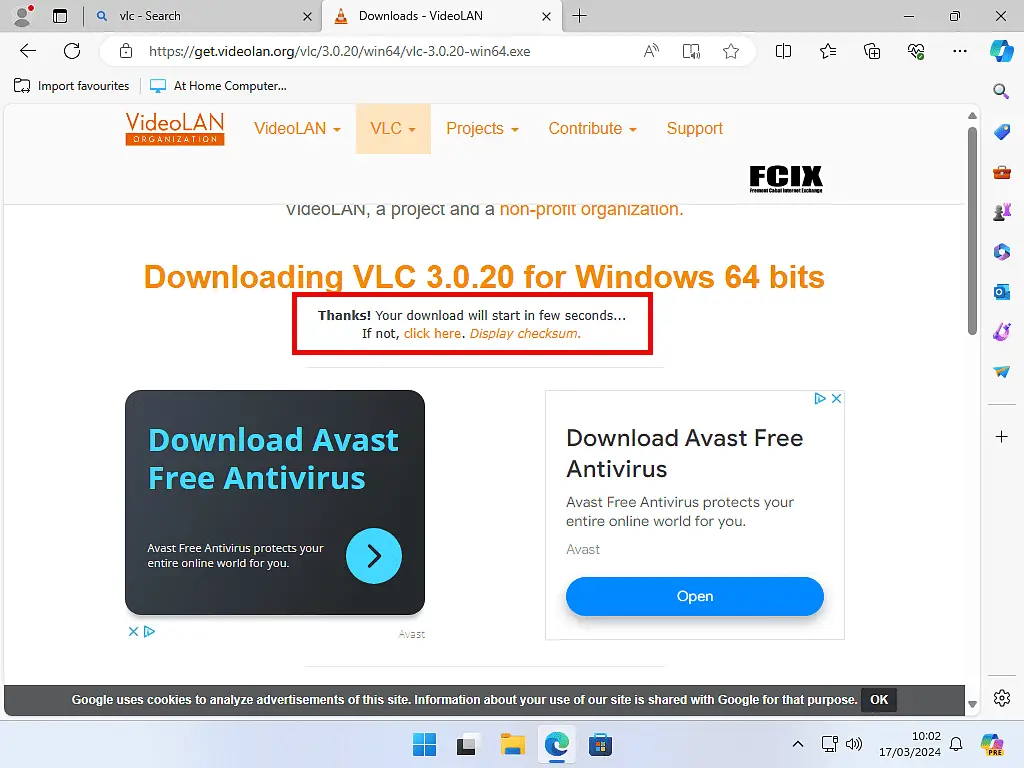
- Wait for the download to start. There’ll be a slight pause of around 5 seconds before anything happens. Don’t be tempted into clicking on any of the other download buttons.
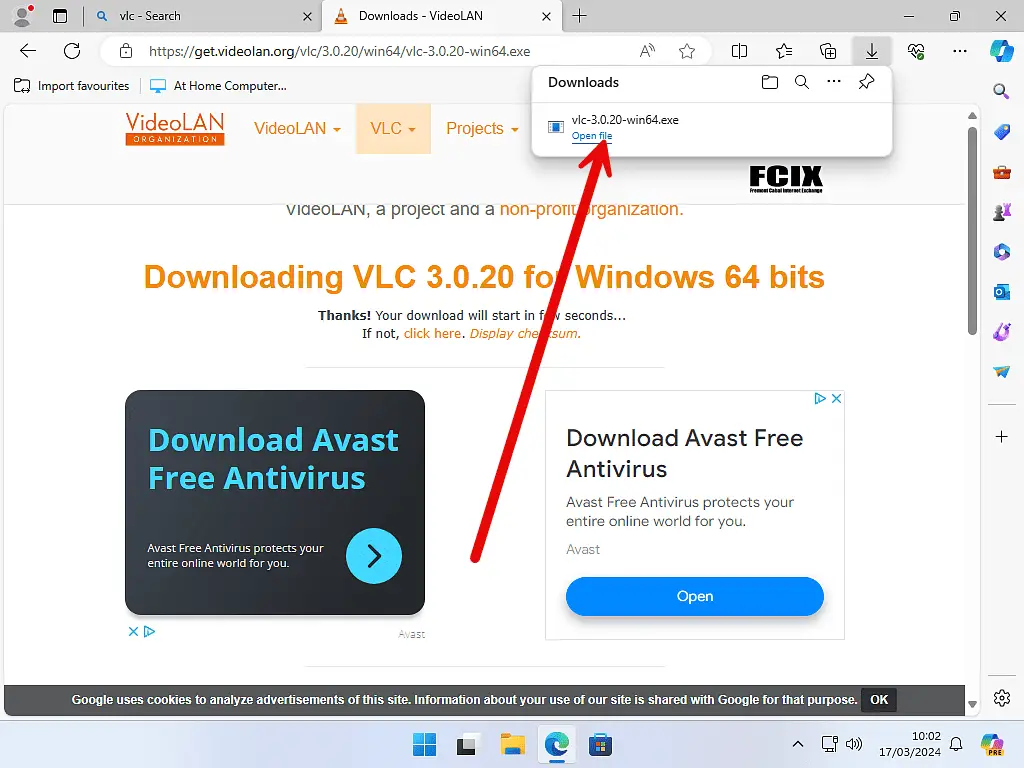
- Once VLC has finished downloading, run the setup.
Installing VLC To Convert WMA To MP3.
Installing VLC is a pretty much standard affair, just keep clicking Next and accept the default settings.
There isn’t anything sneaky about the installation, it won’t foist unwanted software on you and you want be committing yourself to giving up your private data.
Convert WMA To MP3.
Launch VLC media player. To convert your WMA files to MP3, you’ll need to load them into VLC.
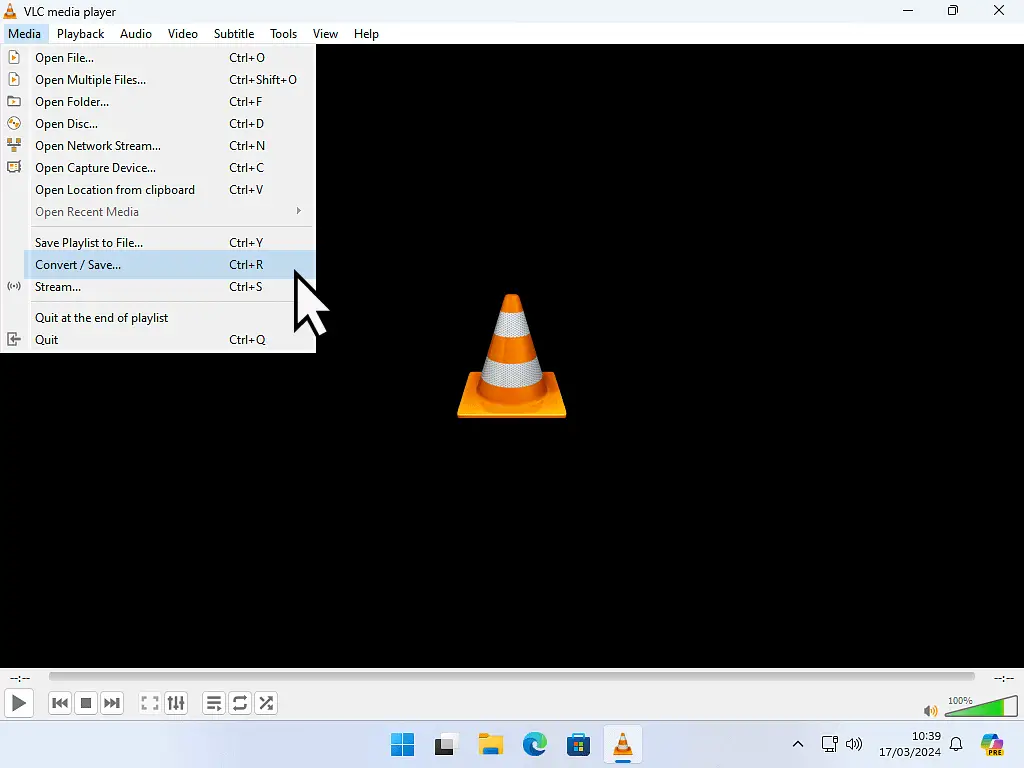
Click the Media button in the top left corner.
On the menu that opens, click on Convert/Save. Or you can use the keyboard shortcut CTLR + R.
Adding The WMA Files To Be Converted To MP3.
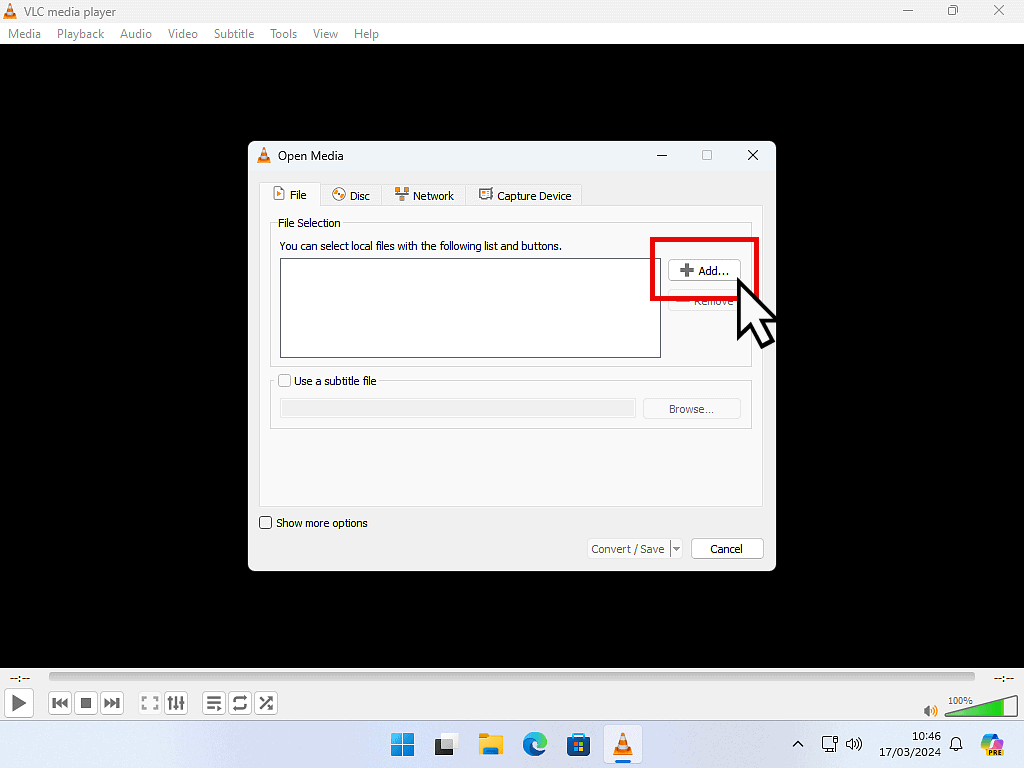
This is where you can tell VLC which WMA files you want to convert to MP3.
- Click the Add button.
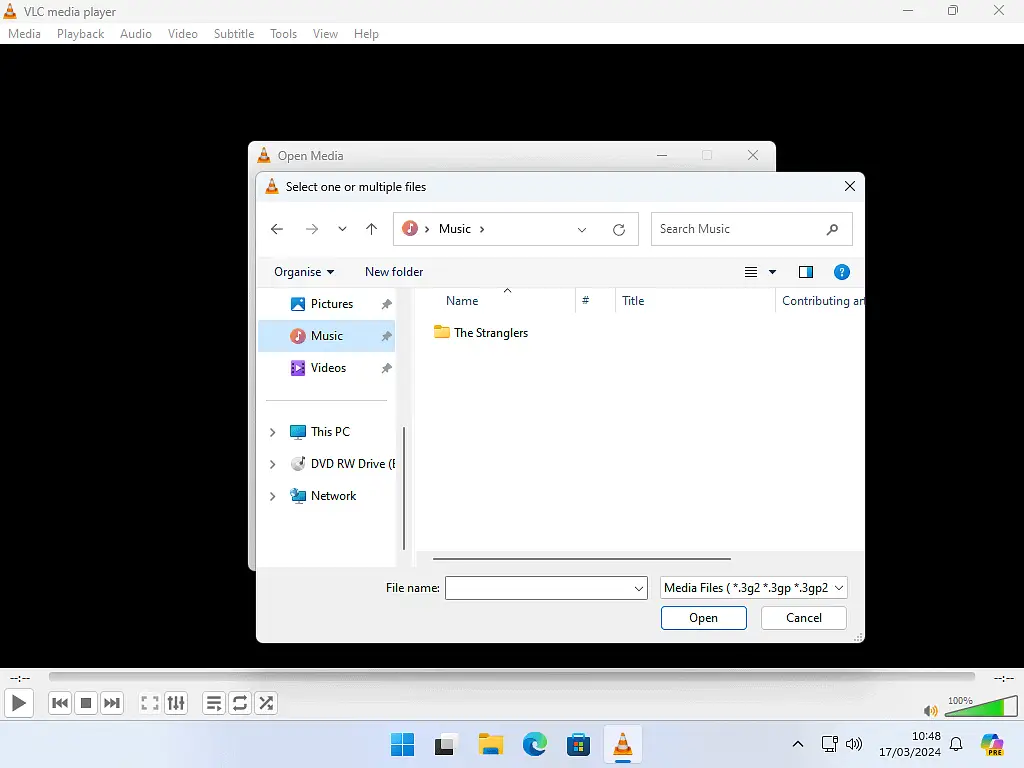
- A standard File Explorer window will open. Navigate to where your WMA music files are stored. For example, in the Music folder.
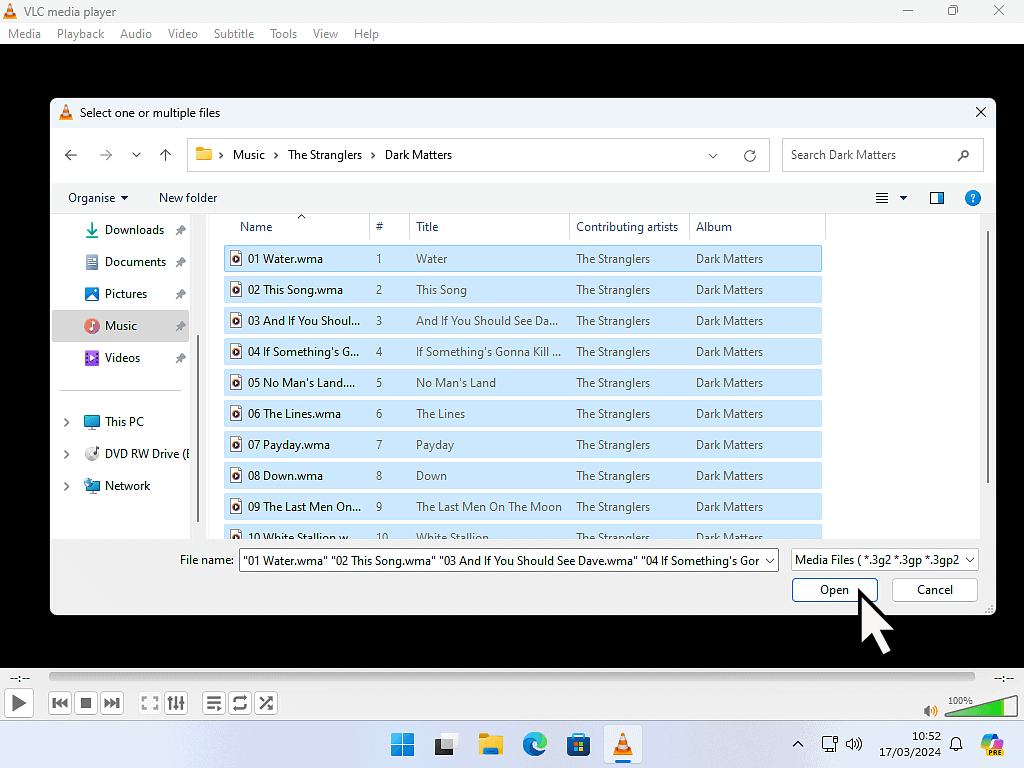
- Select all the WMA music files that you want to convert into MP3 and then click the Open button.
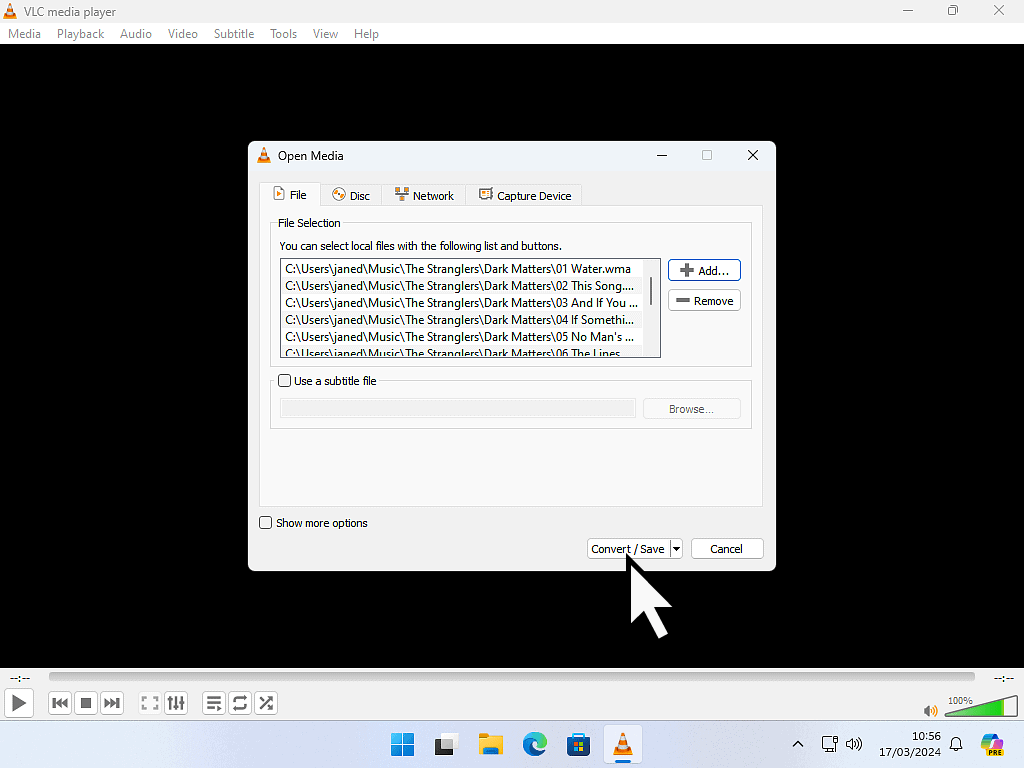
- The selected files will be loaded into VLC. Click the Convert/Save button.
Add More WMA Files.
If you wanted to add more WMA files to the conversion list you can. Just click the Add button again, navigate to and select the files.
You can keep adding as many files as you want to, but keep in mind that the more files that you add, the longer the conversion will take.
WMA To MP3 Conversion Settings In VLC.
Now that you’ve got the WMA files selected and loaded into VLC, you need to select which format they should be converted to. VLC can handle many different audio formats, but by far the most usable is MP3.
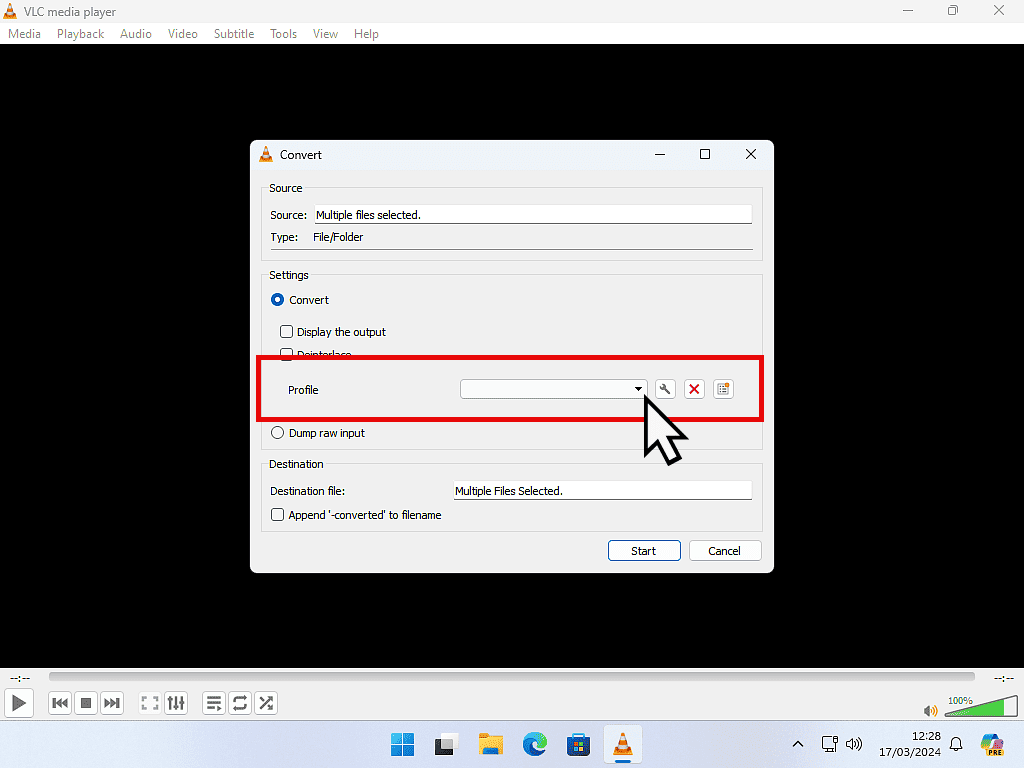
- On the VLC Convert screen, click the drop down arrowhead beside the Profile box.
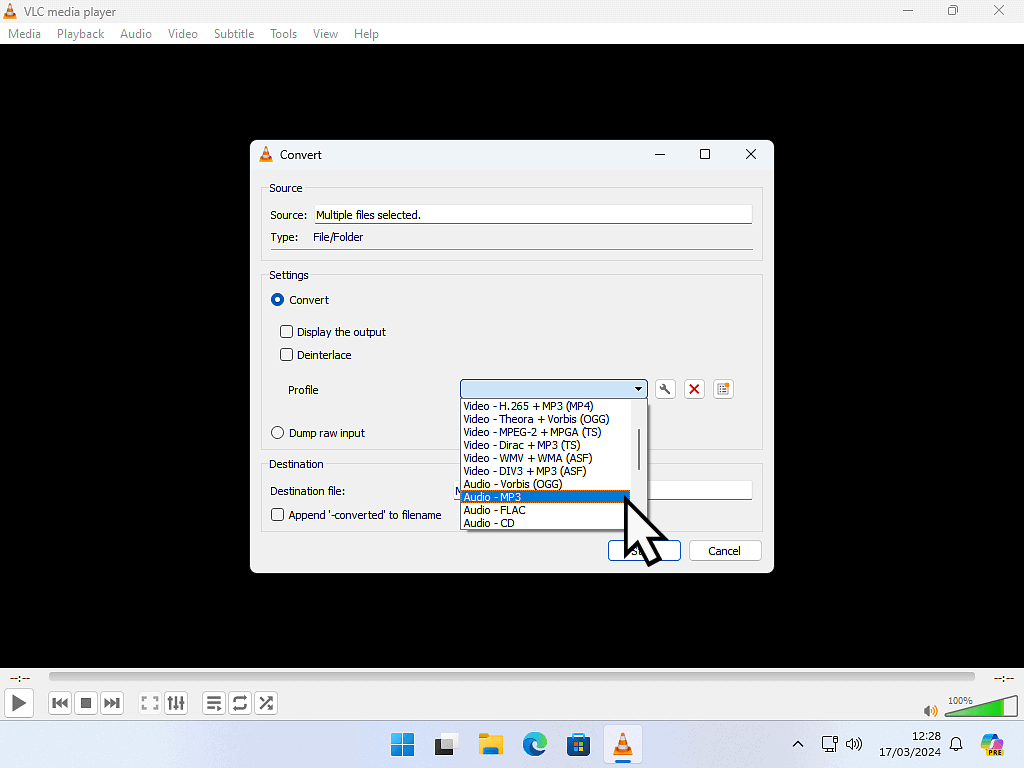
- Scroll through the menu and select Audio-MP3.
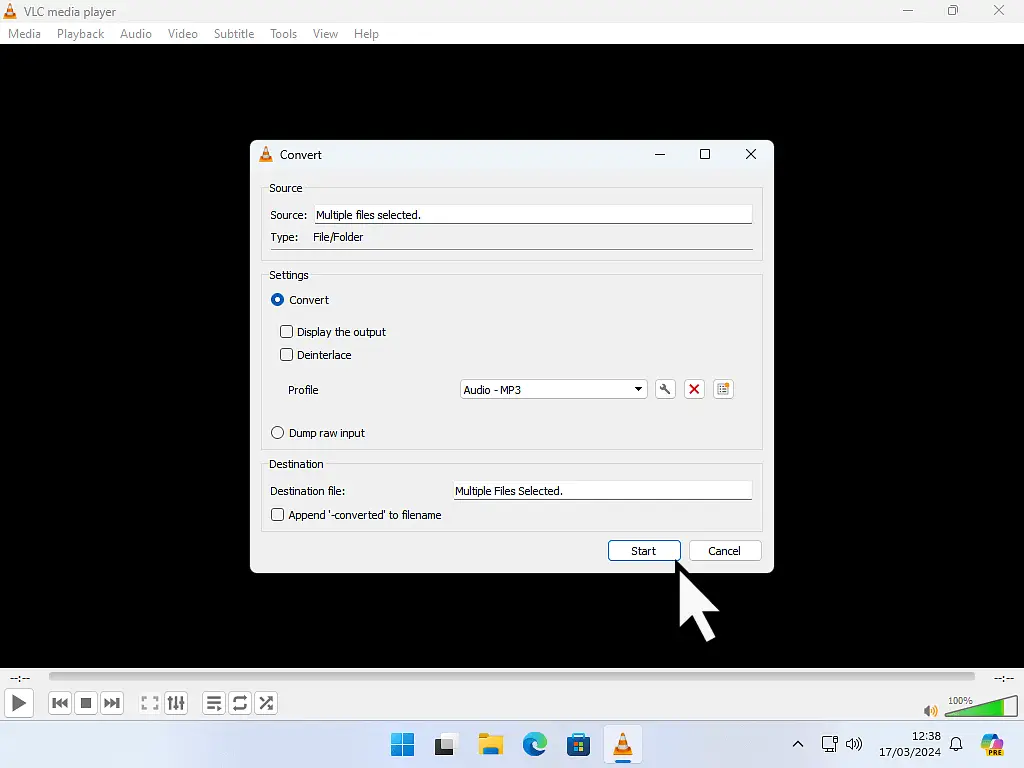
- To begin converting your WMA files to MP3 format, click the Start button.
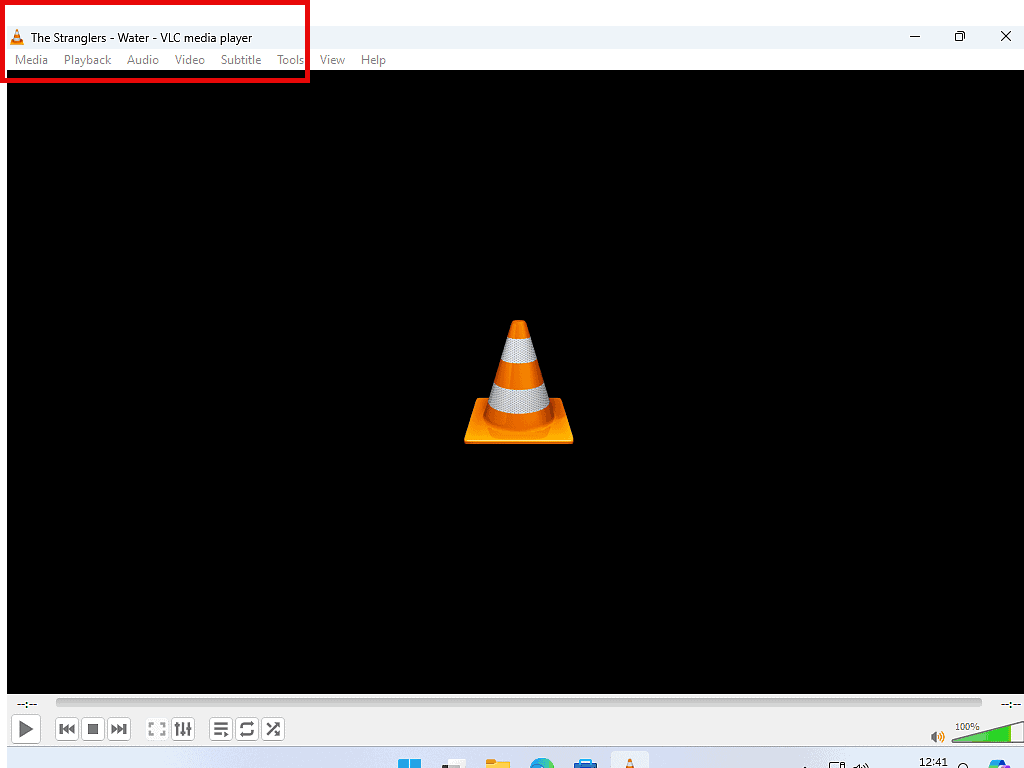
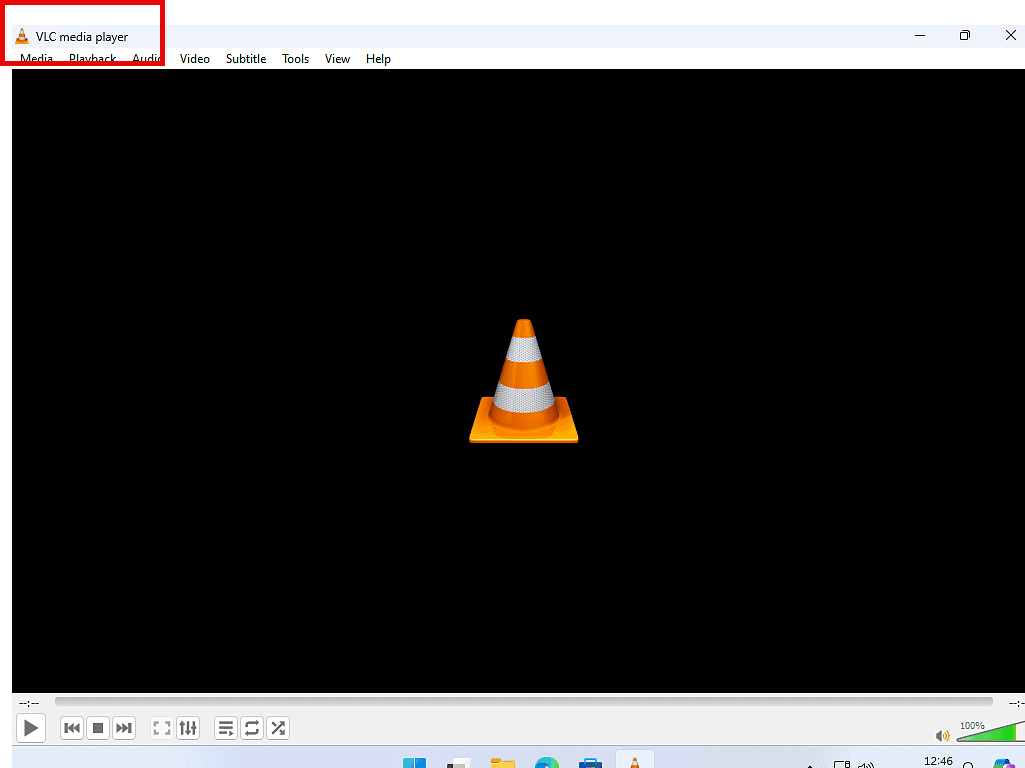
As each WMA file is loaded for conversion, you’ll see it’s filename appear at the top of the window. When all the files have been converted, VLC media Player will appear.
What To Do After Converting Your WMA Files To MP3.
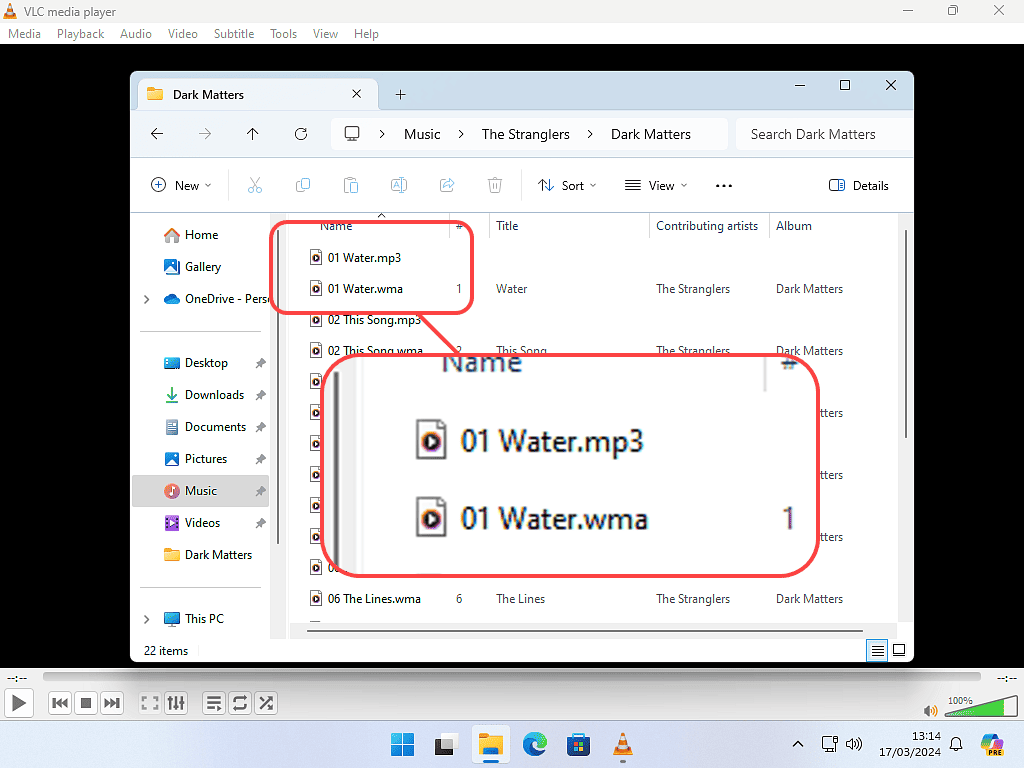
One will be the original WMA file and the other will be a newly created MP3 file.
You have 3 options –
- Leave everything as is – You can just leave the WMA & MP3 files together in the same folder. But for me, that’s just going to lead to confusion later on.
- Delete the WMA files – Deleting the WMA files out of the way would be an option, but then if something has gone wrong with the conversion, you’re kind of stuck.
- Move the WMA files to another folder – My preferred option. Moving the WMA files to a different folder means that you have a backup and at the same time, they’re out of the way.
How To Move Or Delete The WMA Files.
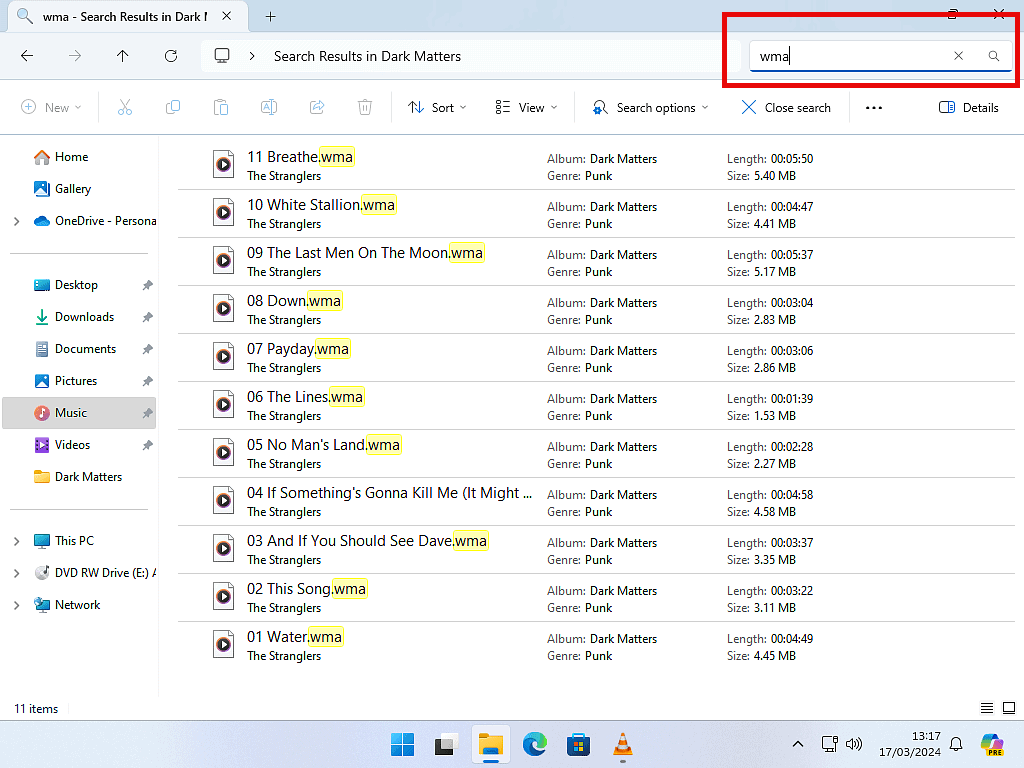
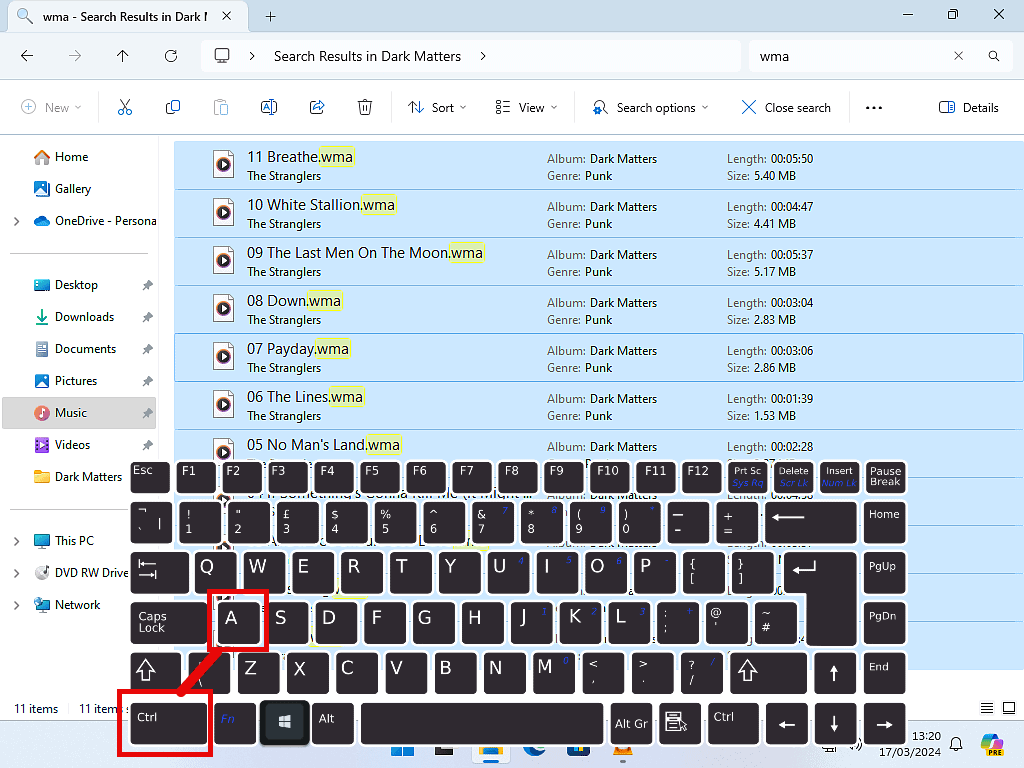
- Type “wma” into the folder search box and click the search icon (magnifying glass symbol).
- Press CTRL + A to select all the WMA files.
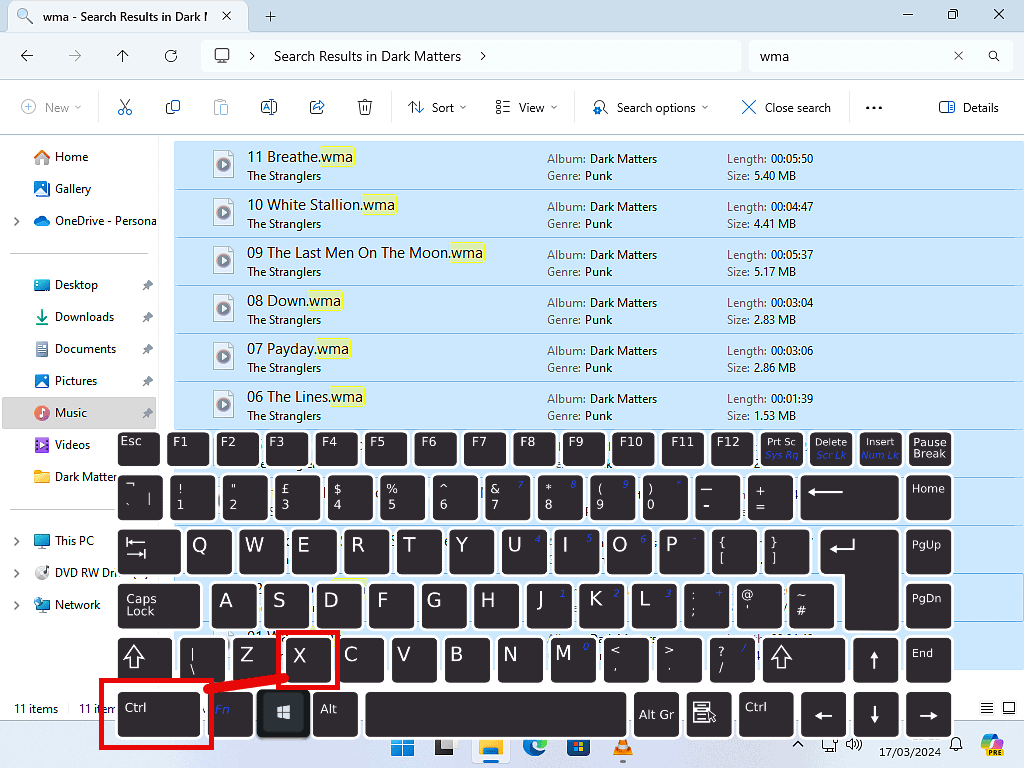
- Press Delete on you keyboard to delete all the selected files or press CTRL + X to cut the WMA files.
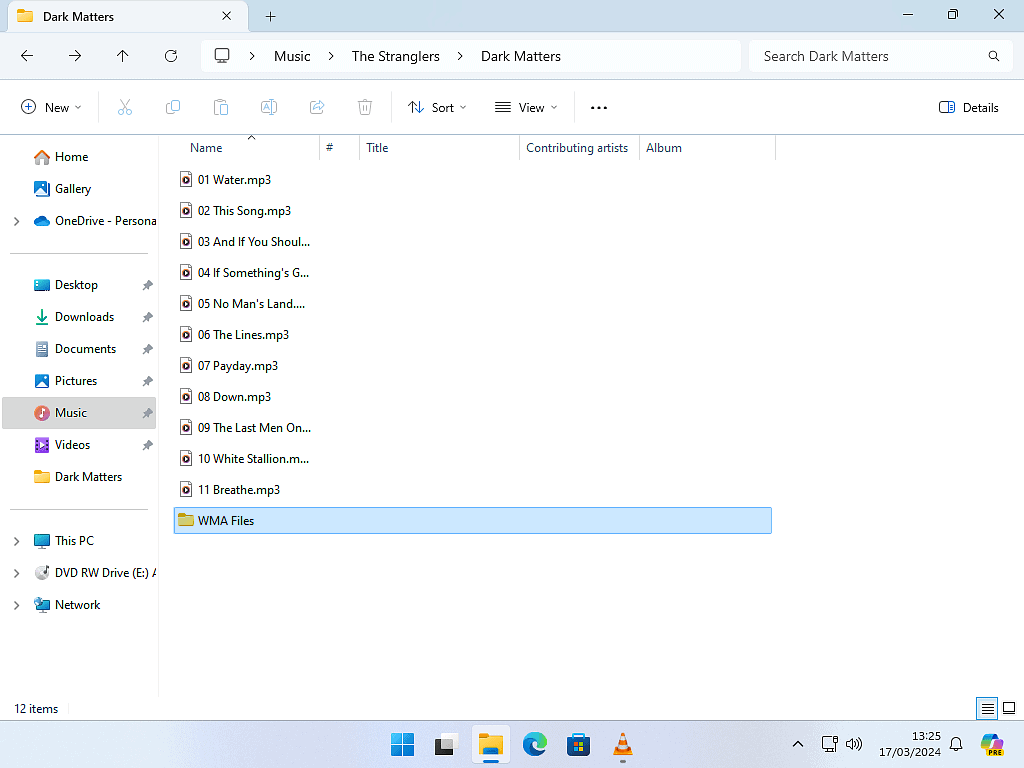
- If you’ve Cut the files, Paste them into another folder.
Summary.
Use VLC to convert WMA files to MP3 files. It’s free to use and much quicker than using an online converter.
