How to install Windows 10 on to your computer. In this step by step guide I’ll show you to perform a clean install of Windows 10.
Every now and then it’ll become necessary to re-install Windows 10 on your computer. The machine slows down, becomes clogged with junk files, programs and apps don’t work properly or maybe you’ve been hit by a malware infection.
Whatever the reason, follow the steps in this guide and get Windows 10 installed onto your PC.
What you’ll need to install Windows 10
- Windows 10 Installation Media – You’ll need to create a Windows installation USB drive. The drive will contain all the Windows 10 setup files. How To Create Windows 10 Installation Media.
- Boot From USB Drive – Know how to boot your computer from a USB drive. In normal use, your computer will “boot” from your hard drive. In order to install Windows 10 from a USB flash drive, you’ll need to interrupt that process and have your machine boot from the flash drive instead. That usually involves pressing certain keys or key combinations on your keyboard. Commonly used keys are – Esc, F8, F9, F10, F11 and F12. How To Boot From A USB Drive
- Backup – Finally I’d recommend making a full system backup. Strictly speaking it’s not an absolute requirement, but better safe than sorry.
Maybe a Reset would suit you better
Have you considered simply resetting your Windows 10 installation? A reset would allow you to keep most of the programs and apps that you’ve got installed as well as all your files and folder.
It’s not as good as a clean install but can often solve issues with less risk How To Reset Windows 10.
How to install Windows 10
Turn on your PC and boot from your Windows 10 USB installation drive. Booting from the USB drive isn’t going to be as quick as booting from your regular hard drive so give it a little more time.
Eventually the Windows 10 setup screen will appear.
Here you can change the Language, Time & Currency and Keyboard layout.
Click the Next button to continue.
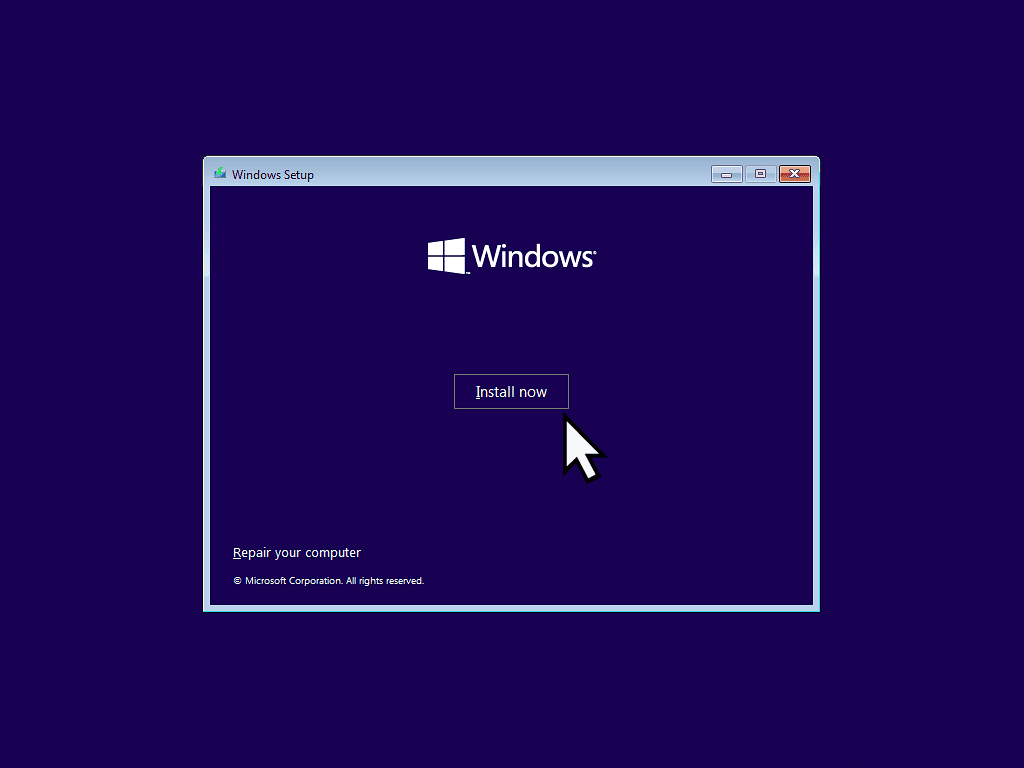
Then click the Install Now button.


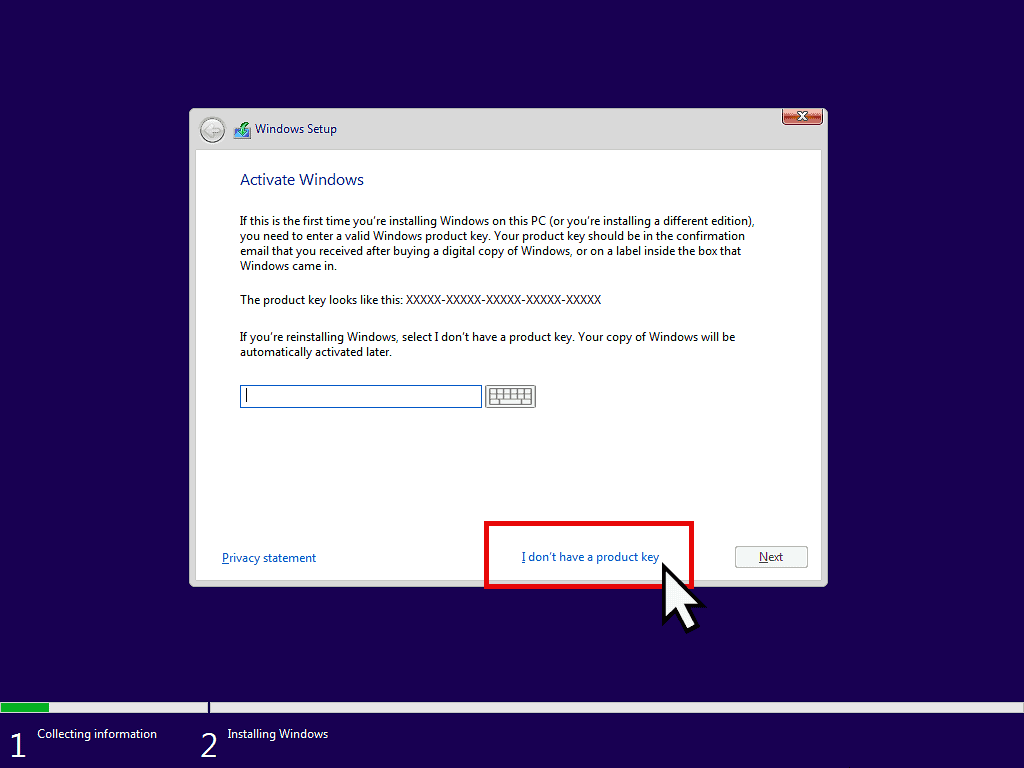
Activating Windows 10 during setup
The next screen will be the Windows 10 Activation screen.
On your computer you might not see these two screens. Many manufacturers will embed the Windows 10 product key onto your motherboard. So if you don’t see these pages, just move on to the next.
Assuming these two screens do appear, my advice is to always to not enter a product key even if you have one. Just leave the box blank and click “I don’t have a product key”.
On the next screen, select which version of Windows 10 you’re installing (generally that’ll be either the Home or Pro version) and click the Next button.

Which Windows 10 version?
If you’re re-installing Windows 10 on to a PC that has already had an activated version of Windows installed on to it, then select the same version. That way once you’re finished installing, it’ll activate automatically over the internet.
For example, if the PC previously had Windows 10 Home installed, select the Home edition and it’ll activate. If you go and select the Pro version, then you’ll need to provide an activation code.
You have to accept the terms and conditions.
Click in the box “I accept the licence terms” and then click the Next button.

Which type of installation do you want?
The first option is to do what used to be called a repair installation. That’s not what we’re doing here.
We’re doing a clean install of Windows 10.
Click the second option “Custom: Install Windows Only (Advanced)”.

Where do you want to install Windows 10?
What you see on this screen really depends on whether you’re installing Windows 10 onto a brand new hard drive. Or onto a drive that has previously had Windows installed onto it.
If it’s a new drive, that hasn’t been used before, then it probably won’t have any partitions yet.
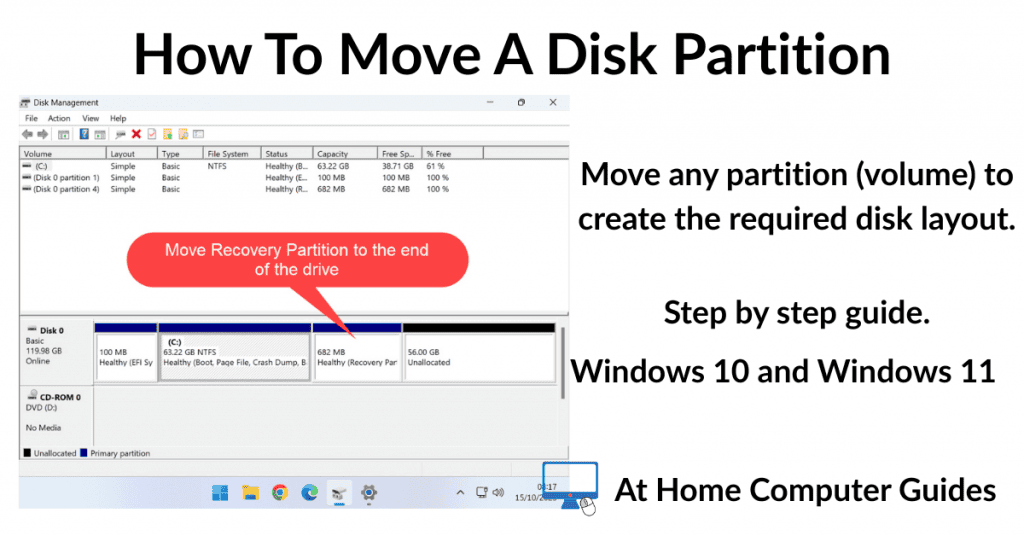
But it’s already been used for Windows, i.e. you’re re-installing, then you’ll see several partitions. To wipe the drive and clean install Windows, we’ll delete all these partitions.


Delete the old partitions
Select a partition by left clicking on it once. Then click Delete.
You’ll see a warning message that the partition might contain data. Click the OK button.
Continue deleting the partitions until they’re all gone.

You Did Backup Your Data Didn’t You?
This is the point of no return. When you delete these partitions, you’ll delete all your data, all your files folders etc, that’s stored on them.
Windows 10 installation
Once you’ve deleted all the partitions, or if you’re installing Windows 10 onto a new hard drive, you’ll be looking at a disk with “Unallocated Space”. To continue the Windows 10 installation you need to create a new partition to install Windows on to.
- Click the New button to create the necessary partitions.
- Then click the the Apply button.
- Windows 10 setup will warn you that it might create extra partitions. Click the OK button.
- Then click the Next button to begin installation.


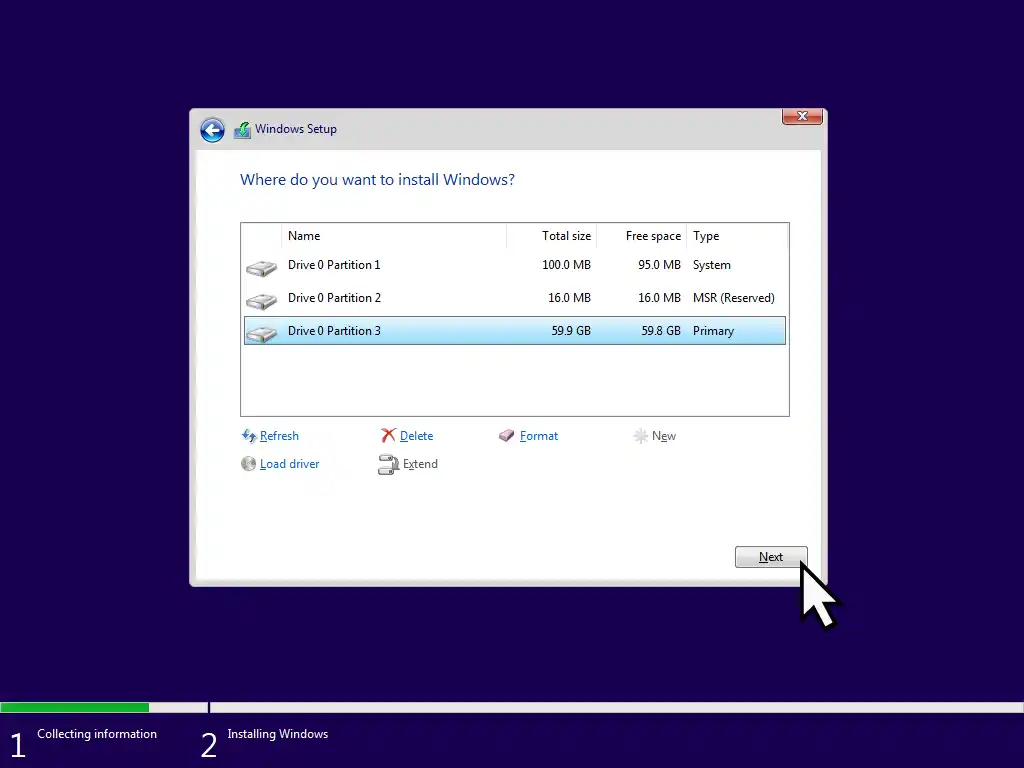
After clicking the final Next button Windows 10 will start installing on to your PC. It may restart a couple of times but there’s not much for you to do right now.

Setting up Windows 10
After a restart or two, you’ll be presented with a succession of screens to help you setup Windows 10.
- Windows 10 should automatically set your region correctly. Click the Yes button to accept.
- Select your keyboard layout. Again Windows should set this for you, click Yes.
- Adding a second keyboard layout. Probably not, click the Skip button.
- Then Windows 10 will start setting itself up.


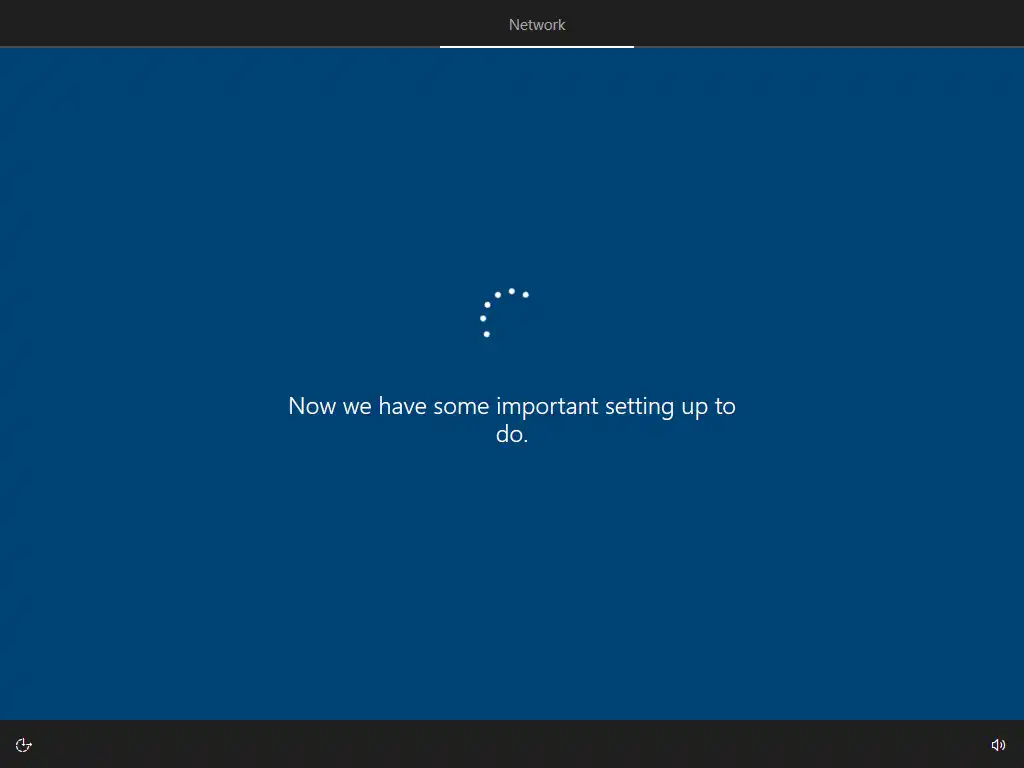
Windows 10 Home or Windows 10 Pro
This next screen will only appear if you’re installing the Pro version of Windows 10.
For most users, select “Set up for personal use”. Then click the Next button.
If you’re installing the Home version of Windows 10 you won’t see this screen at all.

Signing in with a Microsoft Account or Local Account?
Now we get to the tricky bit, how do you want to sign in to your computer. You have two choices, Local account or Microsoft account. Explaining The Different Windows User Accounts.
If you have a Microsoft account and want to use it to sign in with this computer, then just your email address and password. Then you’ll be asked to set a PIN.
I’m not going to do that. I’m going to show you how to setup Windows 10 using a local account instead.
Once you’ve got Windows 10 installed and setup, you can always change your local account to a Microsoft account if that’s what you want to do. They really don’t make it difficult.
Installing Windows 10 with a local account is slightly different depending on whether you’re installing the Home or Pro version. I’ll show you both below.
Install Windows 10 Home with a Local Account
All you need to do to install Windows 10 Home with a local account is to disconnect your PC from the internet.
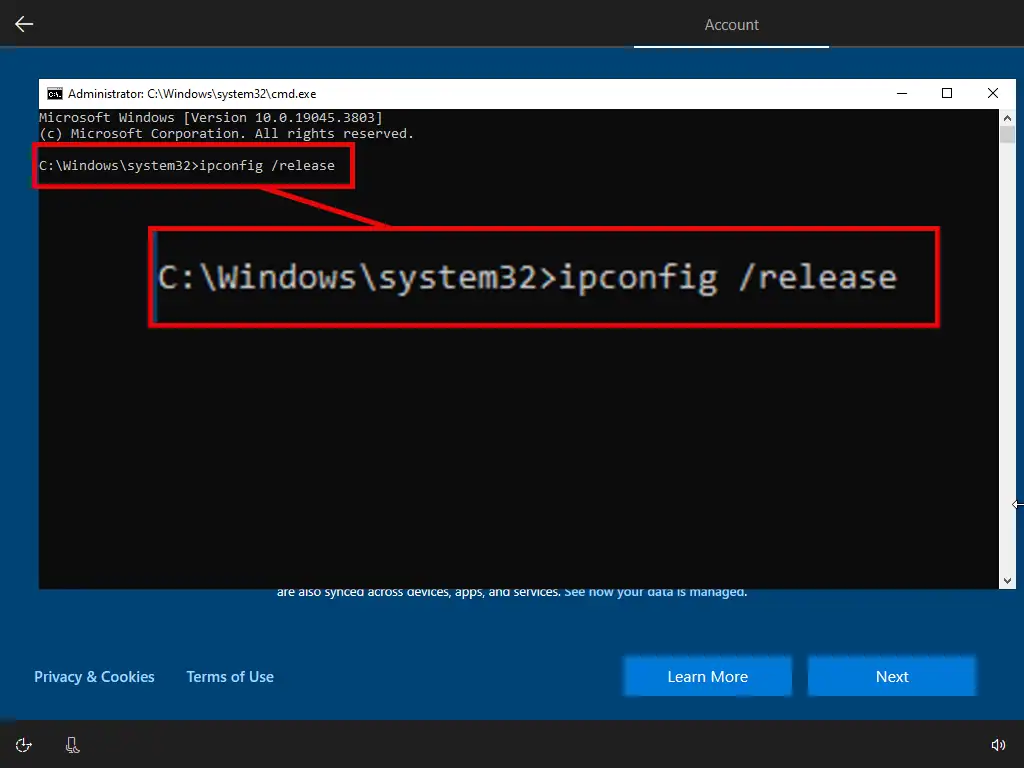
When you get to the Windows 10 account screen you need to disconnect from the internet in order to setup a local account. Either unplug the internet cable or turn off your Wi-Fi if you connect wirelessly. When you’ve disconnected your internet, go to step 3 below.
- If you can’t disconnect from the internet, at the “Let’s add your account” screen, press Shift and the F10 keys on your keyboard. That’ll open a command prompt window.
- Type “ipconfig /release” and press Enter. Then close the command prompt using the X in the top right corner.
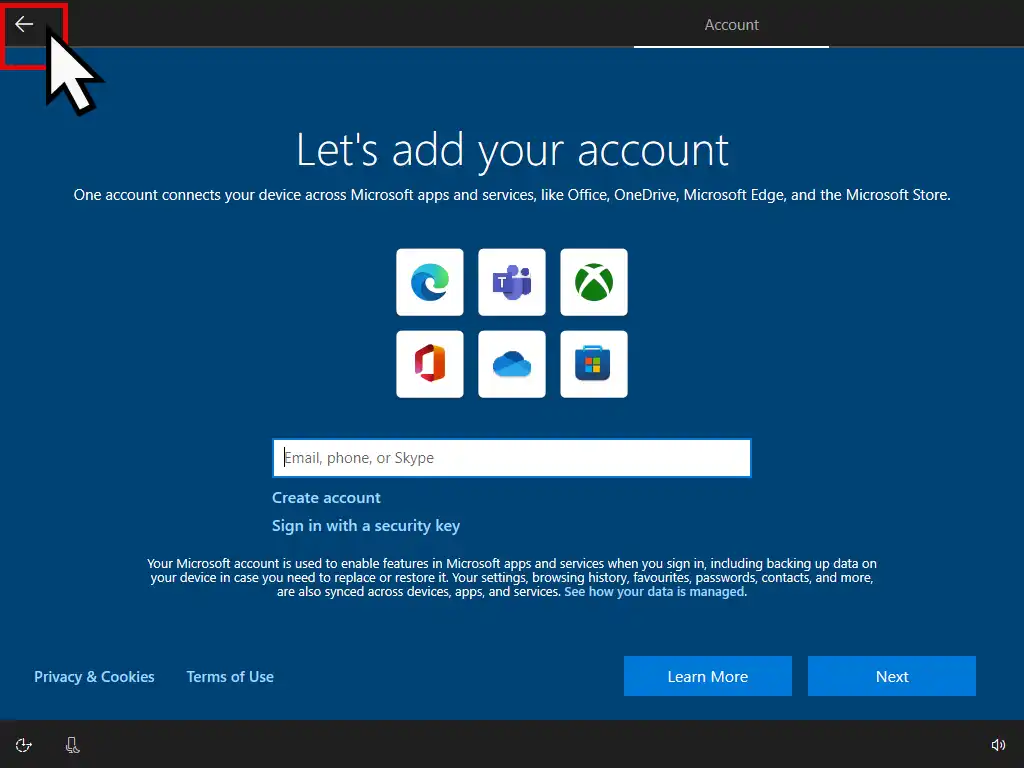
- When you’ve disabled your internet, click the back button in the top left corner of the screen.
- Windows will do a quick reload and then display the local account setup screen. Add a username and click Next.


Install Windows 10 Pro with a Local Account
Installing Windows 10 Pro using a local account is very easy to do because Microsoft still offers you the option of which type of account you want.
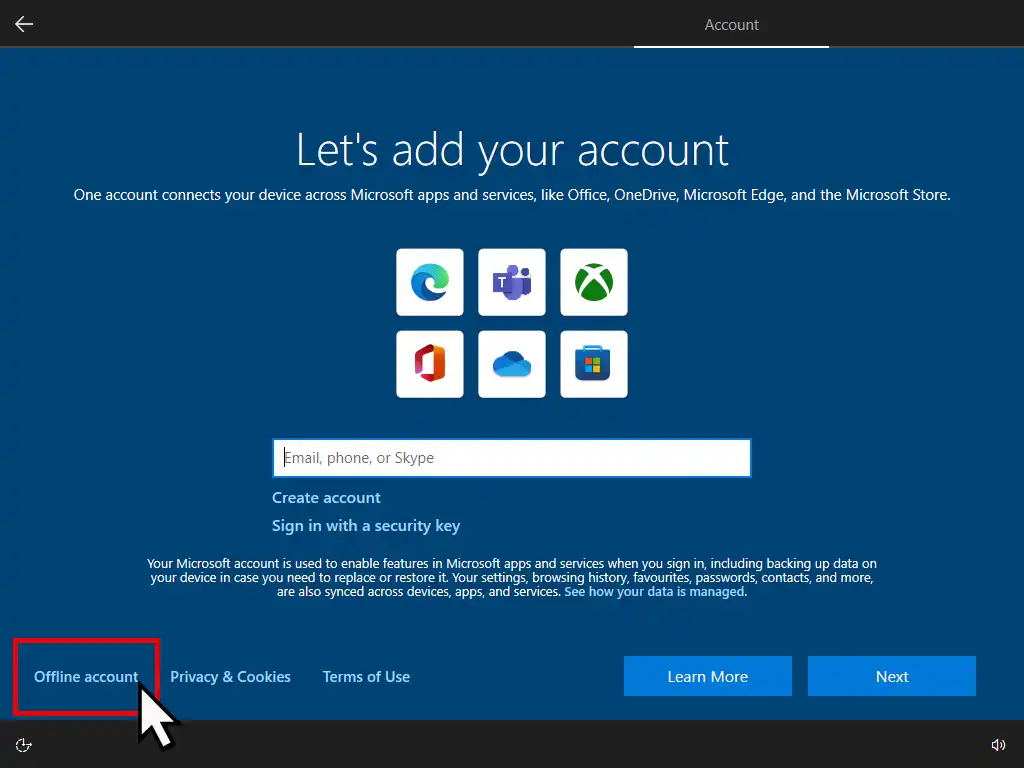
- Instead of entering an email address, click Offline Account in the bottom left hand corner.
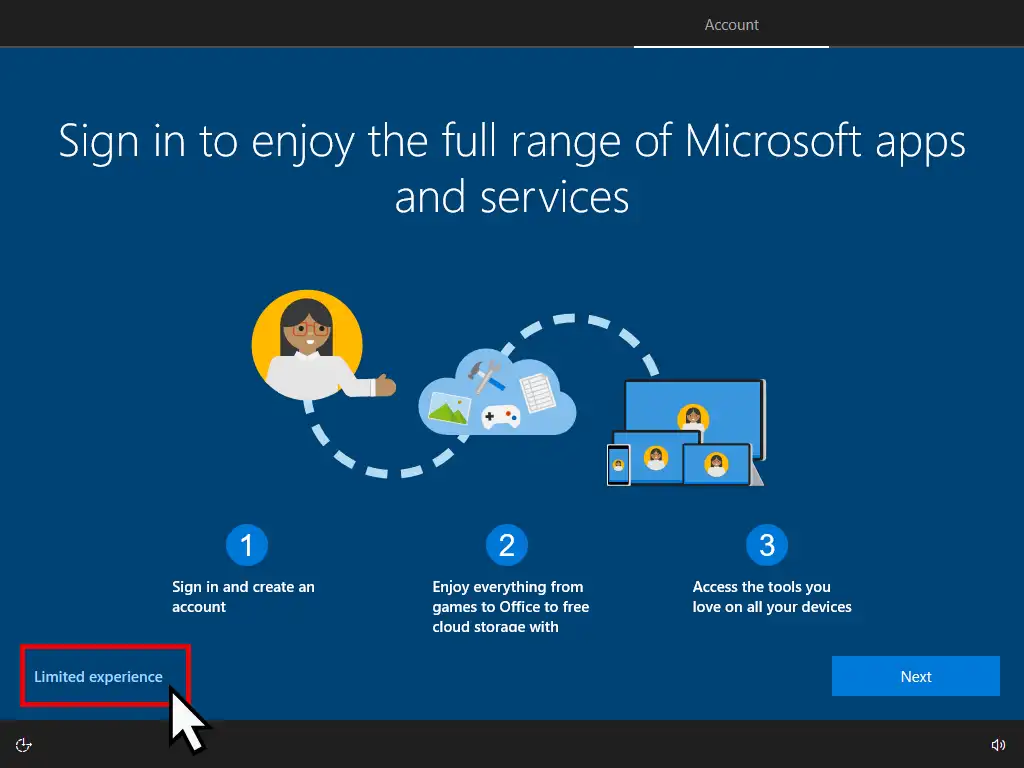
- On the next screen click Limited Experience, again it’s in the bottom left corner.
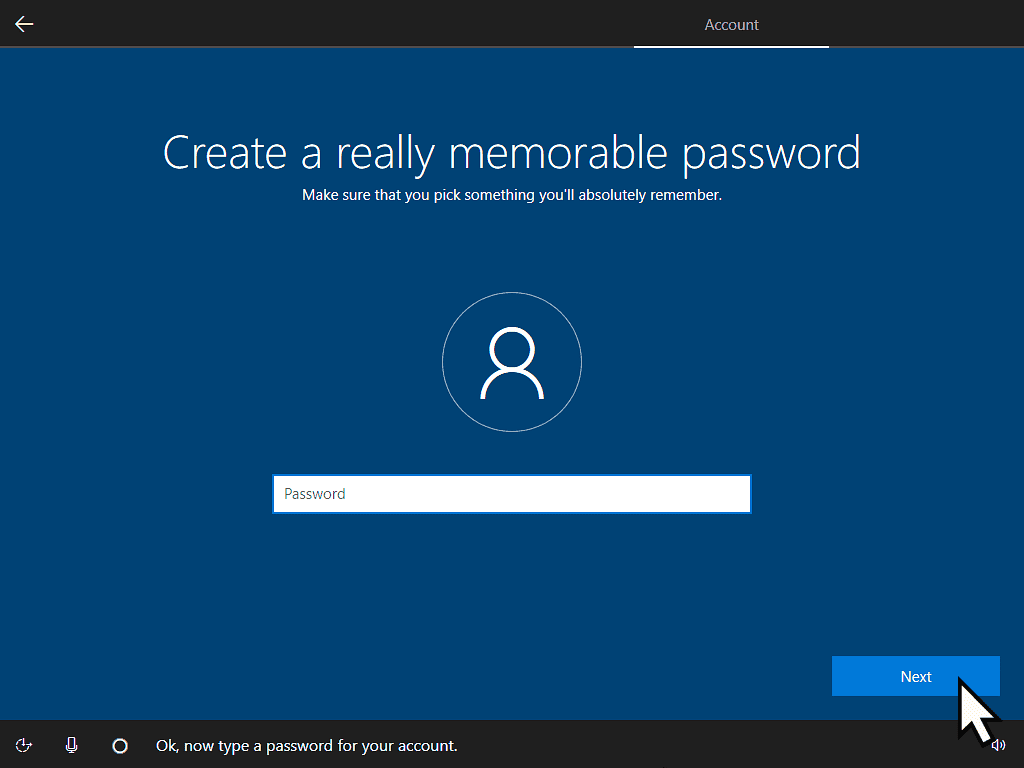
- Now you’re at the local account setup. Type a username and click Next.
- Enter a password if you want one, but you can leave it blank if you don’t, just click the Next button. Personally I always leave the password blank during setup. It just makes things easier and you can easily add a password to your account after the installation has finished.

Privacy Settings
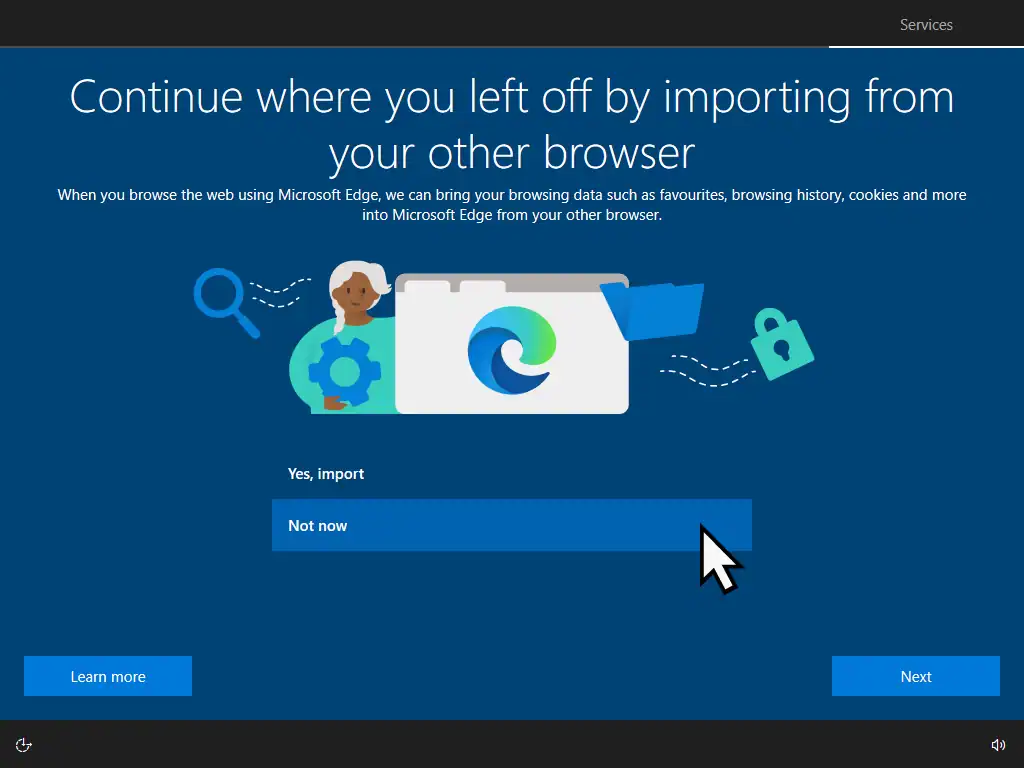
Having got this far through the Windows 10 installation you’ll be asked for your permission for Microsoft to gather information and data about how you use your PC. The choices are yours to make, but I’d always opt for the second option. You won’t loose any functionality on your computer.
I’m not going to add all the screens, there’re several more to come, because they do change a little over time. I think you’ll get the idea from these first 4. Just keep clicking No and then Next until you get to the end.


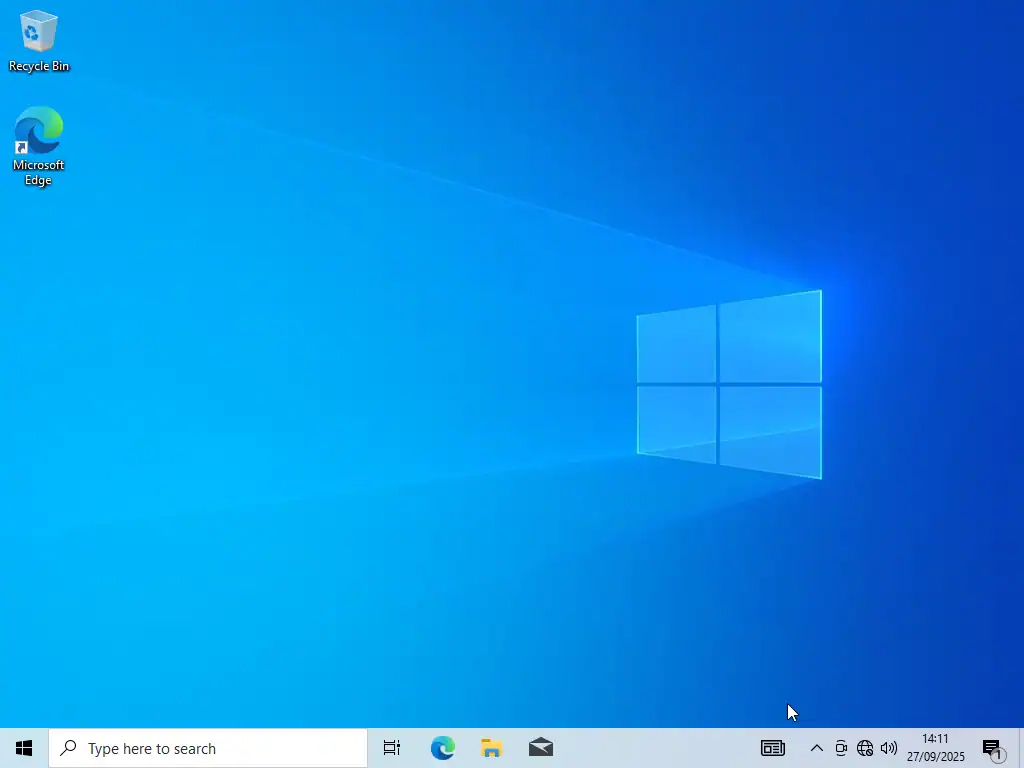
Windows 10 Installed
You did it, you’ve successfully installed Windows 10 on to your computer. Easy right?
I like to give it about 5 minutes or so to settle down before doing anything else.
After that reconnect your internet and restart your computer.
Run Windows Updates and install any missing drivers.
Summary
Installing Windows 10 isn’t difficult in itself but some of the language used on the various screens can be confusing.
Don’t be afraid to disable or turn off the privacy options. You’re not losing any functionality on your computer. The settings simply control how much data Microsoft are allowed to gather about you as you use your PC. Good luck.
Related Posts
How to Change a Computer Name
Every Windows computer has a name, a device name. It’s how you can find an individual PC over a network. Change your PC’s name to something descriptive.
How To Install Windows 10 Virtual Machine In Workstation Pro.
Setup a virtual machine running Windows 10. It’s free for home users and a lot easier than you’d think.
How To Create An ISO File From A Folder
Creating an ISO file from a folder offers several key advantages, primarily centred around portability, organization, and preservation.
Something For The Weekend
As Windows 10 nears the end of its life cycle, many people will be considering buying a new PC.
But what then happens to your old computer. It still has all your data and applications on it.
You could save your old machine together with all its data and apps and use it as a virtual computer on your new PC.
Or you could pass it on. In that case, make sure you remove all traces of your activities.


