How to restore your computer to a working state using a system image created with Windows Backup and Restore.
There are many reasons why computers become unusable, it could be a failed Windows update, malware, badly written or incompatible programs or drivers etc. The list goes on.
In this guide I’ll show you how you can restore your computer from a Windows system image.
How To Restore A PC From Windows System Image Backup
During the restore process your computer will be returned to the exact same state that it was in when the system image was created. So before you begin the recovery process make sure that you’ve backed up as much of your data (documents, pictures etc) that you can. Anything that wasn’t included at the time of the backup will be deleted.
To restore your PC from a Windows system image, click the Start button and type “recovery options“.
Click Recovery Options (system settings).

If You Can’t Start Your Computer
There will be times when you can’t even get your computer to boot to the desktop. If that’s the case for you, click here How To Use A Windows Recovery Drive.
On the Recovery screen, scroll to the Advanced Start-up section and click the Restart Now button.
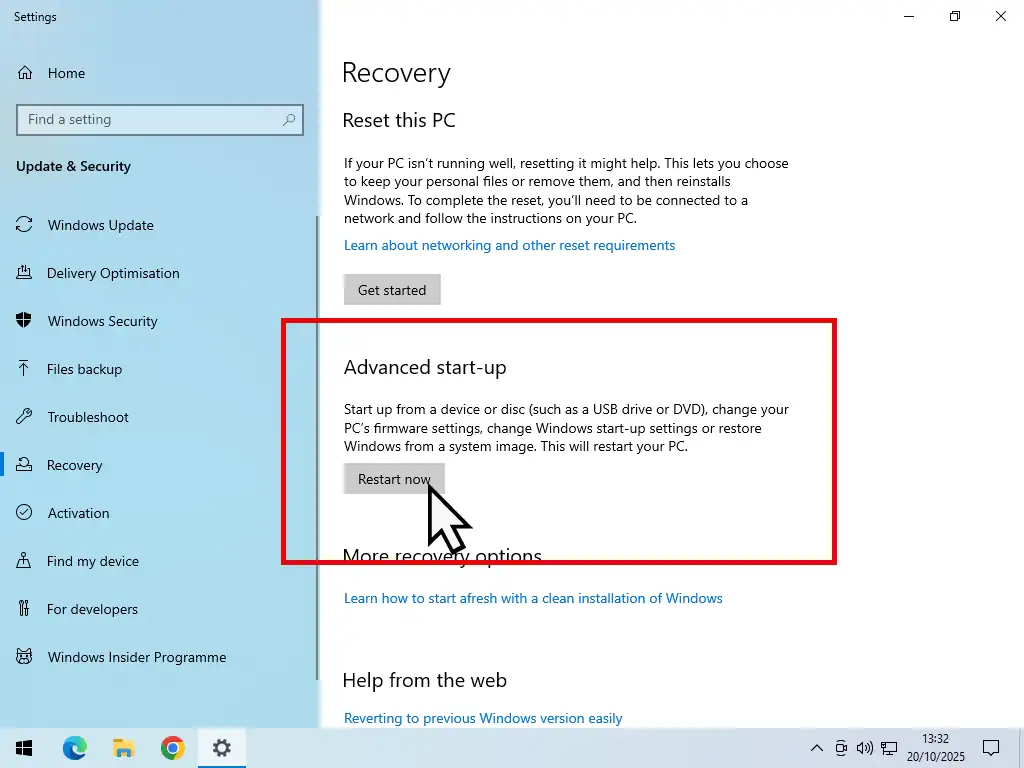
The Windows Recovery Screen
Your PC will quickly reboot into recovery mode. To access and restore the computer from a system image –
- On the Choose an Option screen, click Troubleshoot.
- Click Advanced Options
- Then click on “See More Recovery Options”.
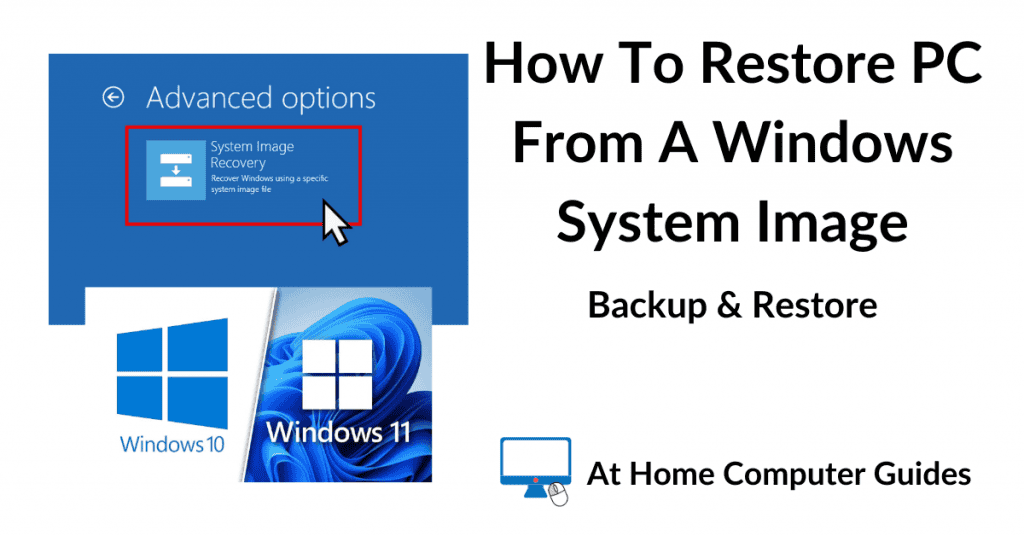
- Finally select System Image Recovery.


System Image Recovery
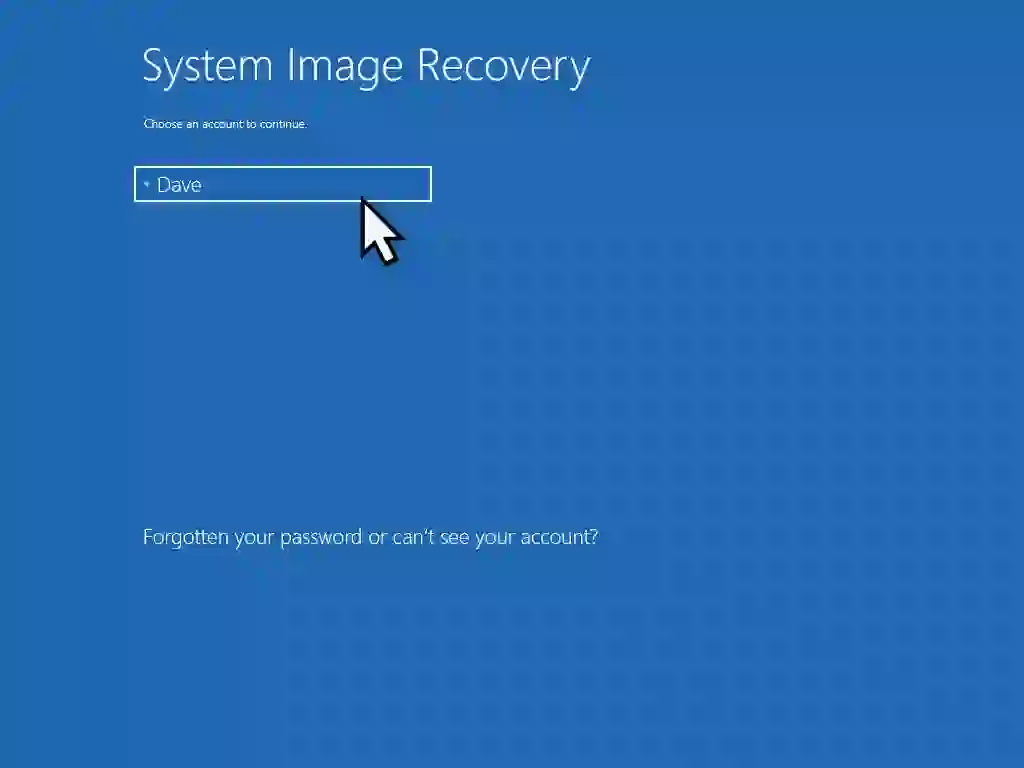
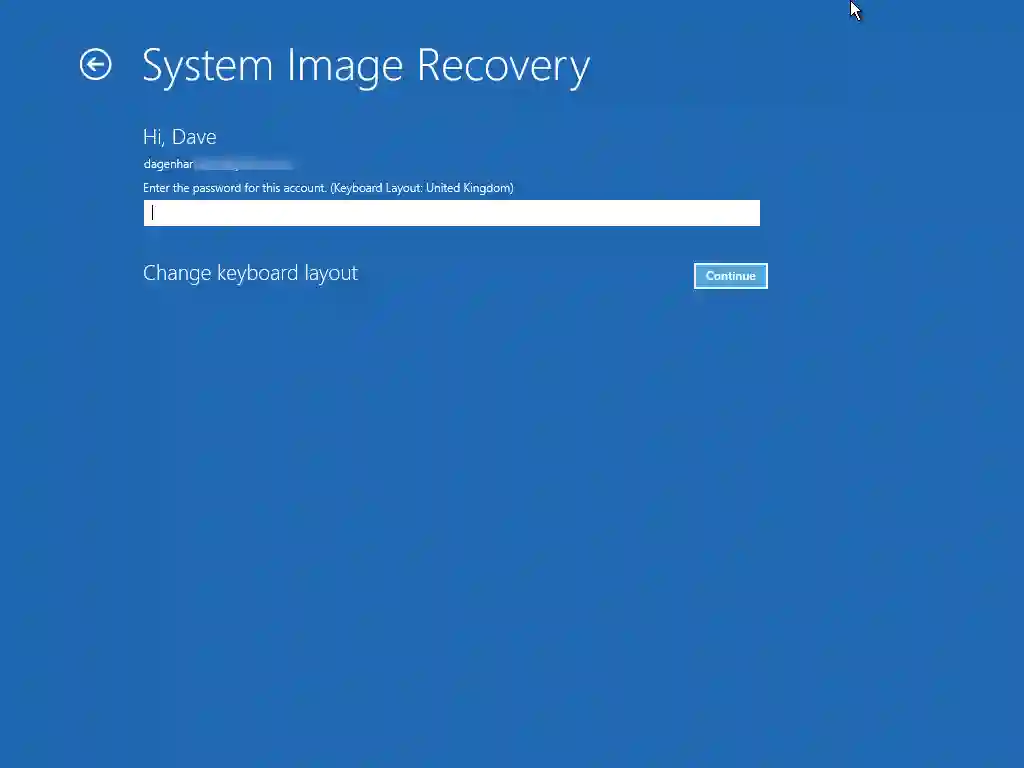
When the System Image Recovery screen loads, click on your account name and then enter the password for your account. If you’re using a Microsoft account, then it has to be the password for that account. The PIN won’t work.
It’s also possible that you’re using a local account and maybe don’t have a password. In that case you can just leave the password box blank. Explaining The Different Windows User Accounts.
After entering your details Windows will search all your connected devices for a system image. When it’s been found click the Next button.


On the Additional Restore Options screen, there isn’t really anything for you to do except click the Next button. Then you’ll see the Re-Image your PC confirmation screen. Click Finish.
You’ll see a warning pop up. It’s telling you that all data on your computer will be replaced with the data held in the system image.
Anything not included in the system image will be erased.
Click the Yes button to continue restoring your computer.


Last Chance To Change Your Mind
Note that this is the last chance that you have to cancel out of the restoration. After clicking the Yes button the recovery operation will start. All data on the computer will be removed and replaced with the system image.
Your Computer Is Restored From The System Image Backup
Windows will display a progress bar as the restoration of your computer proceeds. There isn’t any way for me to guess at how long it might take on your PC. Everyone’s machine is different. But be prepared to wait a few hours.
If all goes well your computer should make one more re-start and then it’s done. The computer will be back to how it was when the system image was made.


Summary
Using a system image to restore your computer is a last ditch effort to get it back up and running. Make sure that you’ve backed up any important file that have been added to the PC since the system image was made because they will be deleted.
Related Guides
System Restore In Windows 10 And Windows 11.
Before going the whole hog and restoring your computer, have you tried System Restore. It can often get your PC working again without the worry of losing any files.
Computer Care
Malware can have a devasting effect on computers. If you think you might have some form of infection, run Malwarebytes. It’s free to use on home computers. Read this step by step guide to setting it up.

