You can still burn files to CDs and DVDs in both Windows 10 & Windows 11.
With the rise of USB flash drives, burning data to CDs and DVDs has taken a back seat. Indeed, many new computers (in particular laptops) are sold without any sort of optical drive at all.
However, optical storage still has its uses and both Windows 10 and Windows 11 have the capability to burn data discs, so you don’t even need to install any other software.
Quick note, this guide is about burning data to CDs and DVDs, if you were looking to create an audio CD click here How to Burn a Music CD in Windows 10 and 11 in 2026
How to Burn Files to a CD or DVD
When you’re ready to start writing your files to a disc, load either a blank CD or DVD into your burner drive. It doesn’t matter which you use as Windows will auto detect it.
- After a few moments you should see the Windows AutoPlay prompt appear near the bottom right corner of your screen. Left click on the AutoPlay prompt.
- Then click “Burn files to disc” in the top right hand corner of your screen.
- The Burn a Disc window will open. You can a a title for your disc if you want to or just leave it as is. Select “With a CD/DVD Player” and then click the Next button.


Why Not Like A USB Flash Drive?
Don’t be tempted to use the first option “Like a USB Flash Drive”. It doesn’t work that well, it’s unreliable.
If you need this option, then use a real USB flash drive. It’s much easier, quicker and more reliable.
If the Burn a Disc Window Didn’t Appear
Sometimes when you insert a blank disc, Windows will fail to give you any options at all. AutoPlay won’t pop up and neither will the “Burn a disc” window.
If that happens to you :-
- Open File Explorer (press the Windows key and letter E on your keyboard).
- Click This PC in the navigation pane
- Then double left click on your CD/DVD drive in the centre pane.
- After double clicking on your CD/DVD burner, Windows will kick into in gear and open the Burn A Disc window.


Adding Files to be Burned to the CD
Now you can add whatever files or folders that you want to be written to the disc.
Use drag and drop or copy and paste to place your files in the disc window.
Note that sometimes it’ll take a moment or two for the files to appear in the disc burn window.

Add Files Using the Send to Menu
Another way of adding files to be burned is to use the Send To Menu.
Right click on a file or folder to open the options menu.
Hover your mouse pointer over the Send To option and then click your CD/DVD drive on the second menu.

Windows 11 Users And The Right Click Menu.
If you’re using Windows 11, you probably won’t be able to see the Send To option. You have to click Show More Options at the bottom of the menu.
That’s because Windows 11 uses a much smaller, more focused, options menu. If you wanted to return it to displaying all options click here How To Restore The Old Right Click Menu To Windows 11.
Burn the Files to Disc
When you’ve finished adding files to be burned to the disc and you’re ready to burn the disc.
- Right click on the disc and then left click Burn To Disc. Again, if you’re using Windows 11 you’ll need to click Show More Options first.
- On the next screen you can change the title of the disc and alter the writing speed. Click the Next button.
- Then the disc burning will begin. How long it takes will depend on how much data you’re writing to the disc and the speed of your machine.
- When the burn process is finished, usually your burner will eject the disc and you’ll see the “You have successfully burned your files to the disc” window. Click the Finish button.


There was a Problem While Burning This Disc
If you’ve over filled your disc with files and folders, you’ll see this message “There was a problem while burning this disc”.
This is a real issue when trying to burn files to a disc like this because as you add files, Windows doesn’t give you any indication of how much space on the disc you have left.
A standard blank CD holds around 650 MB to 700 MB and a standard blank DVD will hold around 4.5 Gb of data. But Windows doesn’t tell you how much data you’re adding to the disc.
If you see this message you’re only option is to select the “Cancel without burning the files” option.
That’ll return you to the disc window where you’ll have to delete some files until you’ve got enough room on the disc.

Summary
Both Windows 10 & Windows 11 will quite happily burn optical discs for you without the need to install any third party software. Although, it has to be said, it’s a fairly basic affair. Still, it does get the job done.
If you’re looking for more control, more options, then you will need to install some burning software. But here I’d advise caution. CD/DVD burning isn’t what it used to be and there’s precious little money in it these days.
Many of the older software titles have either fallen into disuse (not been updated) or else have been acquired by less then reputable companies.
Don’t download and install straight onto your computer, you just don’t know what else you might be installing. My advice would be to install it onto a virtual machine first. You can test it out and make sure it doesn’t come with anything that you didn’t expect.
Related Posts
How to Burn a Music CD in Windows 10 and 11 in 2026
Create your own CD mixes.
Windows File History.
Continuous file backups.
Windows 11 Backup
Create a Windows 11 system image for free.
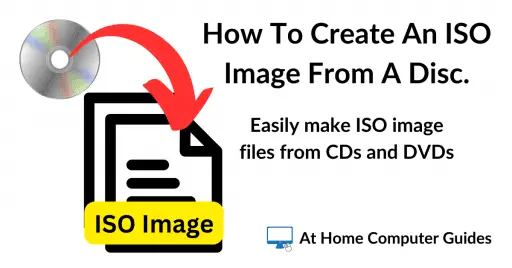
Create an ISO File from an Optical Disc
Convert old optical discs into ISO files.
An ISO file can be mounted as a virtual drive on modern computers. Easy to do and works every time,
You can find this and other related step by step guides in – At Home Computer Guides
At Home Computer Step By Step Guides
![]() Easy to follow tutorials for users of Windows 10 and Windows 11 computers.
Easy to follow tutorials for users of Windows 10 and Windows 11 computers.

How to Setup OneDrive to Backup Your Files
OneDrive allows you to backup files to the cloud. It…
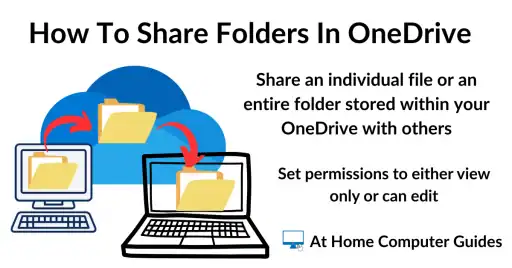
How to Share a Folder in OneDrive
One of the best features of OneDrive is the ease…
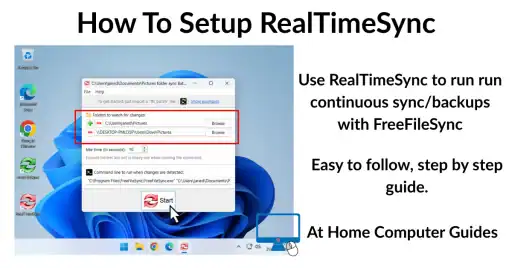
How to Setup RealTimeSync
RealTimeSync is a companion tool for the popular sync program…
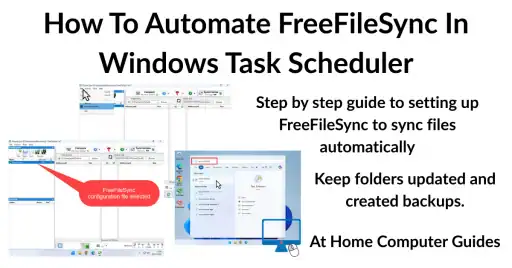
How to Automate FreeFileSync in Task Scheduler
How to automate FreeFileSync in Windows Task Scheduler so that…
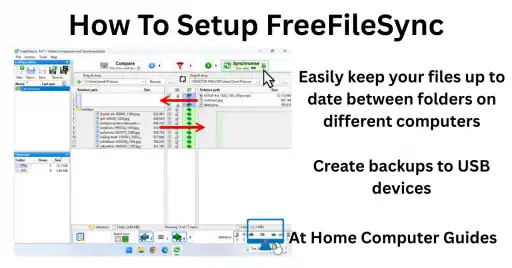
How to Setup FreeFileSync
FreeFileSync is a free and open source program that allows…
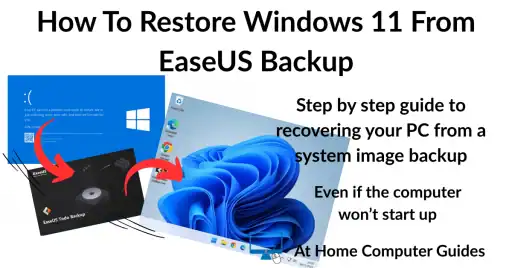
How to Restore Windows 11 from EaseUS System Image Backup
How to restore a Windows 11 computer using a system…
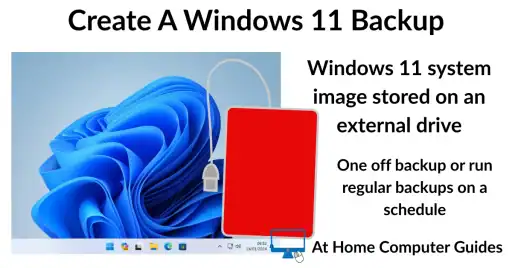
Windows 11 Backup
How to create a Windows 11 backup for free. Make…
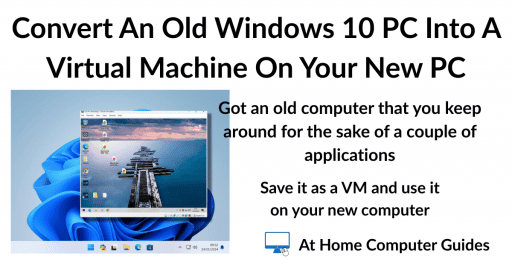
Convert an Old Windows 10 PC into a Virtual Machine
How to Create an ISO File from a Folder
How to create an ISO image file from a folder….