Zip files are simply files and/or folders that have been compressed to make them smaller.
Windows 10 & Windows 11 can easily zip (compress) and unzip (uncompress) files and folders. You don’t need to install any specialist software.
Many files are often zipped when they are to be downloaded from the Internet, so as you use your computer, you’re bound to bump into them sooner or later.

How To Zip A File/Folder In Windows 10/11.
Zipping files and folders is really easy to these days without any specialist software. It’s slightly different depending on whether you’re using Windows 10 or Windows 11.
In Windows 10, right-click on the file/folder you want to zip (compress). On the options menu, hover your mouse pointer over Send To. On the Send To menu, left-click Compressed (zipped) Folder.
In Windows 11, right-click the file or folder you want to zip (compress). On the options menu, left-click Compress To Zip File.


Windows 11 Right Click Menu.
Windows 11 uses a truncated right click menu. Only the most common actions are shown be default.
When you’re trying to zip a folder in Windows 11 the option to Compress to Zip file may not appear.
If that’s the case for you, then click Show More Options, which appears at the bottom of the menu. Then all the options will appear.
After The File/Folder Has Been Compressed.
When Windows zips (compresses) a file, it copies it into a zipped folder, the folder will have the same name as your file.
When Windows zips (compresses) a folder, a duplicate folder is created, again with the same name as the original. The only visible difference is the zipper that appears on the compressed (zipped) version of the folder.


How Long Does It Take To Zip A File/Folder.
How long it will take to compress a file or folder depends on the type of files that you’re compressing, the size of the files in kilobytes, megabytes or even gigabytes and the general speed of your computer.
How To Unzip A File/Folder In Windows.
To unzip a file or folder in both Windows 10 and Windows 11, right-click on the file/folder, then on the options menu, left-click Extract All.


Again the option to extract all may not appear on the Windows 11 menu. And again, if that’s the case for you, click Show More Options at the bottom of the menu.
Select A Destination And Extract Files.
After clicking the Extract All option on the context menu, you’ll see the “Extract Compressed (Zipped) Folders” screen.
To extract the files/folders to their present location, click the Extract button. This is generally what you’ll want to do.
If you’d like to have the files/folders extracted to a different location click the Browse button.
 folders")
Summary.
You’re sure to run into zipped files and folders from time to time. They can be extremely useful and save a huge amount of storage space.
If you wanted to add password protection and encryption to your zipped files, then you’ll need a third party program. 7-Zip is free and open source and will protect your files How To Use 7-Zip To Password Protect Files.
At Home Computer Course.
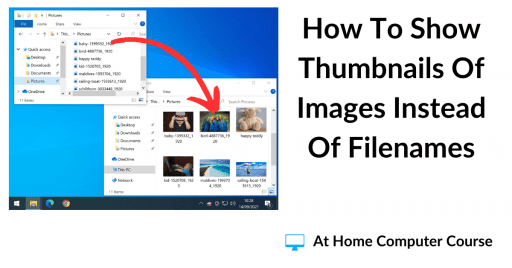
Windows Likes Filenames.
But we don’t, especially when it comes to pictures. It’s far better to see an image than a filename.


